|
The Tuesday Night Club Official Web Site |
The Tuesday Night Club on Tour
Tour 2003
20 - Parbold to Blackburn - Leeds and Liverpool Canal.
Wednesday 16th July 2003
We were now going to try for a fairly quick Leeds and Liverpool passage,
seeing as we would loose a half a day for engine mount replacement, so at 06:05 departure from Parbold ensued. As we past through Crooke moorings, Roy
Fawcett popped out of his boat, but unfortunately we did not get much of a conversation in, as we were predictably in a hurry and Roy had to get his
kids off to school..................maybe next time!
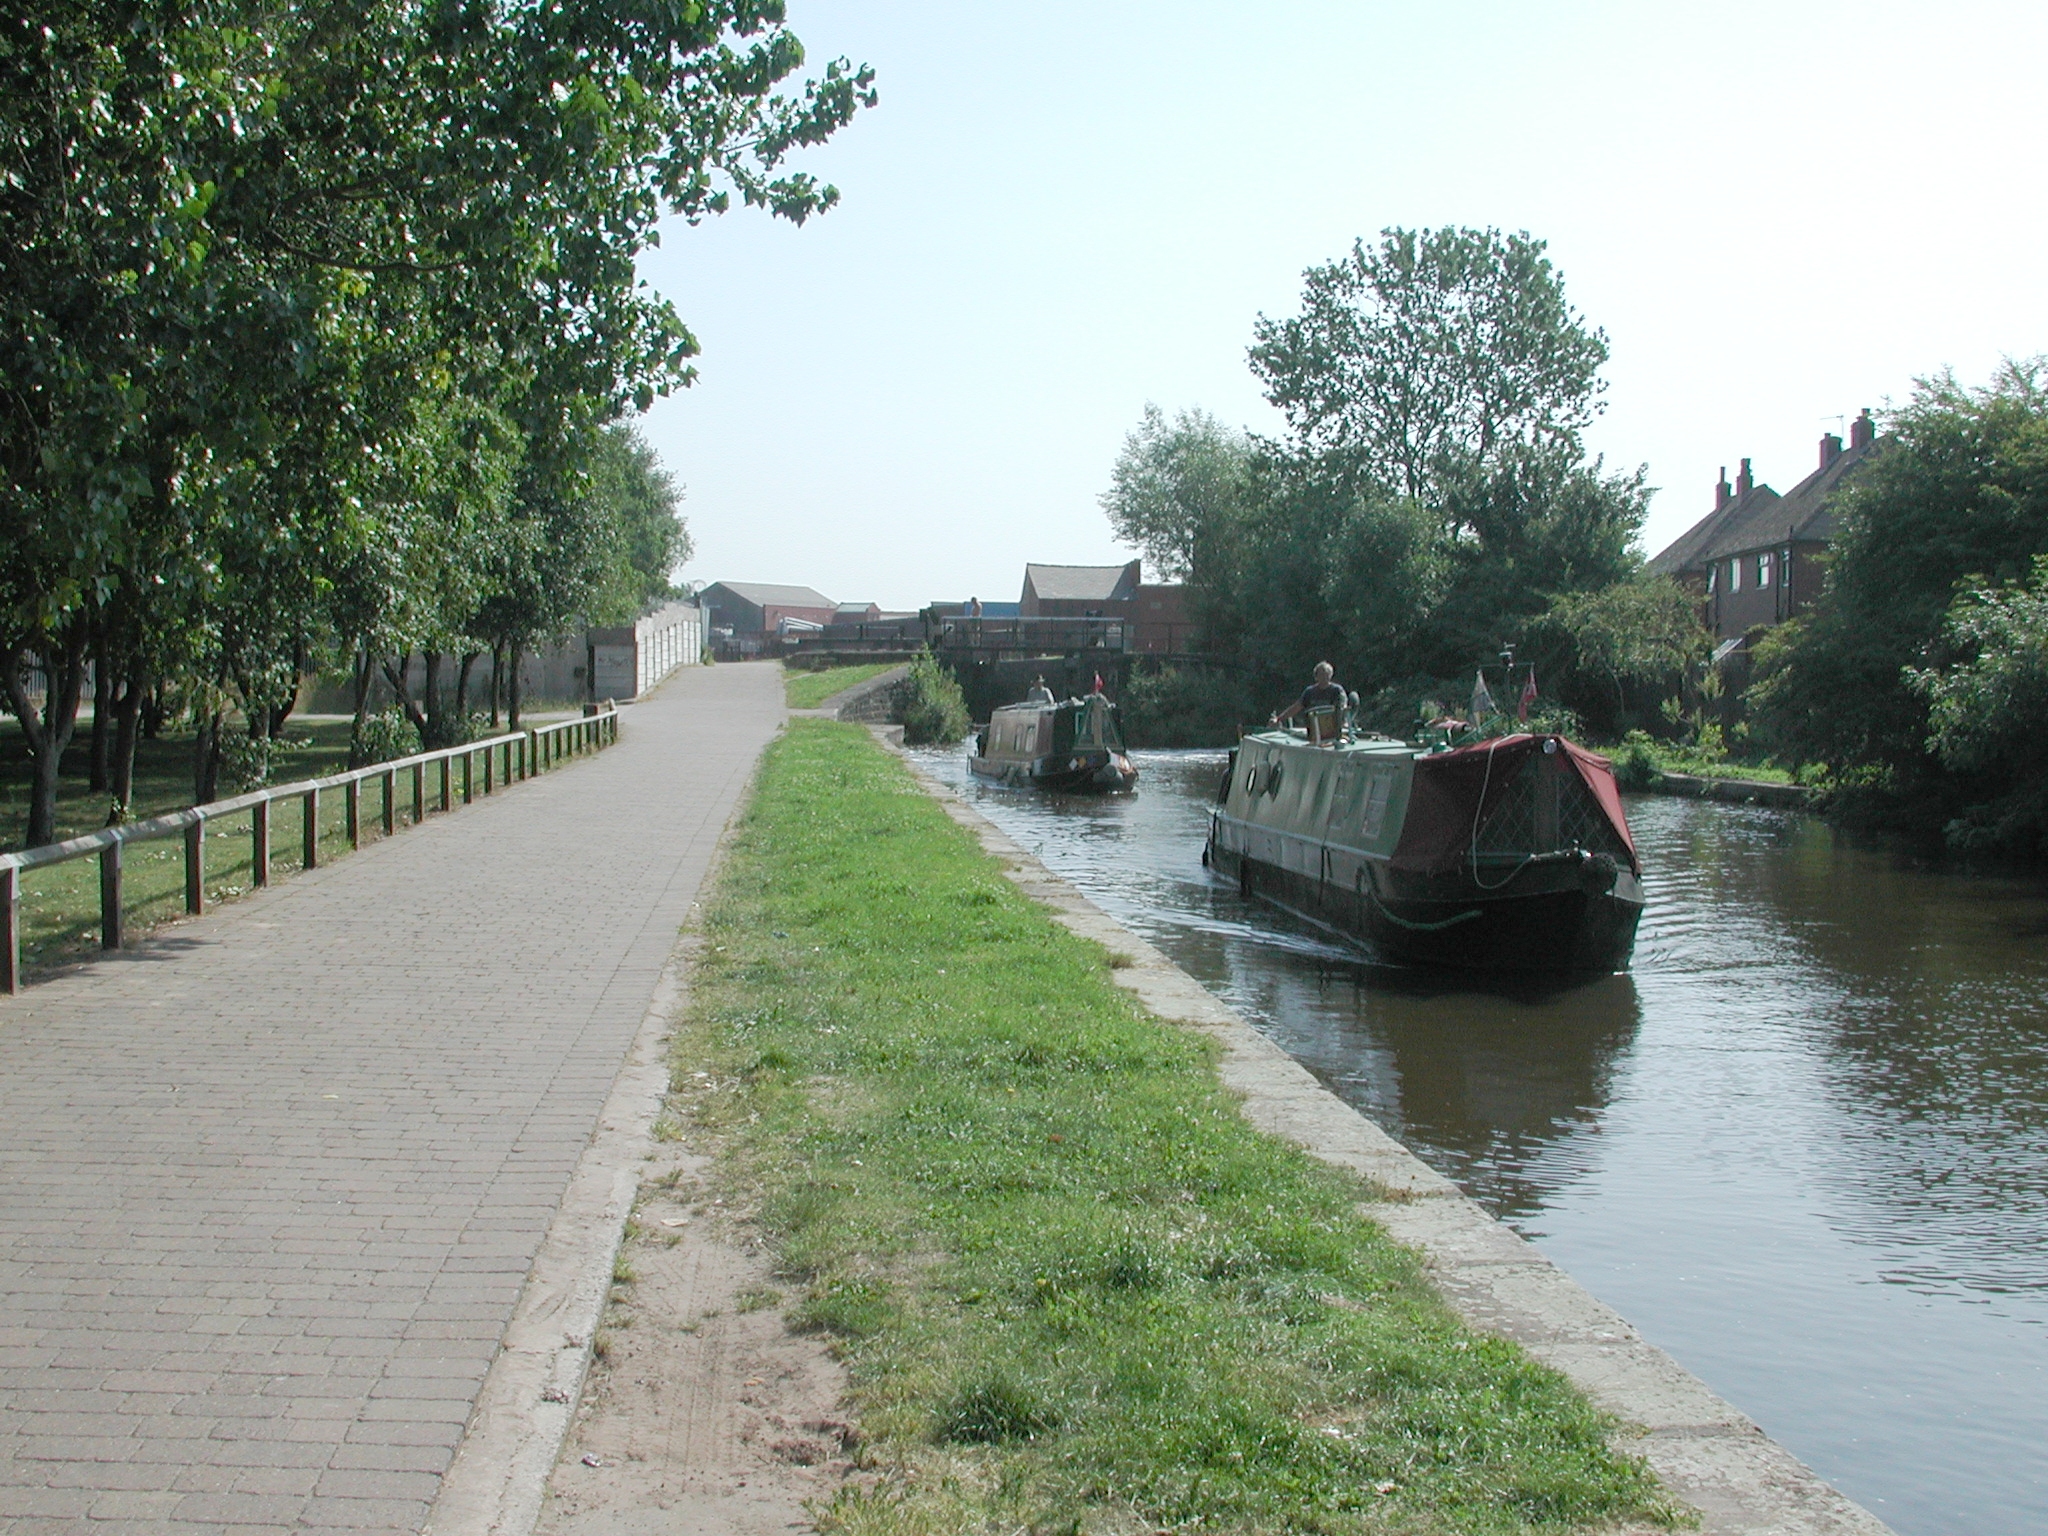
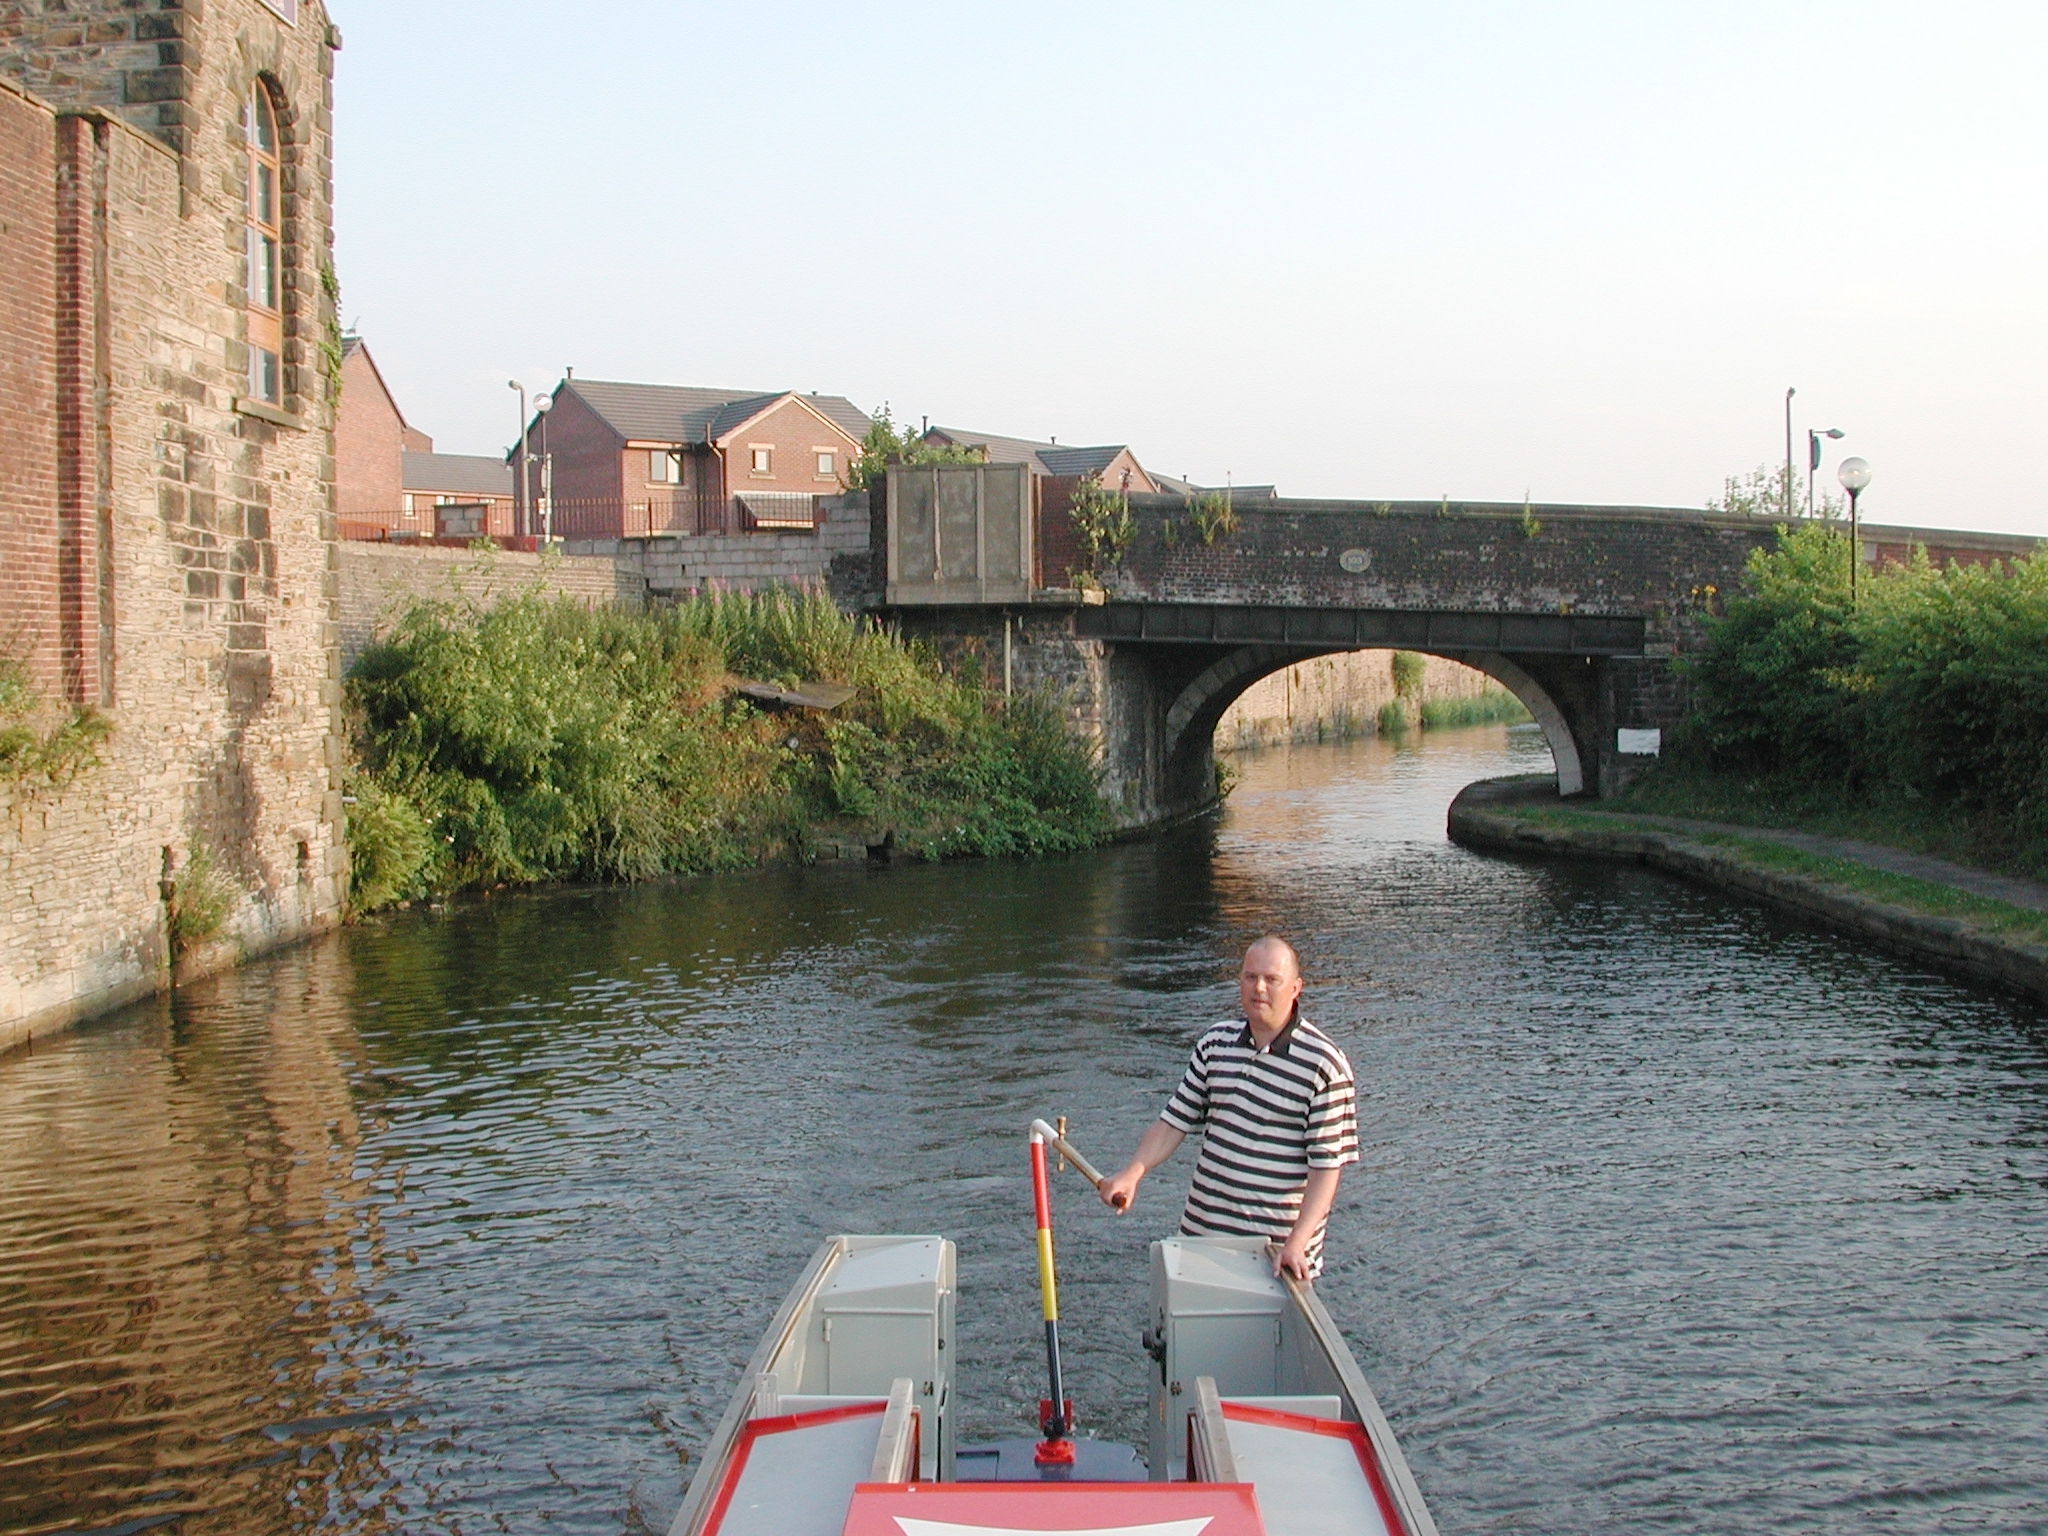
At 09:30 we were past the Leigh Branch and started the Wigan Flight proper at 09:30. Rev David Long had been contacted and after his morning service,
came out to join us, for his customary bike assisted lock wheeling. We shared the whole flight with a together couple - The Jackson's on NB Verity
Ann. David popped up at around 10:30 and got stuck in helping us up "his" flight. David showed us the pre production "Sankey News".........which had a
lot of pictures of Earnest during it's "Engine mount and propshaft destruction cruise" on the nether regions of the Tidal Mersey.
Neil declared the 3 hour trip up the Wigan Flight "acceptable" and we clanked
away from the top of the flight at 12:30. David did manage a quick "bless" of the wreck that was Earnest as we departed.
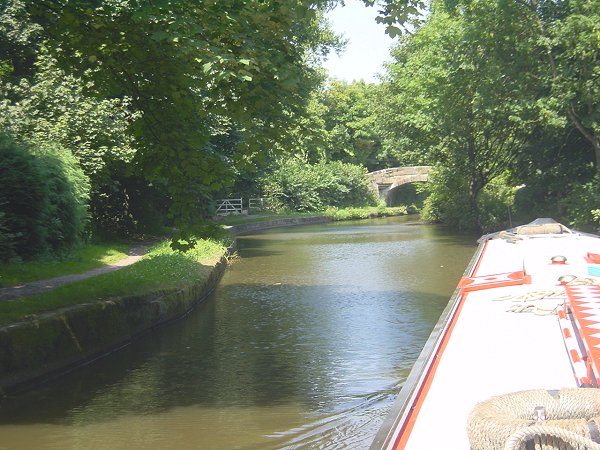
A futile 15 minute stop at White Bear Marina - Adlington ensured that they did mot have any
Metalastic flexi engine mounts. 15:50 saw us start Johnson's Hill Locks, in company with a Pennine Cruisers hire boat. Nice
evening as we past through the outskirts of Blackburn, no trouble at all at Cherry Tree bridge. Limited swimming going on in Blackburn Locks (start
19:00), but kids friendly, especially as we were leaving the locks full.
Onwards we trundled to arrive at the first deep, TNC approved moorings out of Blackburn, by the now somewhat popular Bridge 106 (20:50). Well timed
meal from courtesy of Molly - a rather nice, prepared from scratch chicken casserole had been scoffed by the crew, while the captain attempted his at
the same time as steering and missing the rather large Blackburn trolley shoals. Rather knackered, so early to bed.

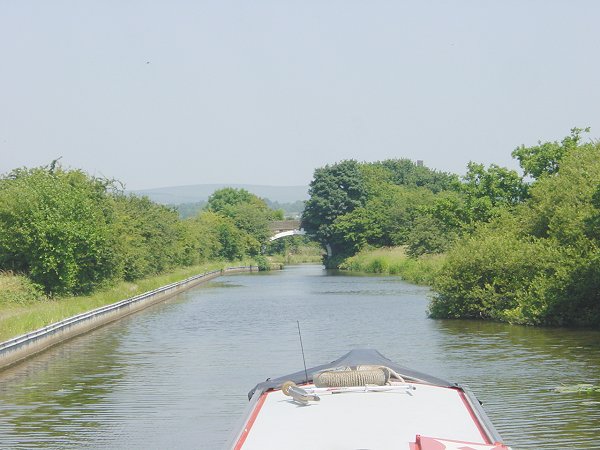
Parbold. Basin to left. Leeds and Liverpool Canal.

Leaving Parbold. Alder lane Bridge No 38. Leeds and Liverpool Canal.

Chapel House Bridge No 39. Leeds and Liverpool Canal.

Gillibrand Bridge No 40. Leeds and Liverpool Canal.

Hand Lane Bridge No 41. Leeds and Liverpool Canal.
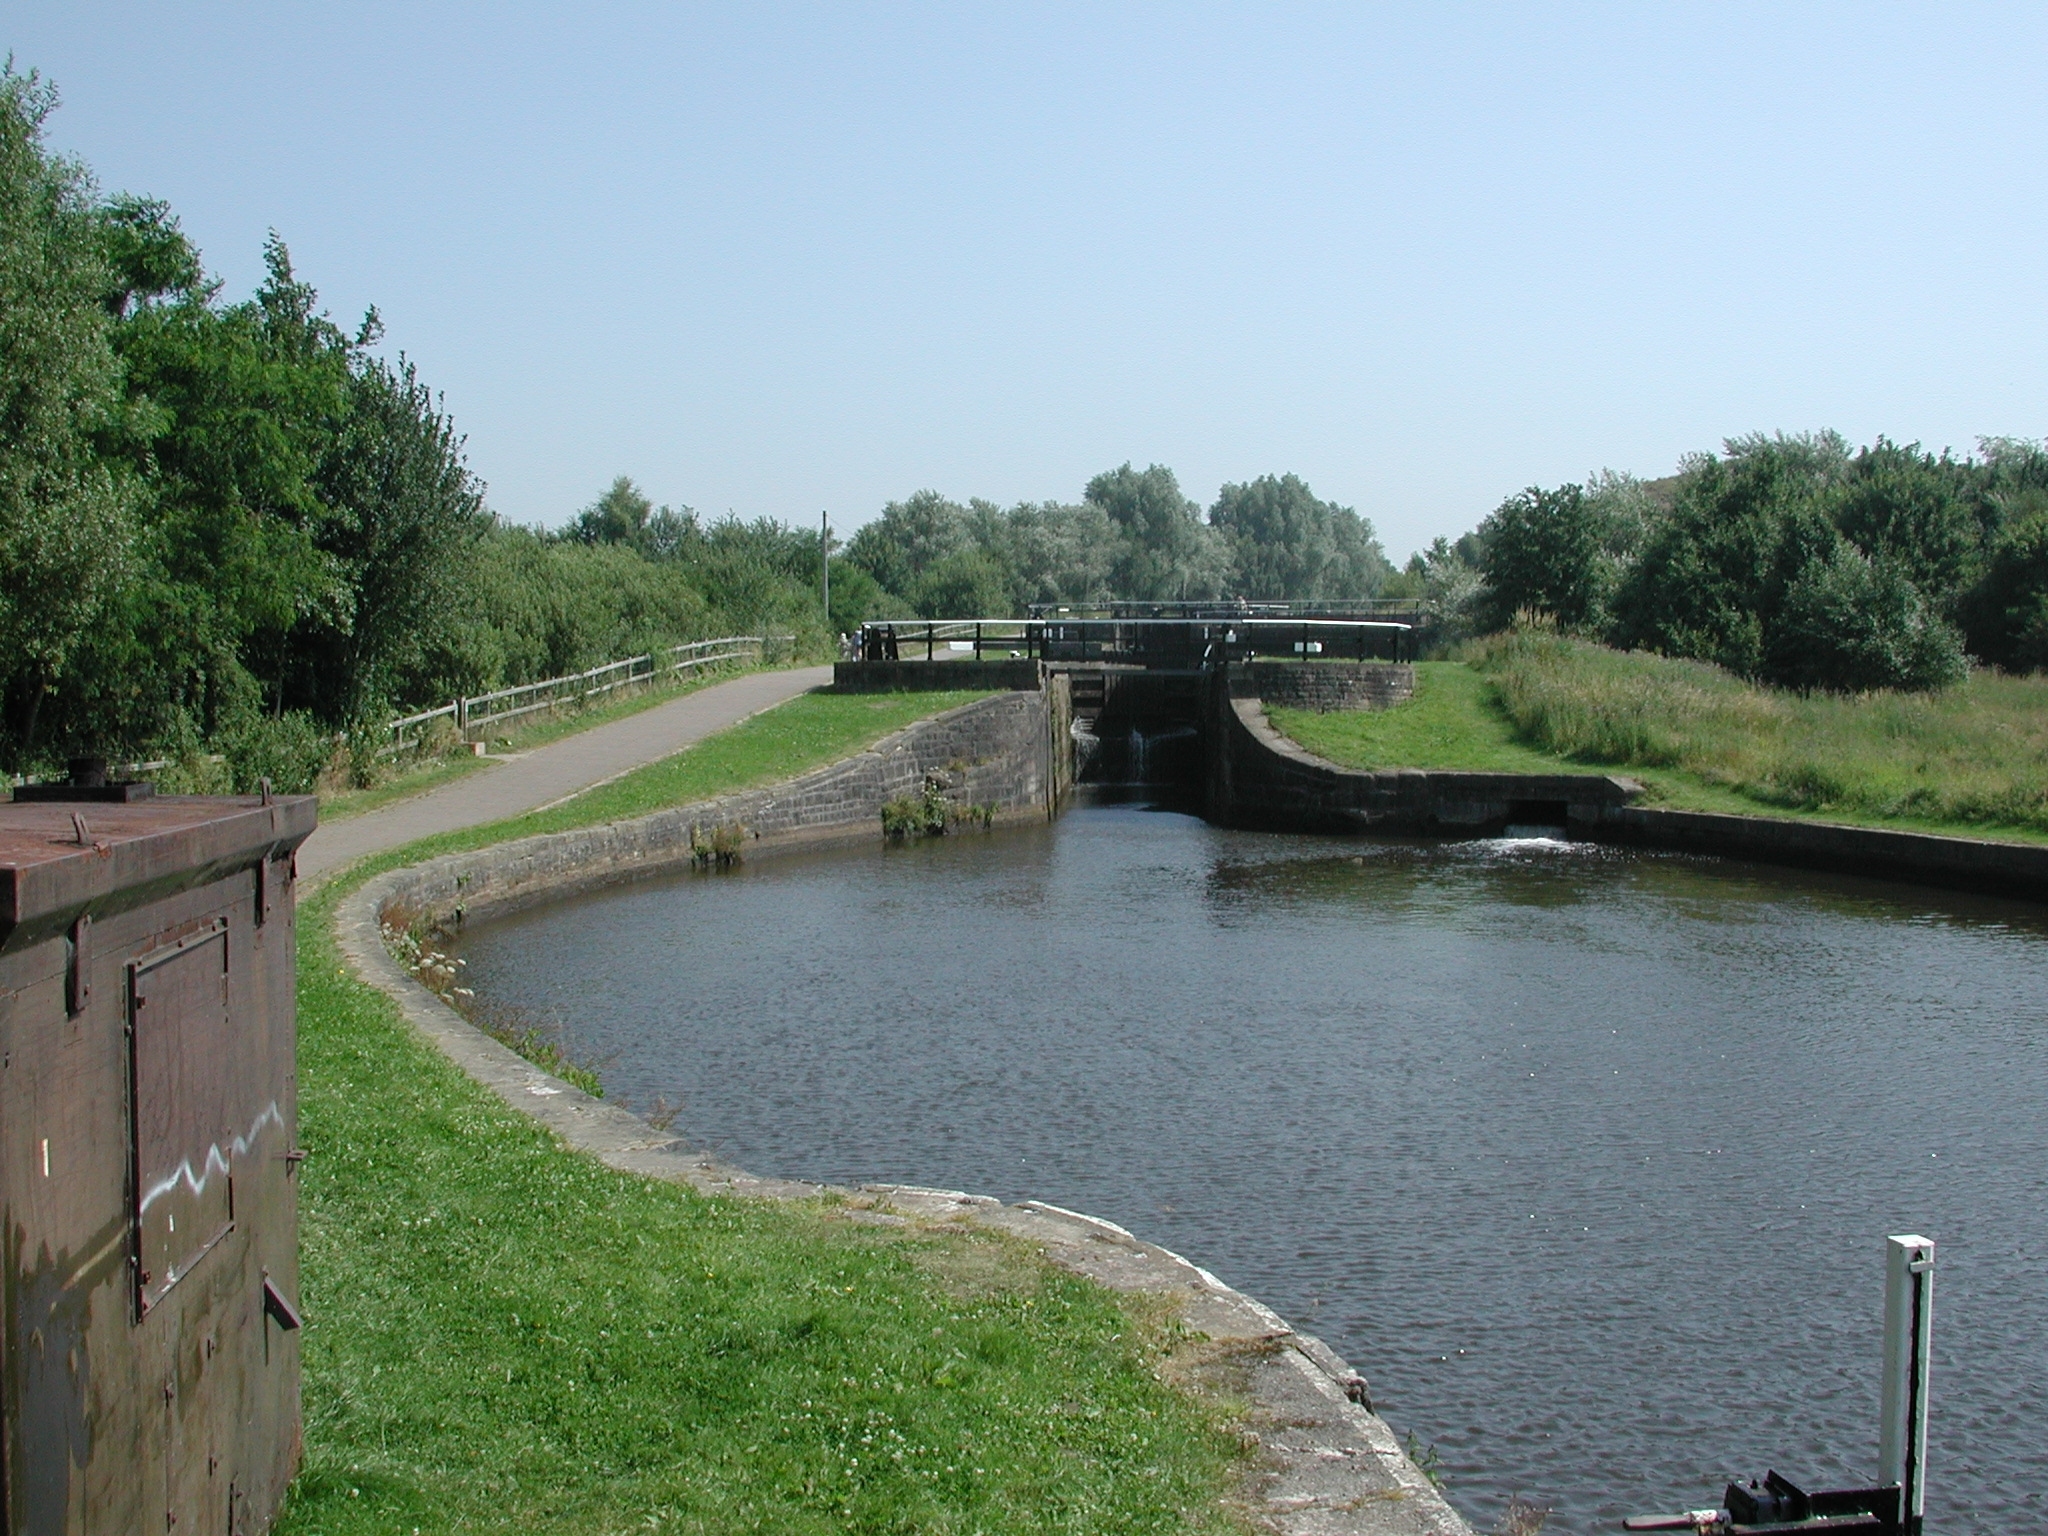
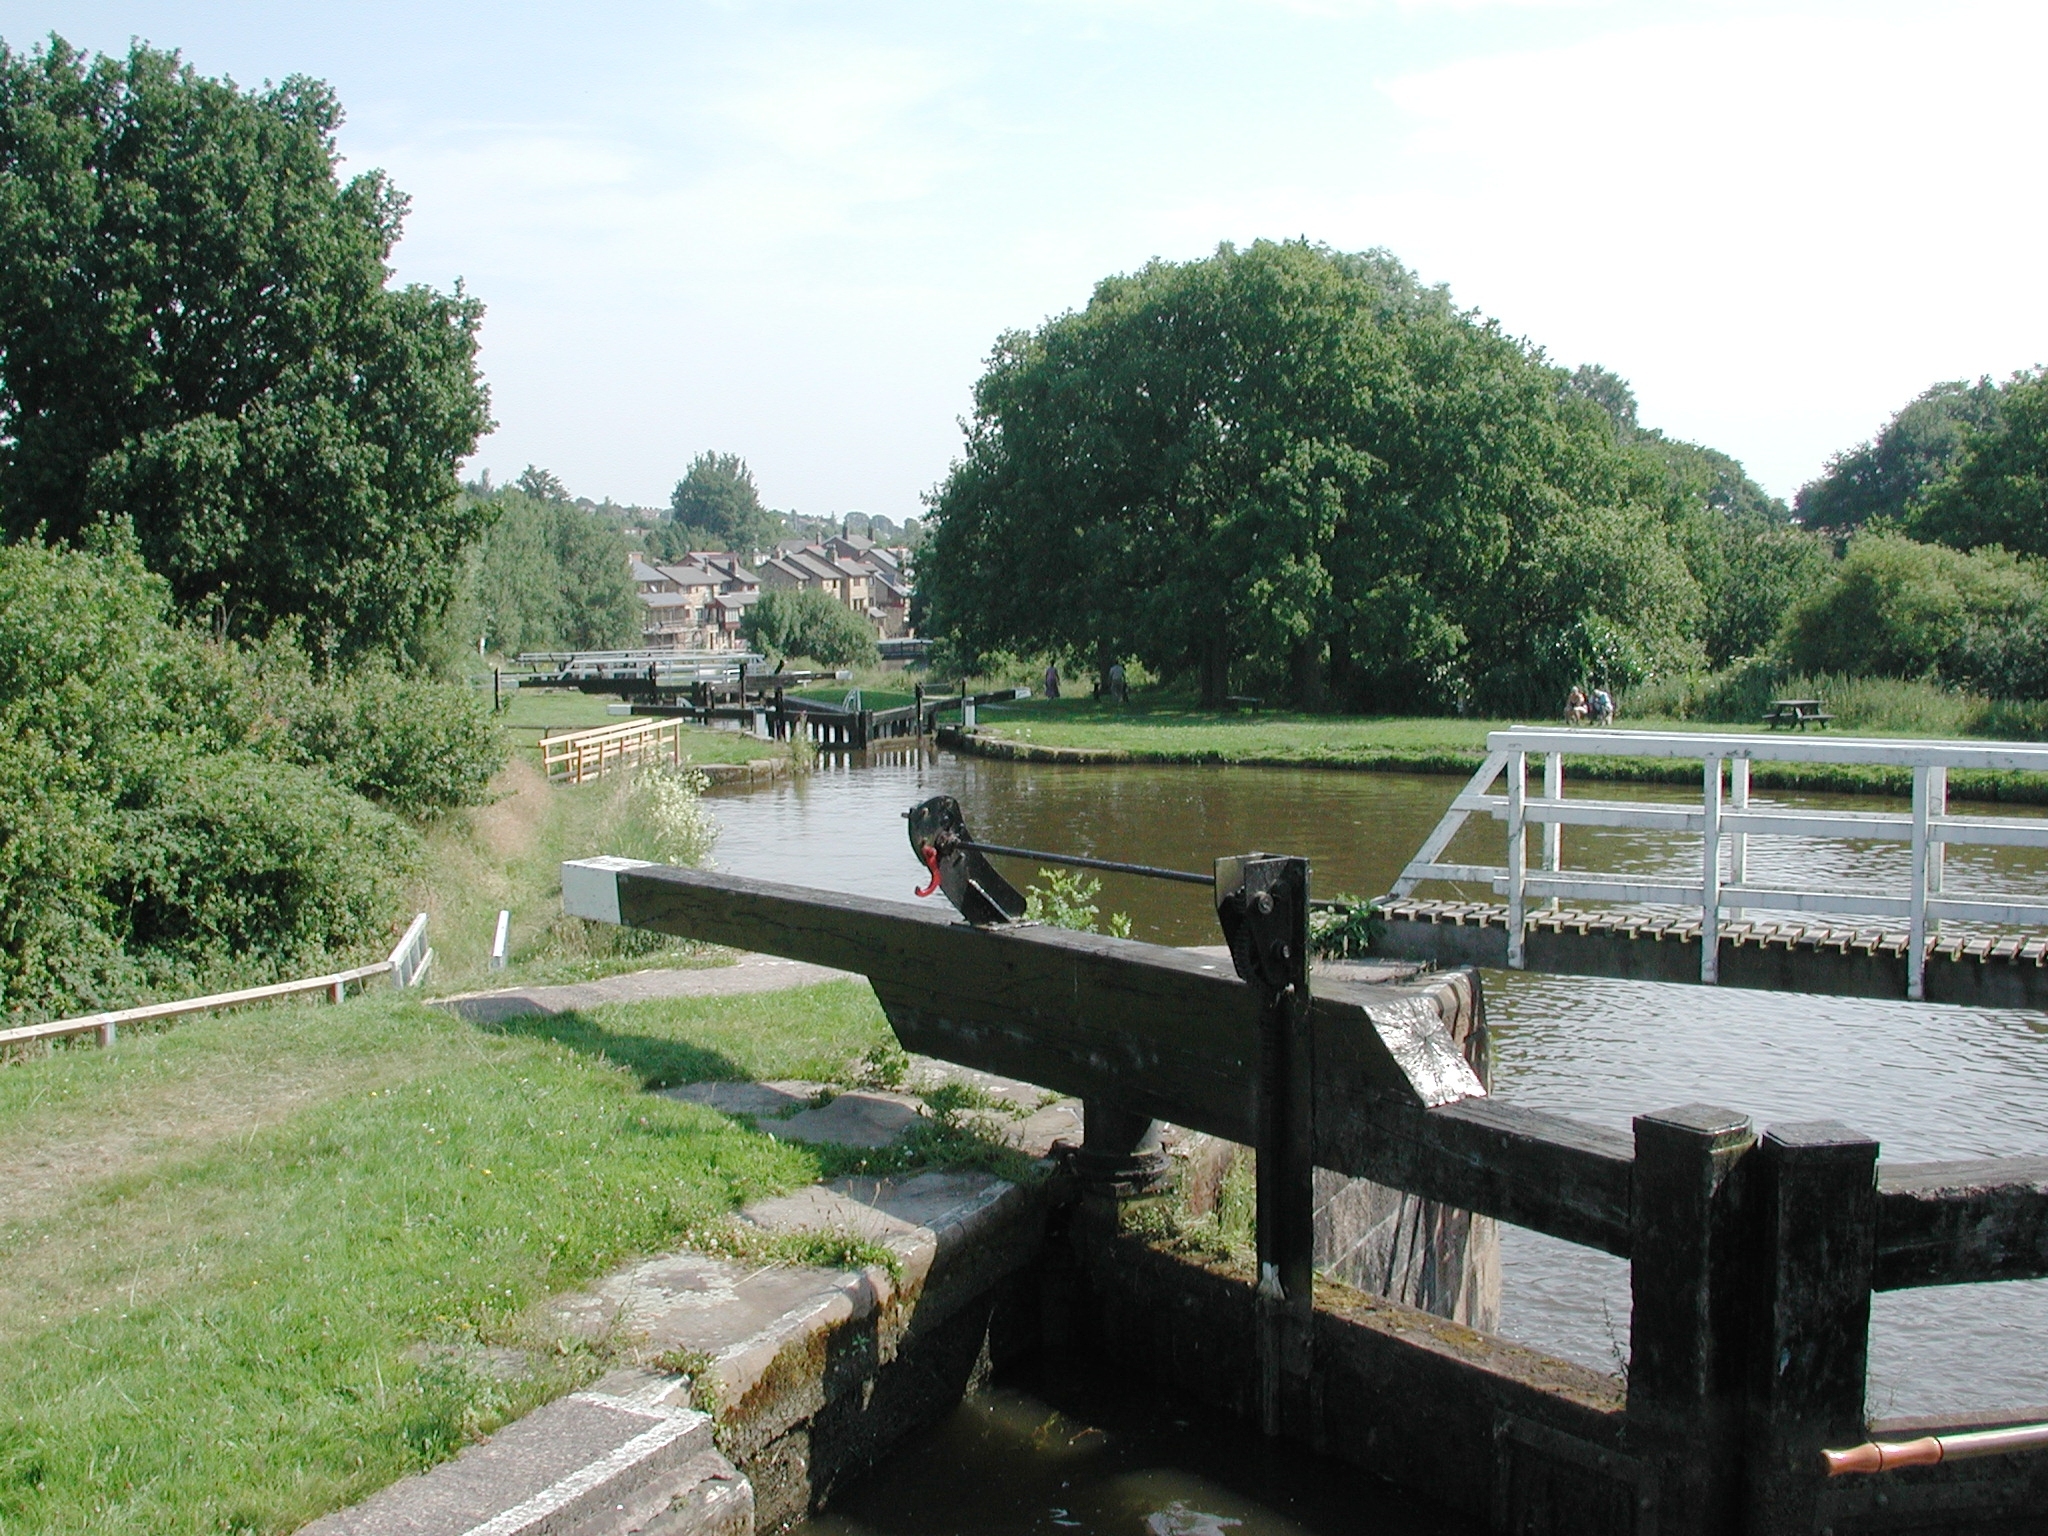
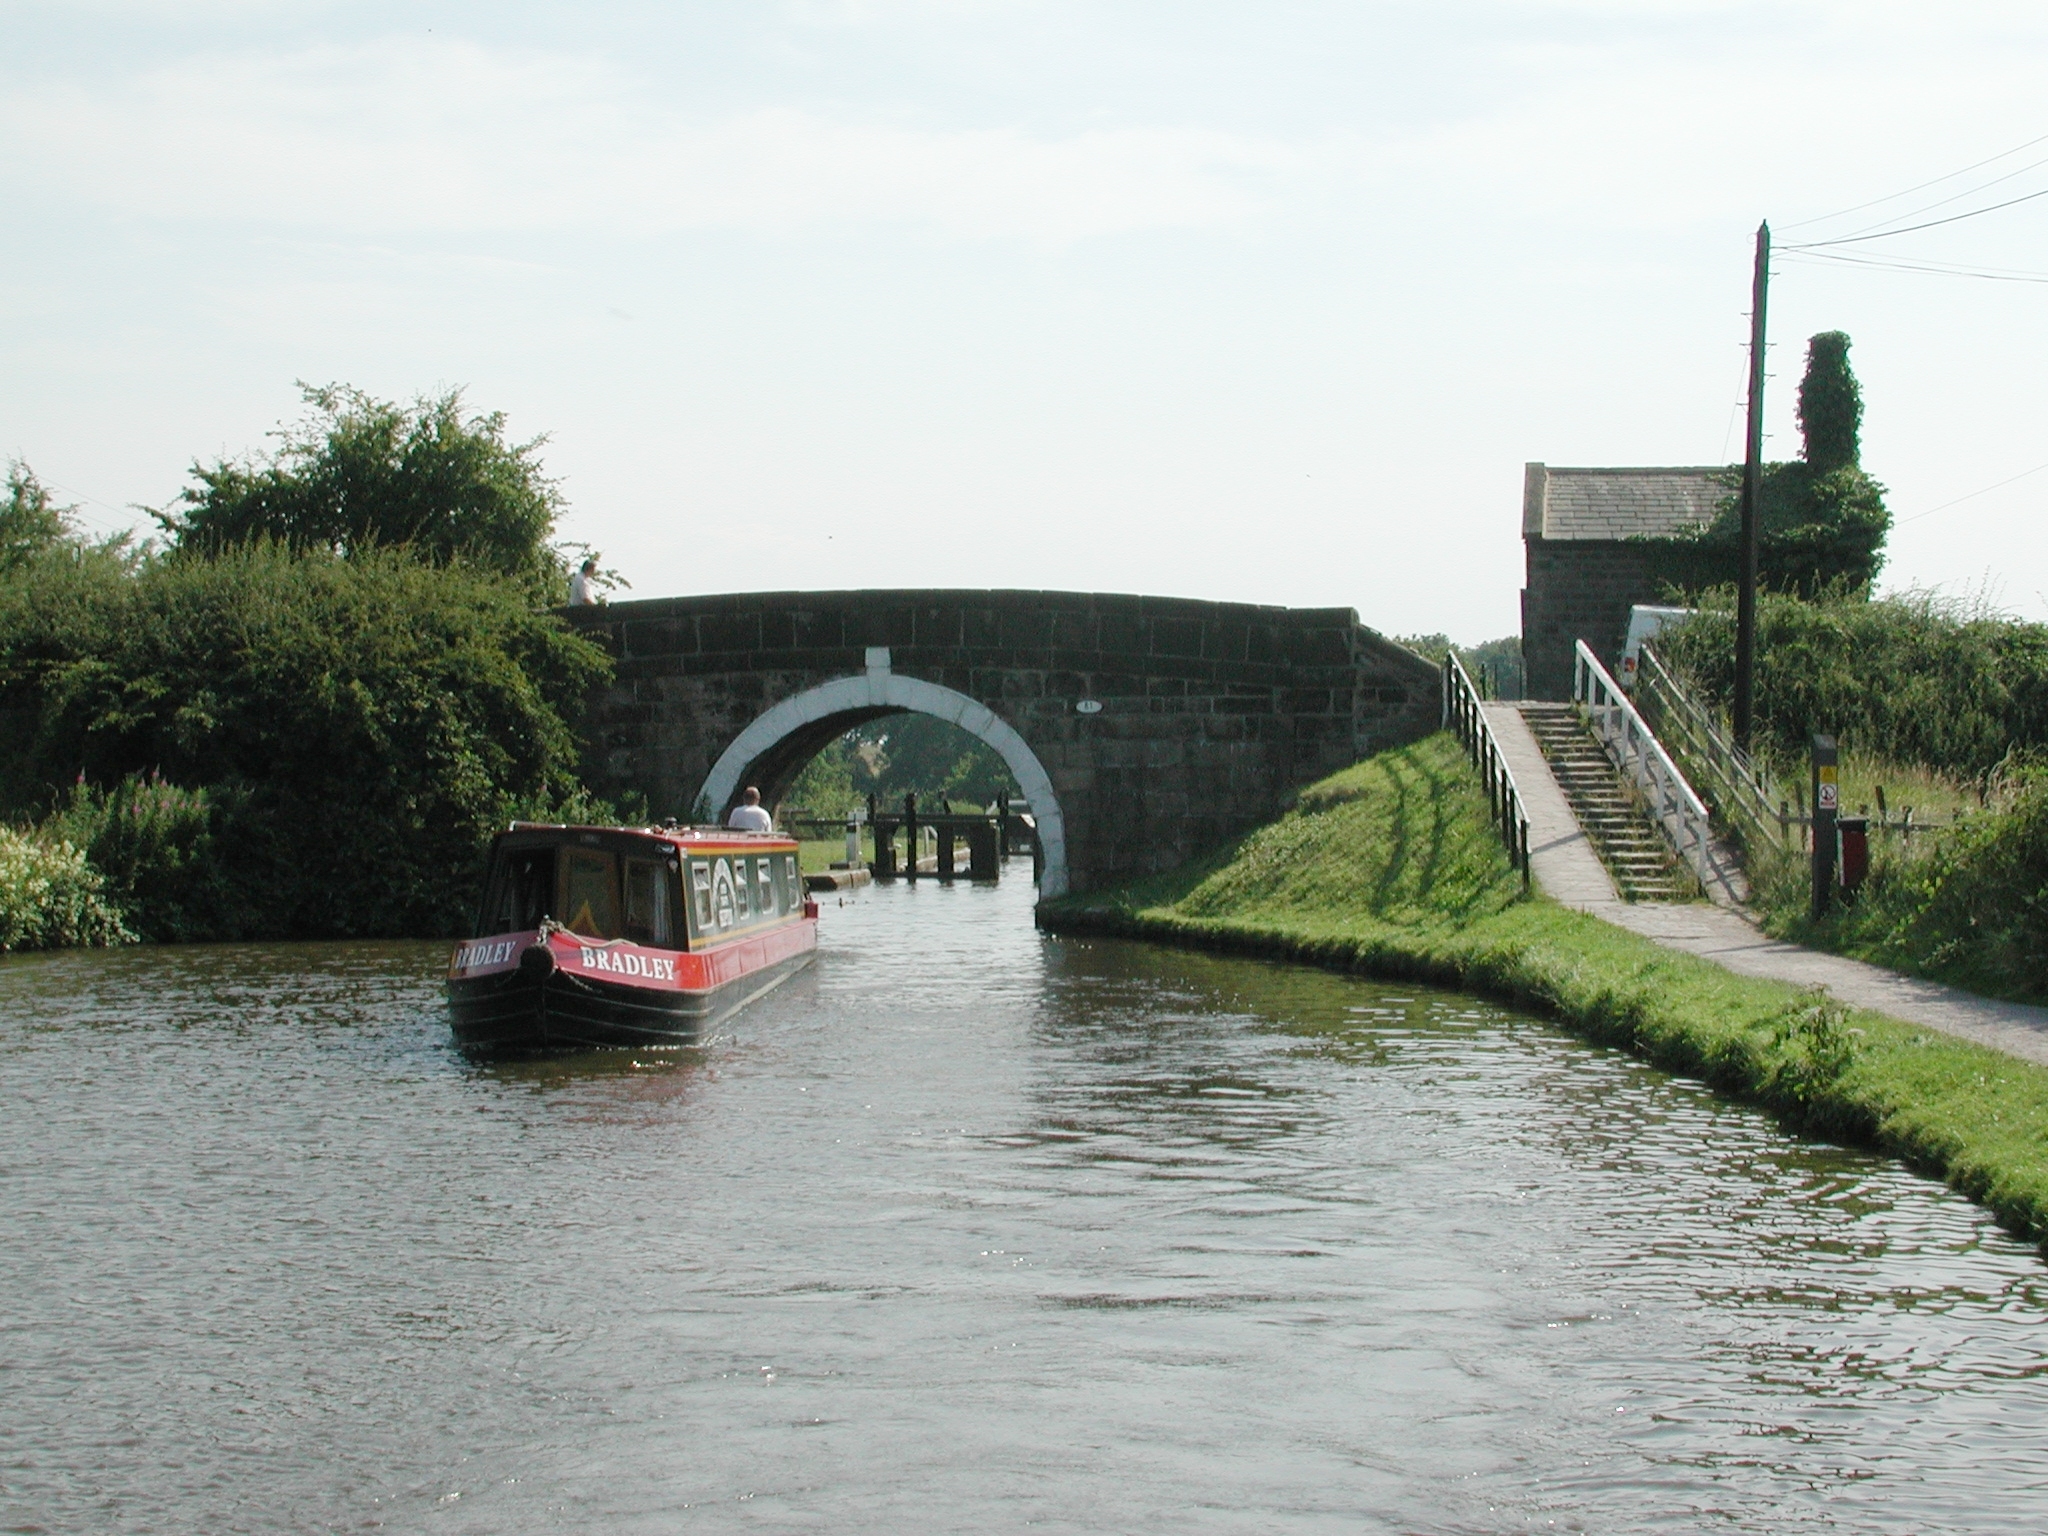
Appley Locks. The NB is moored in the entrance to the disused parallel pair.
Leeds and Liverpool Canal.

Appley Locks. The usable single deep lock. Leeds and Liverpool Canal.

The deep single Appley Lock. Leeds and Liverpool Canal.

Appley Locks. The geared side clough. Leeds and Liverpool Canal.

The top entrance cut to the disused pair. Appley Locks No 91. Leeds and
Liverpool Canal.

The disused pair. Appley Locks. Leeds and Liverpool Canal.
Leaving Appley Locks No 91. Leeds and Liverpool Canal.

Appley Bridge No 42. Leeds and Liverpool Canal.

Appley Bridge No 42. Leeds and Liverpool Canal.

Appley Bridge No 42. Leeds and Liverpool Canal.

The Waters Edge pub at Appley Bridge. Leeds and Liverpool Canal.

Finch Mill Swing Bridge No 43. Leeds and Liverpool Canal.

Finch Mill Swing Bridge No 43. Leeds and Liverpool Canal.

Rannicar's Swing Bridge No 44. Leeds and Liverpool Canal.

Fisher's Swing Bridge No 45. Leeds and Liverpool Canal.

The M6 viaduct ruins the scene at Dean Locks No 90. Leeds and Liverpool Canal.

Dean Locks No 90. Leeds and Liverpool Canal.

Dean Locks No 90. Leeds and Liverpool Canal.

Leaving Dean Locks No 90. Leeds and Liverpool Canal.

The M6 and railway viaducts. Leeds and Liverpool Canal.

Gathurst Bridge No 46. Leeds and Liverpool Canal.

Gathurst Bridge No 46 and the Navigation pub. Leeds and Liverpool Canal.

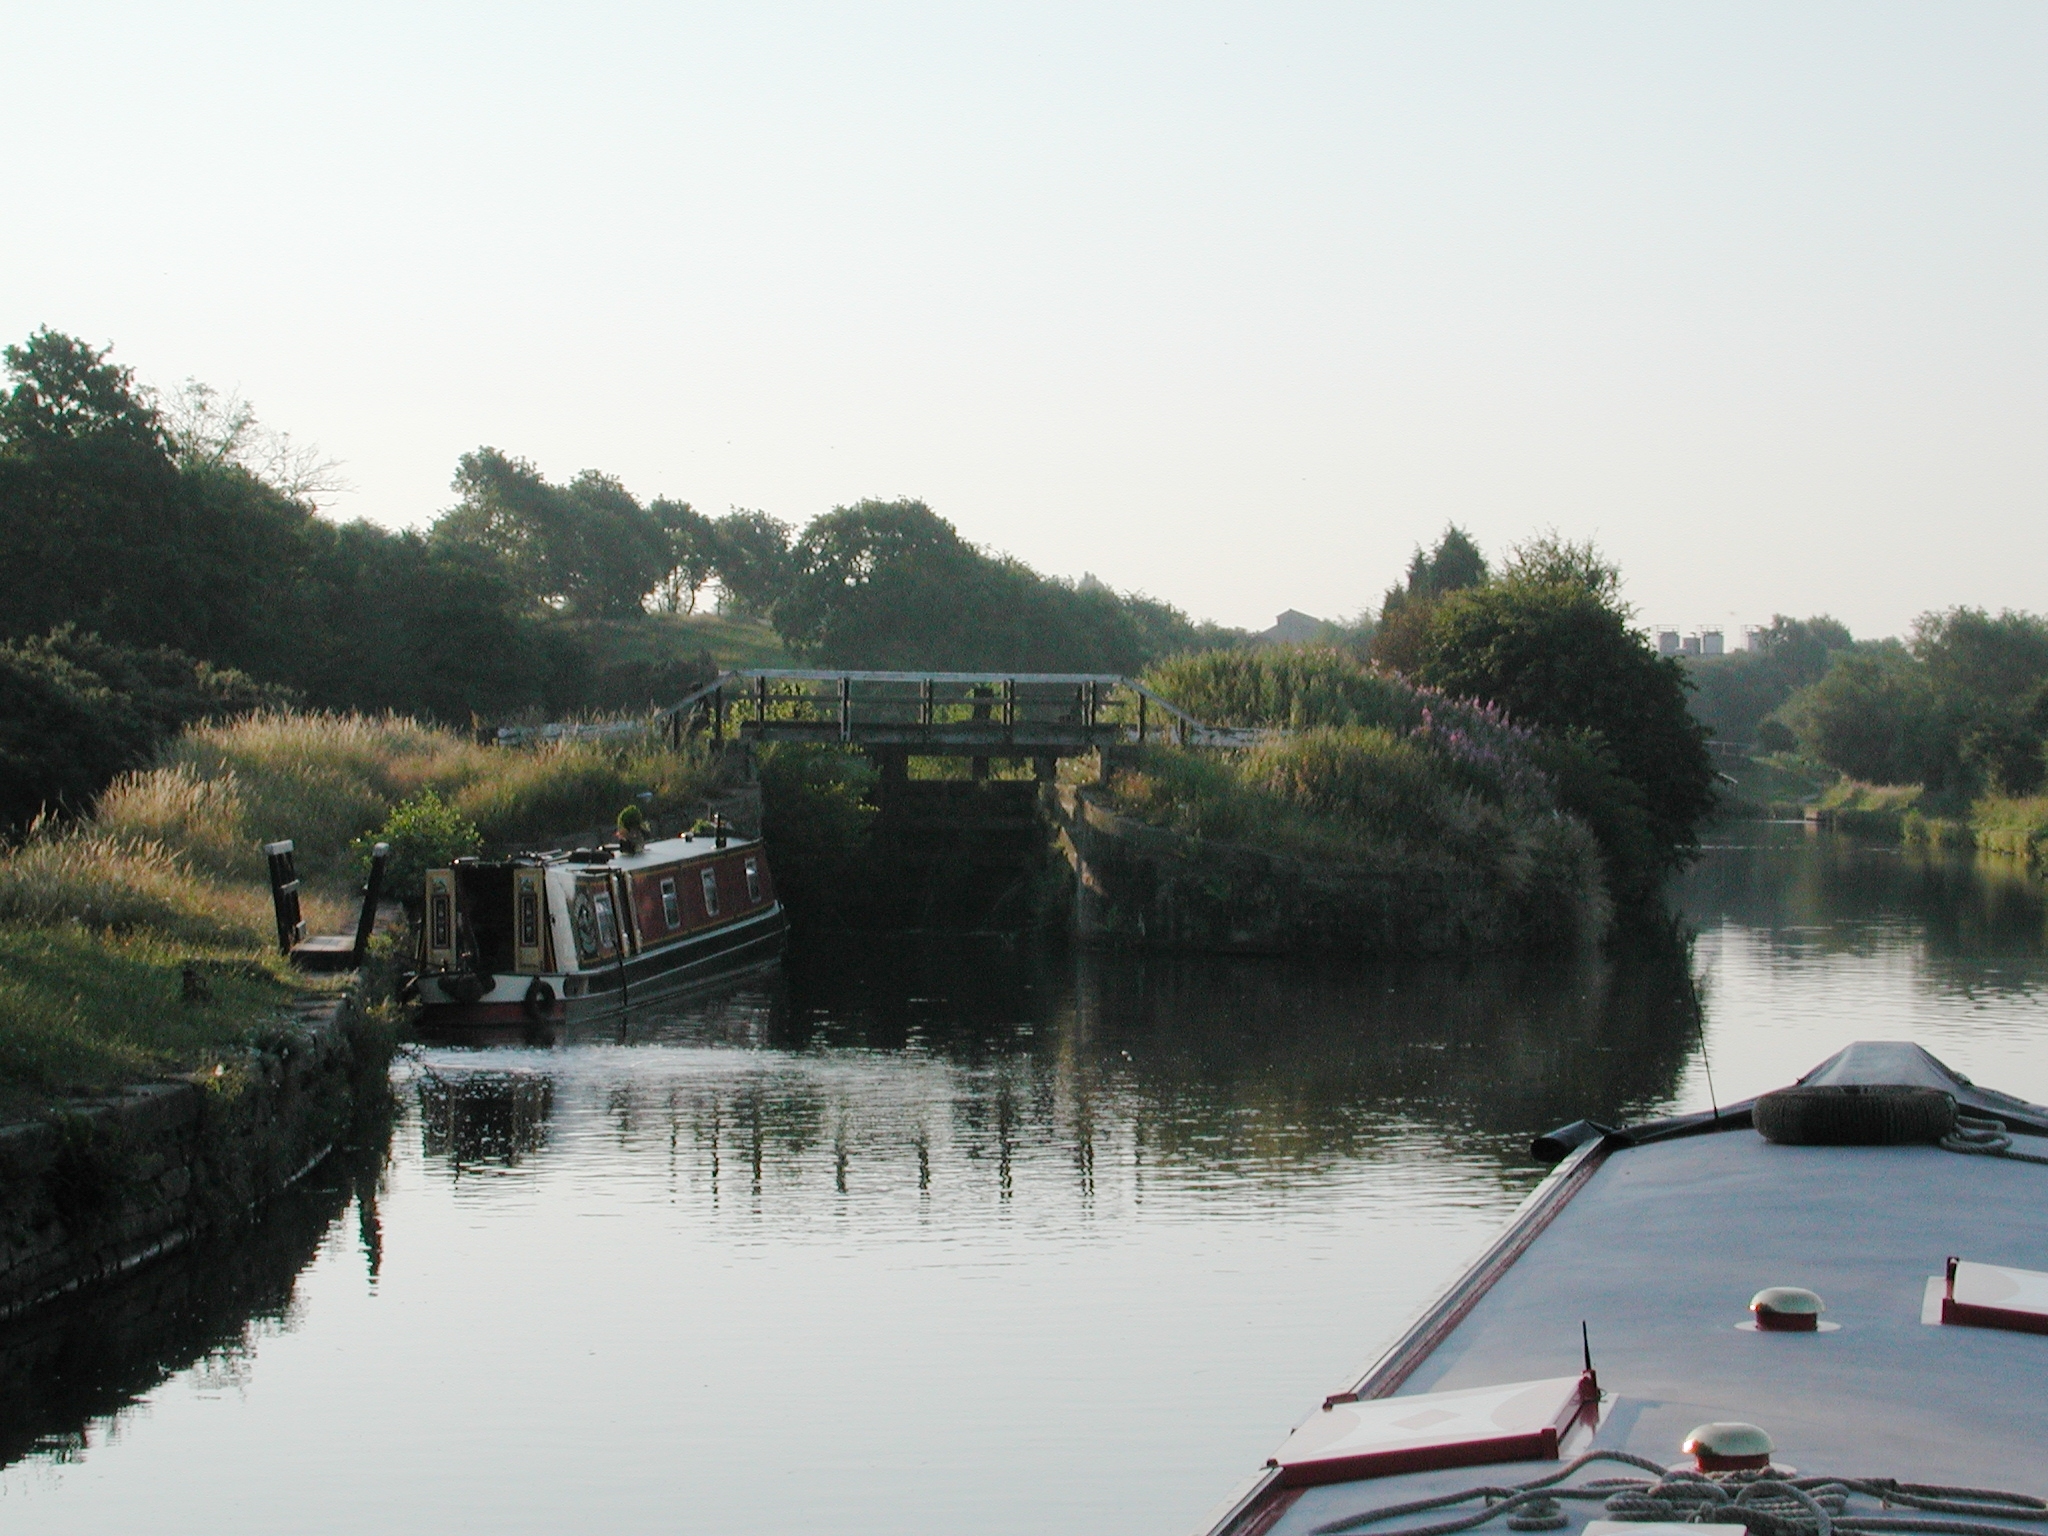
Crooke Bridge No 47. Leeds and Liverpool Canal.
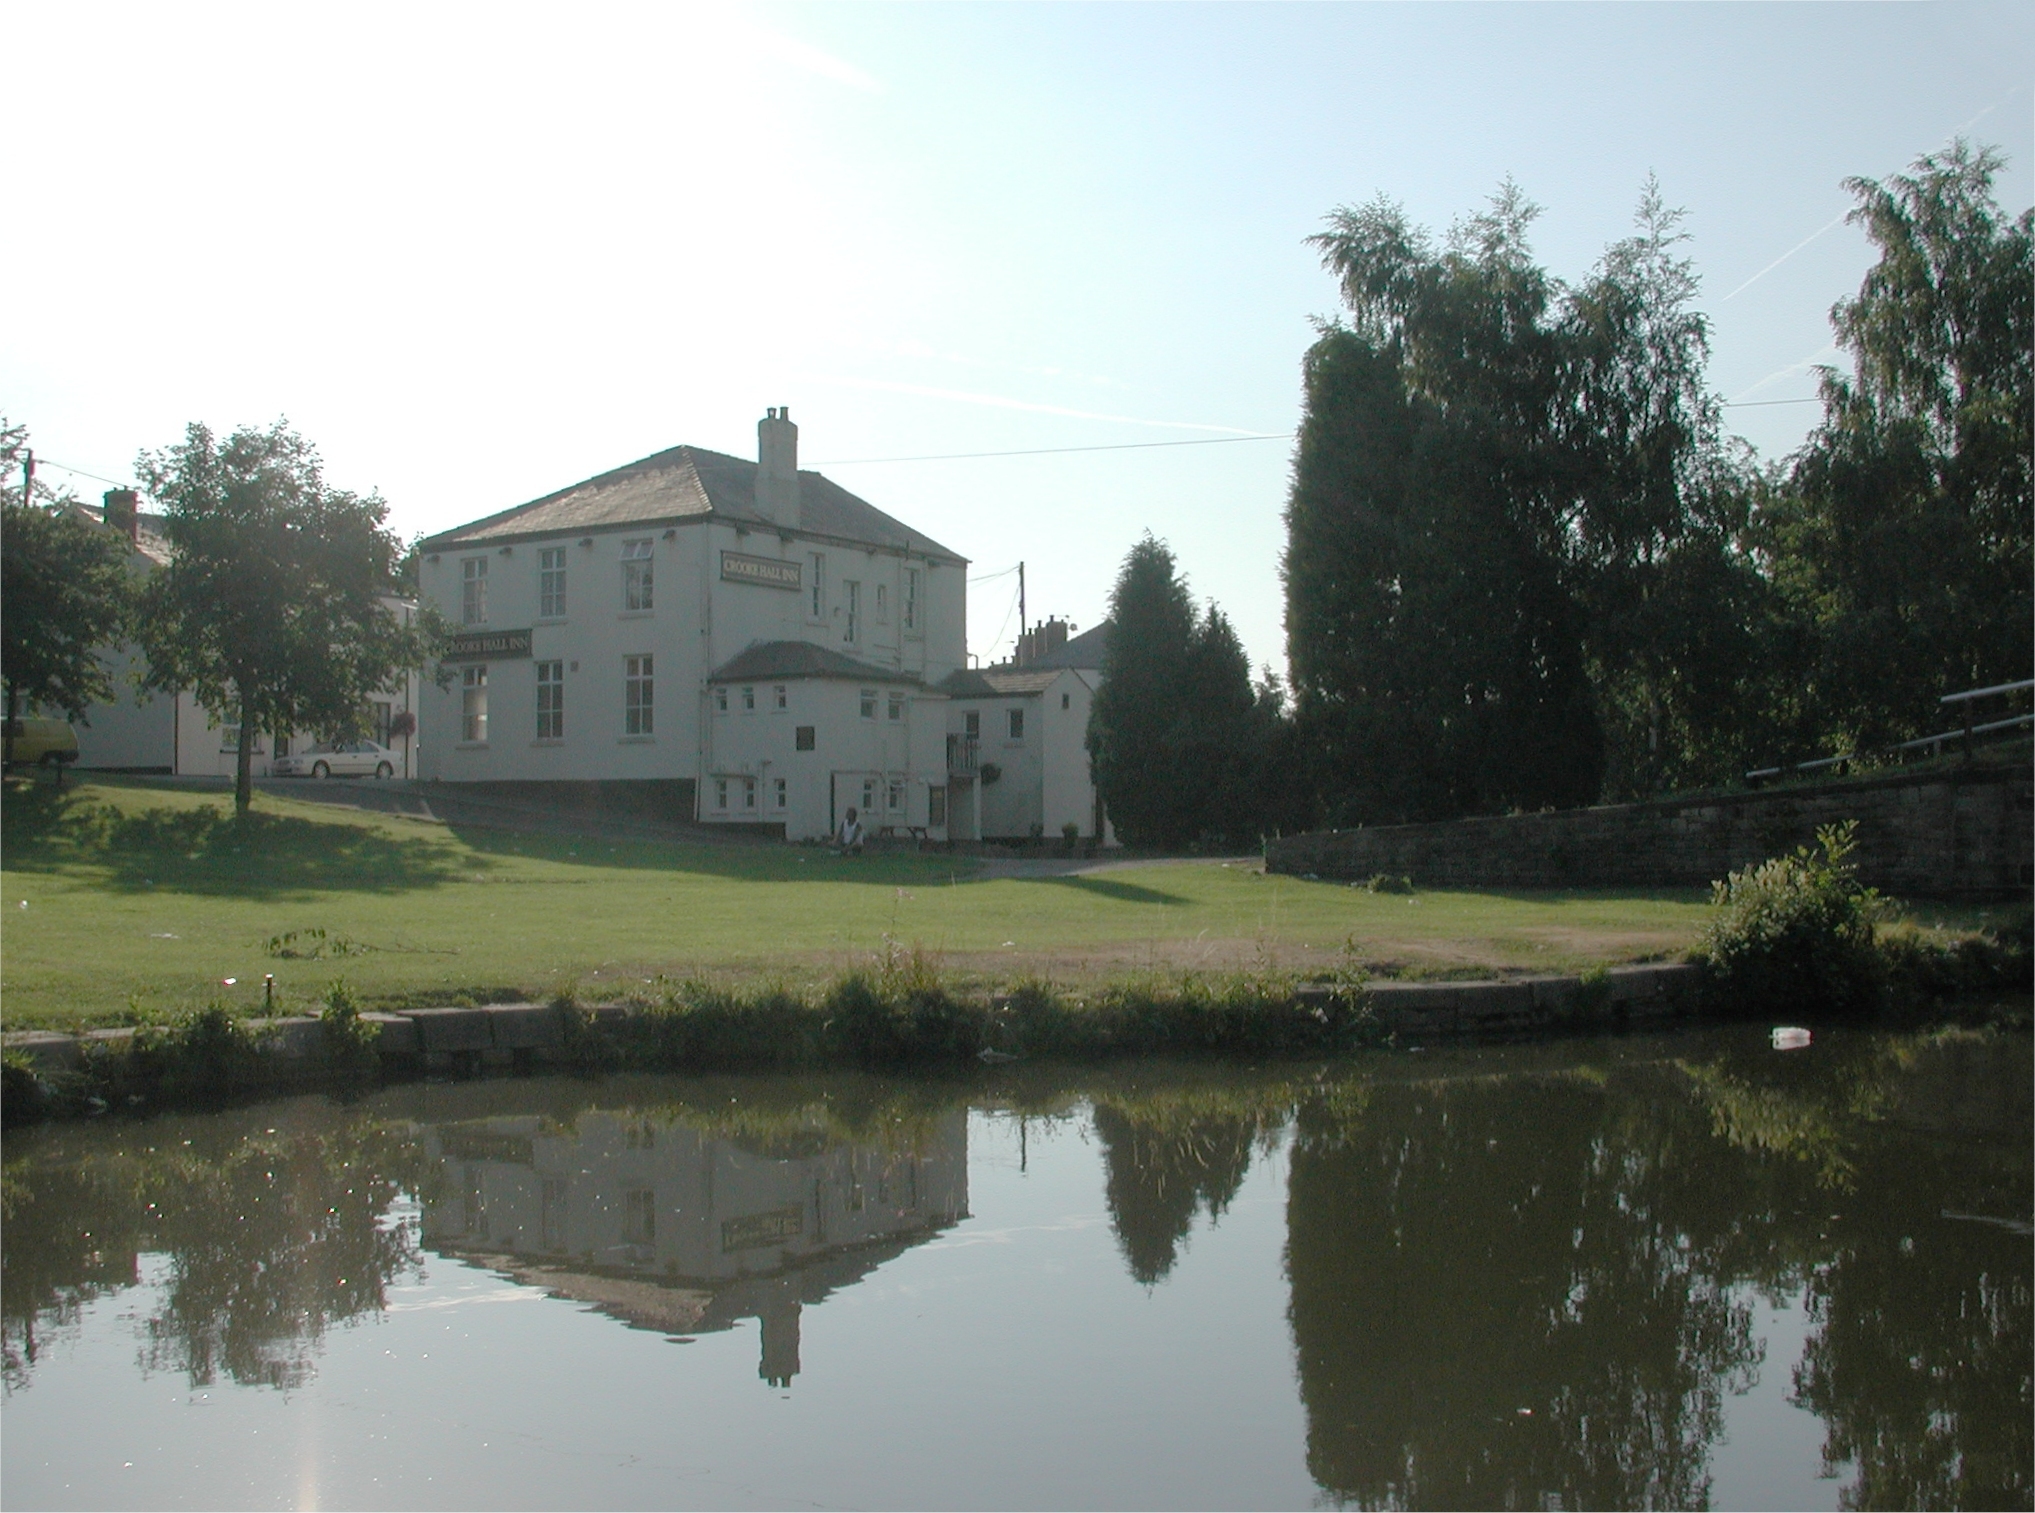
The Crooke Hall Inn at Crooke Bridge No 47. Leeds and Liverpool Canal.

Crooke Bridge No 47. Leeds and Liverpool Canal.

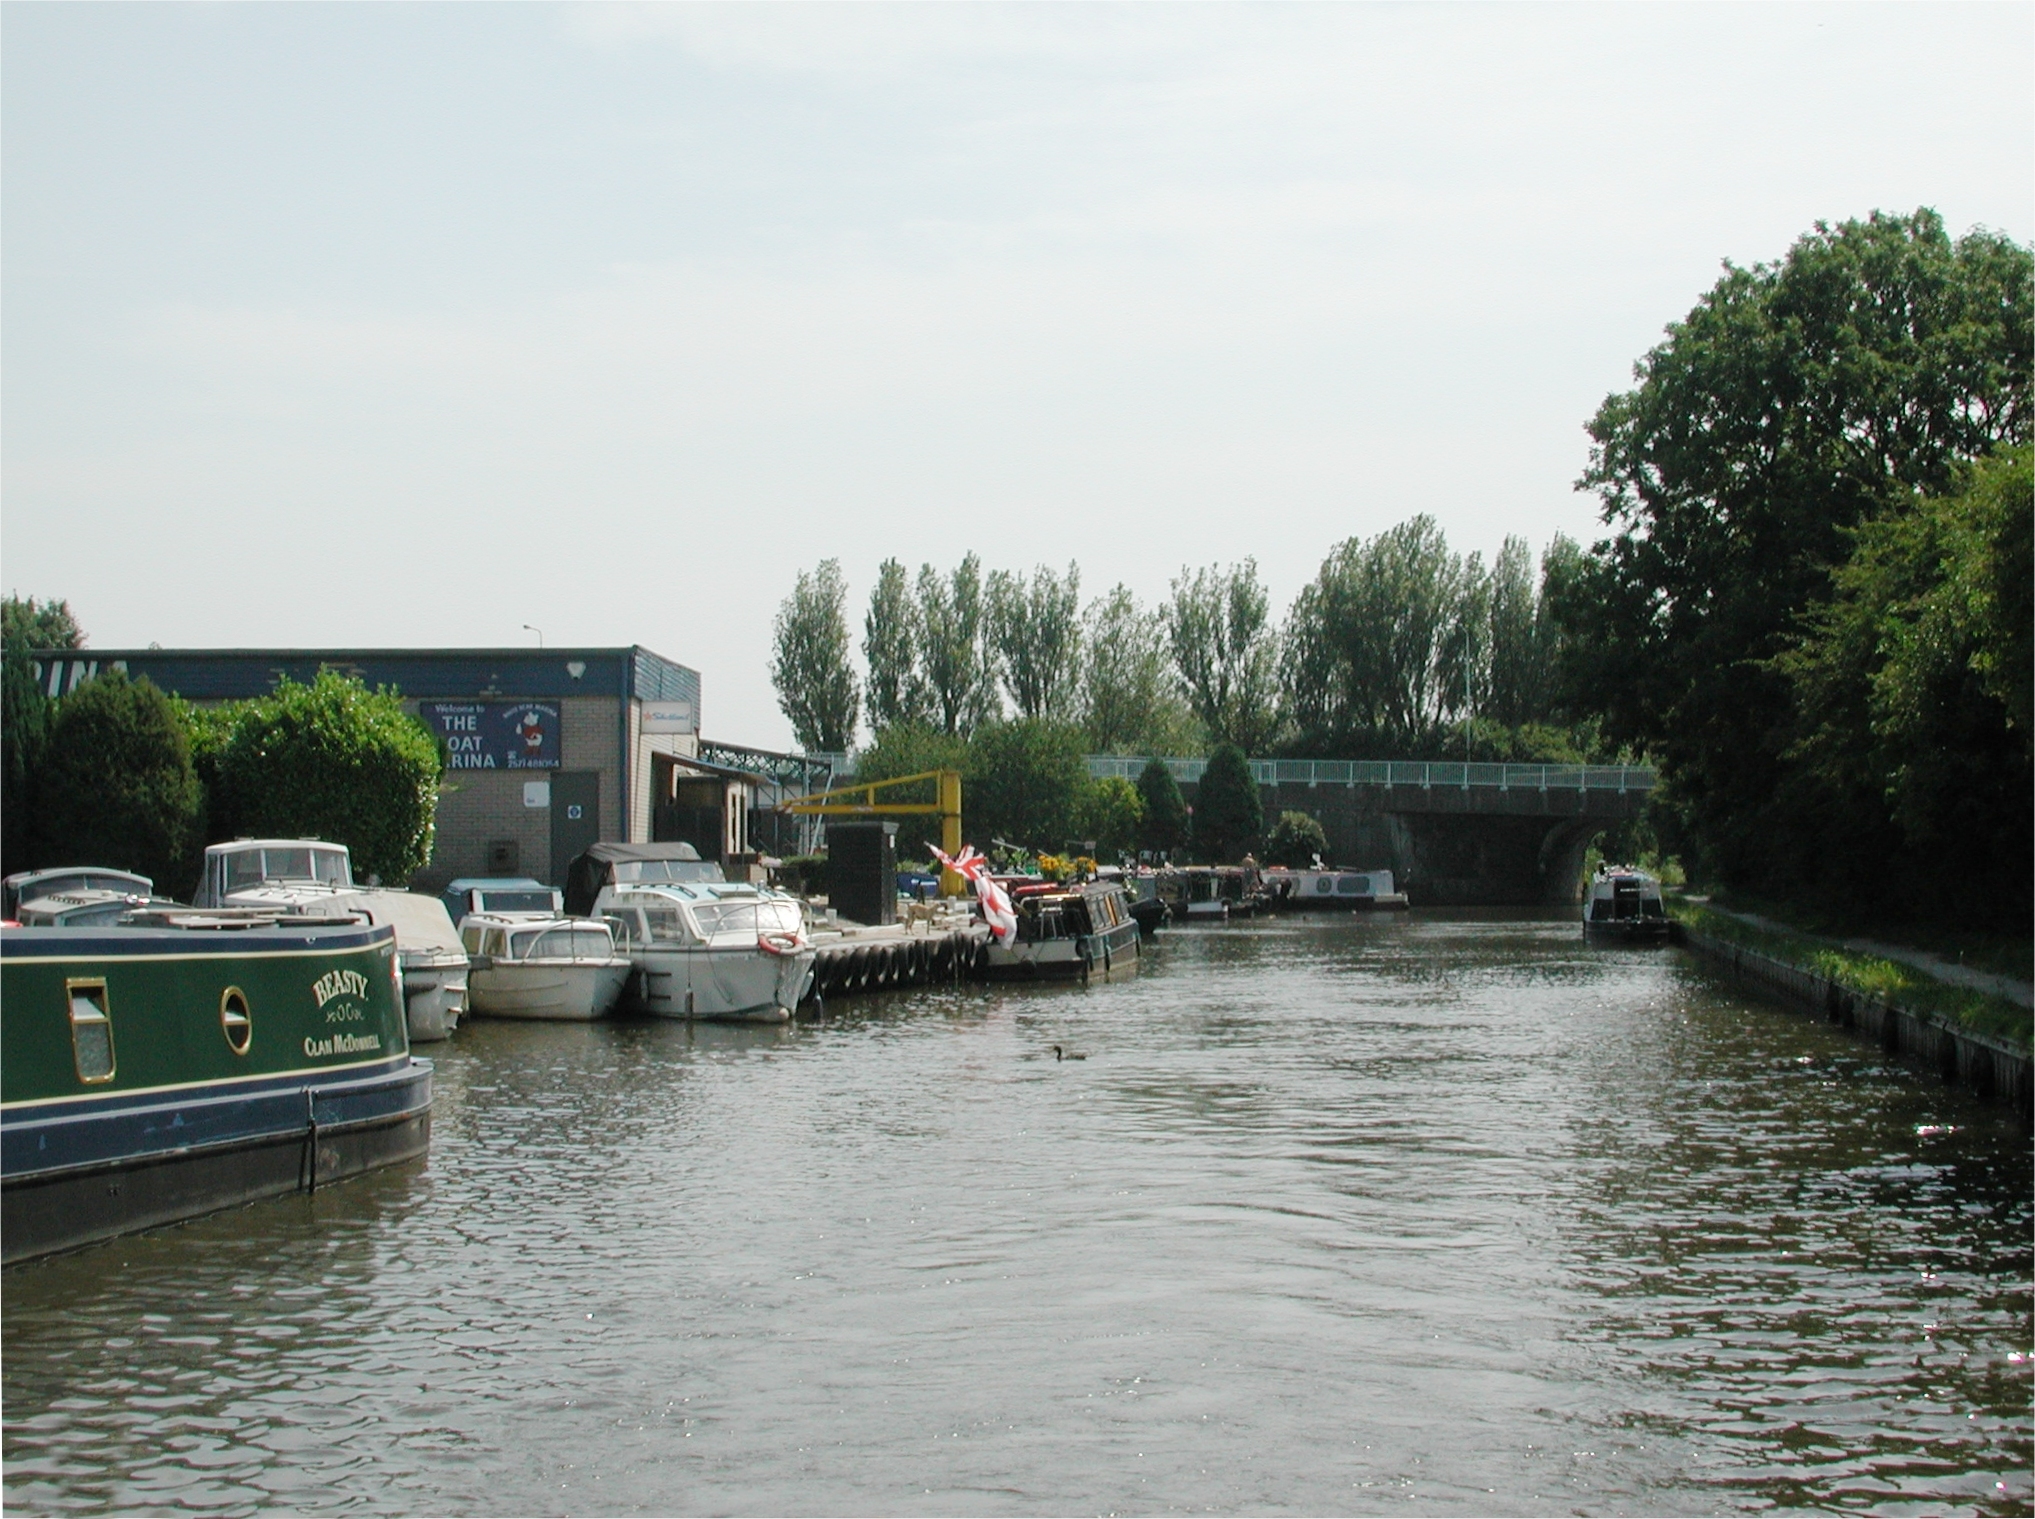
Crooke Marina. Leeds and Liverpool Canal.

The now gateless, due to subsidence Crooke Lock. Leeds and Liverpool Canal.

Martland Mill Bridge No 49. Leeds and Liverpool Canal.
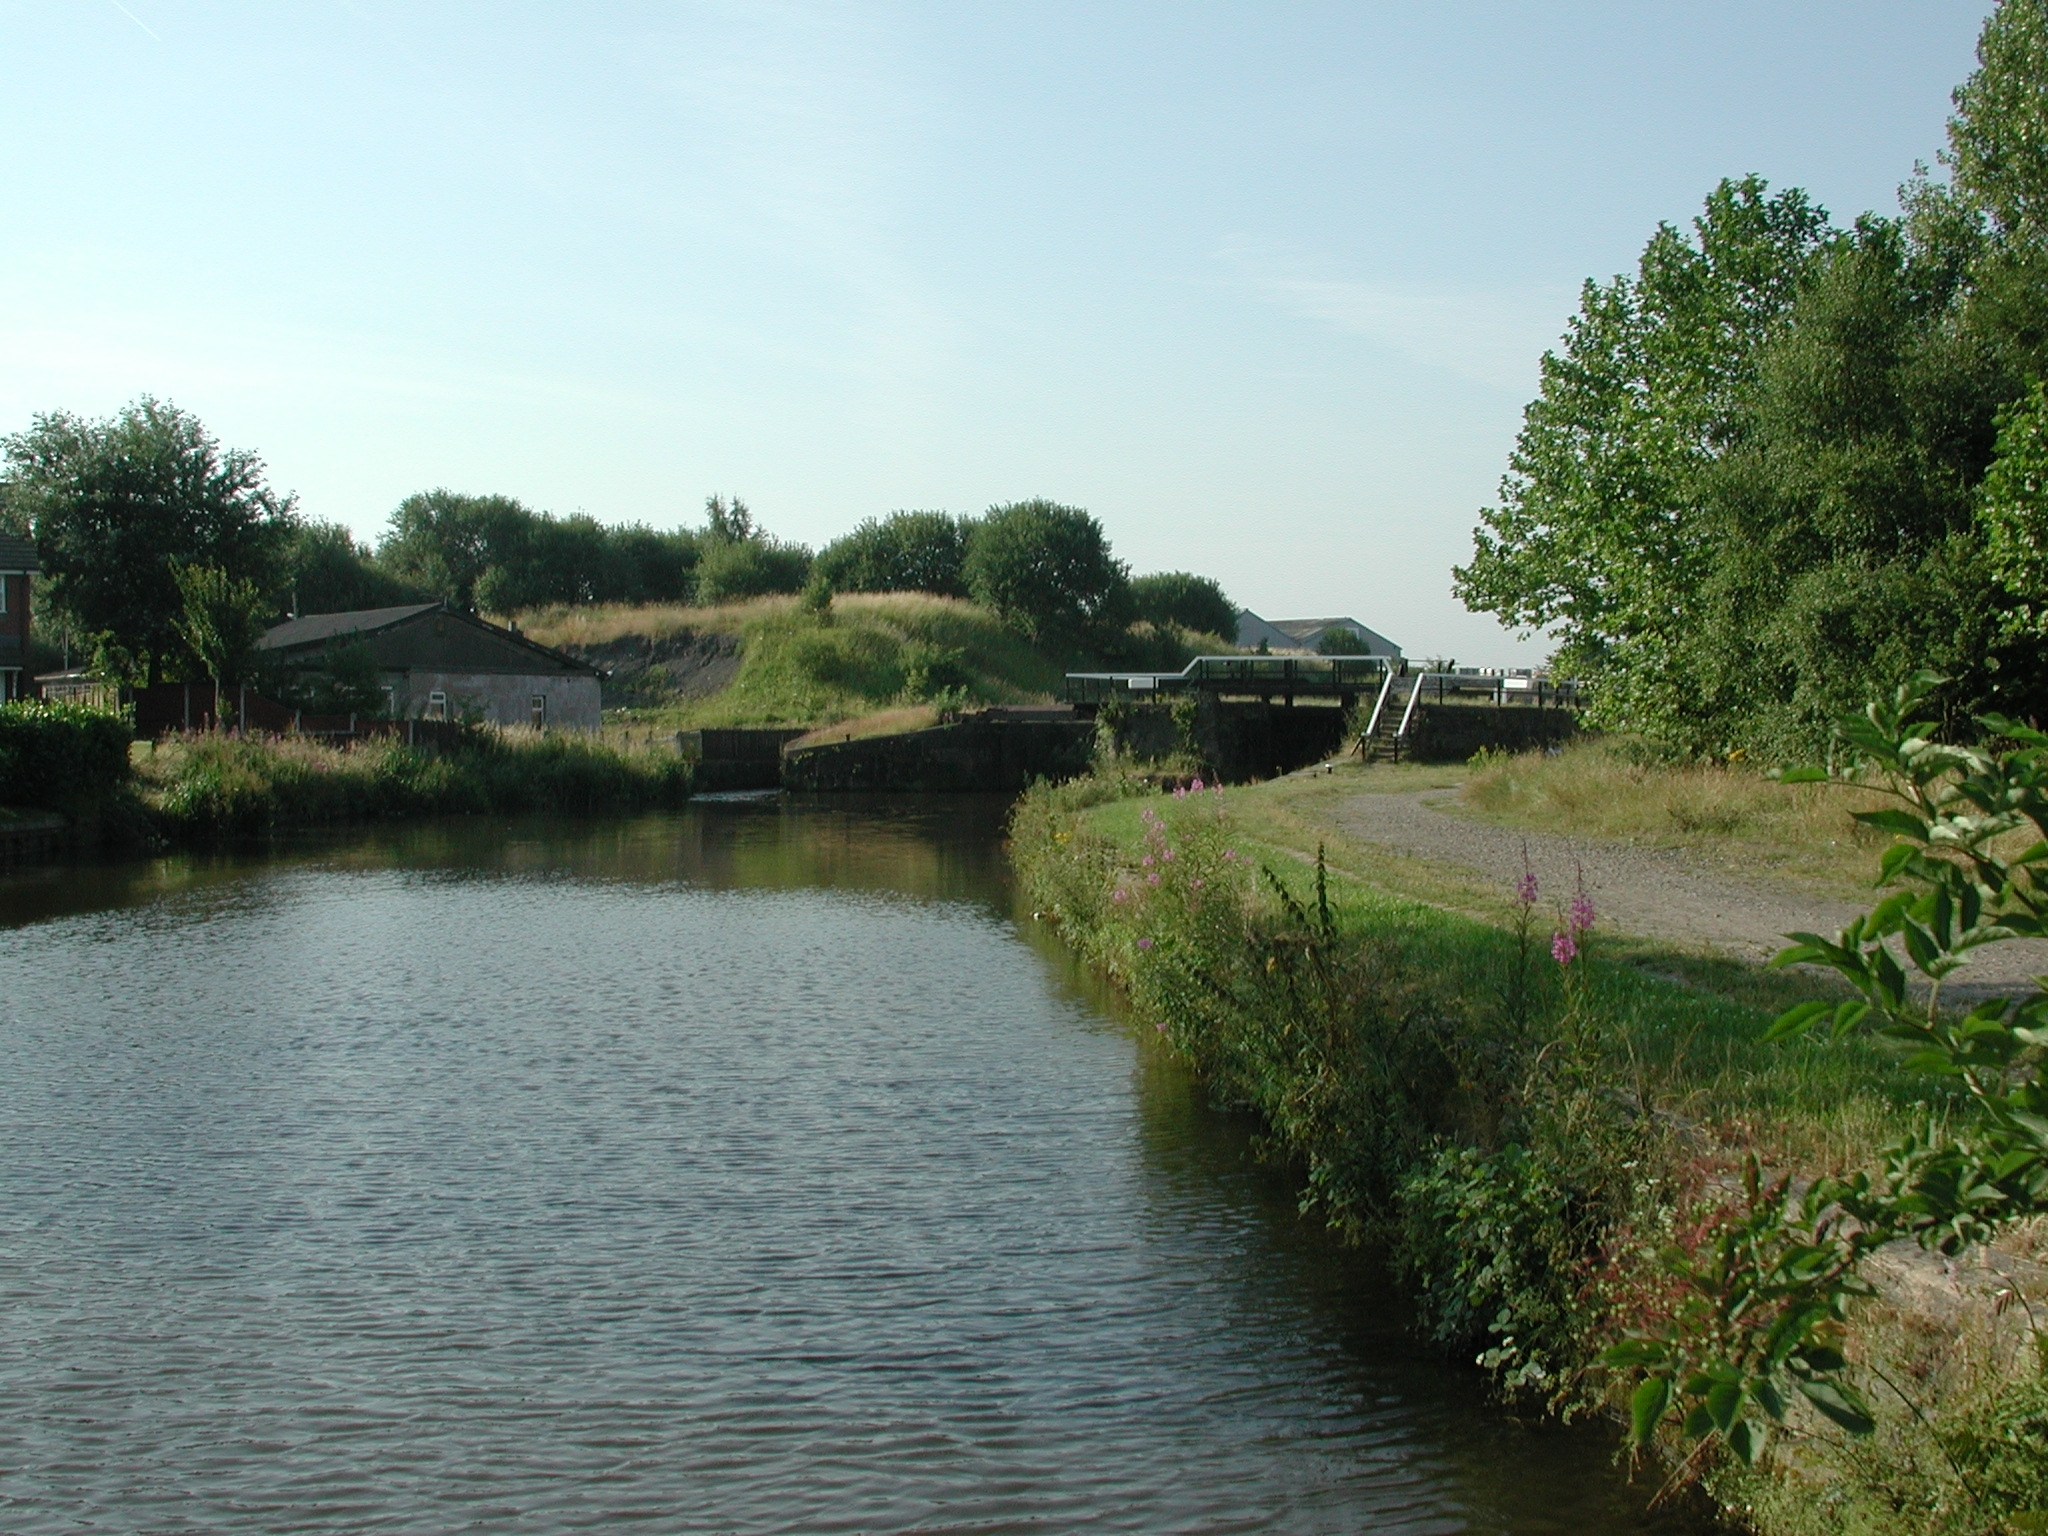
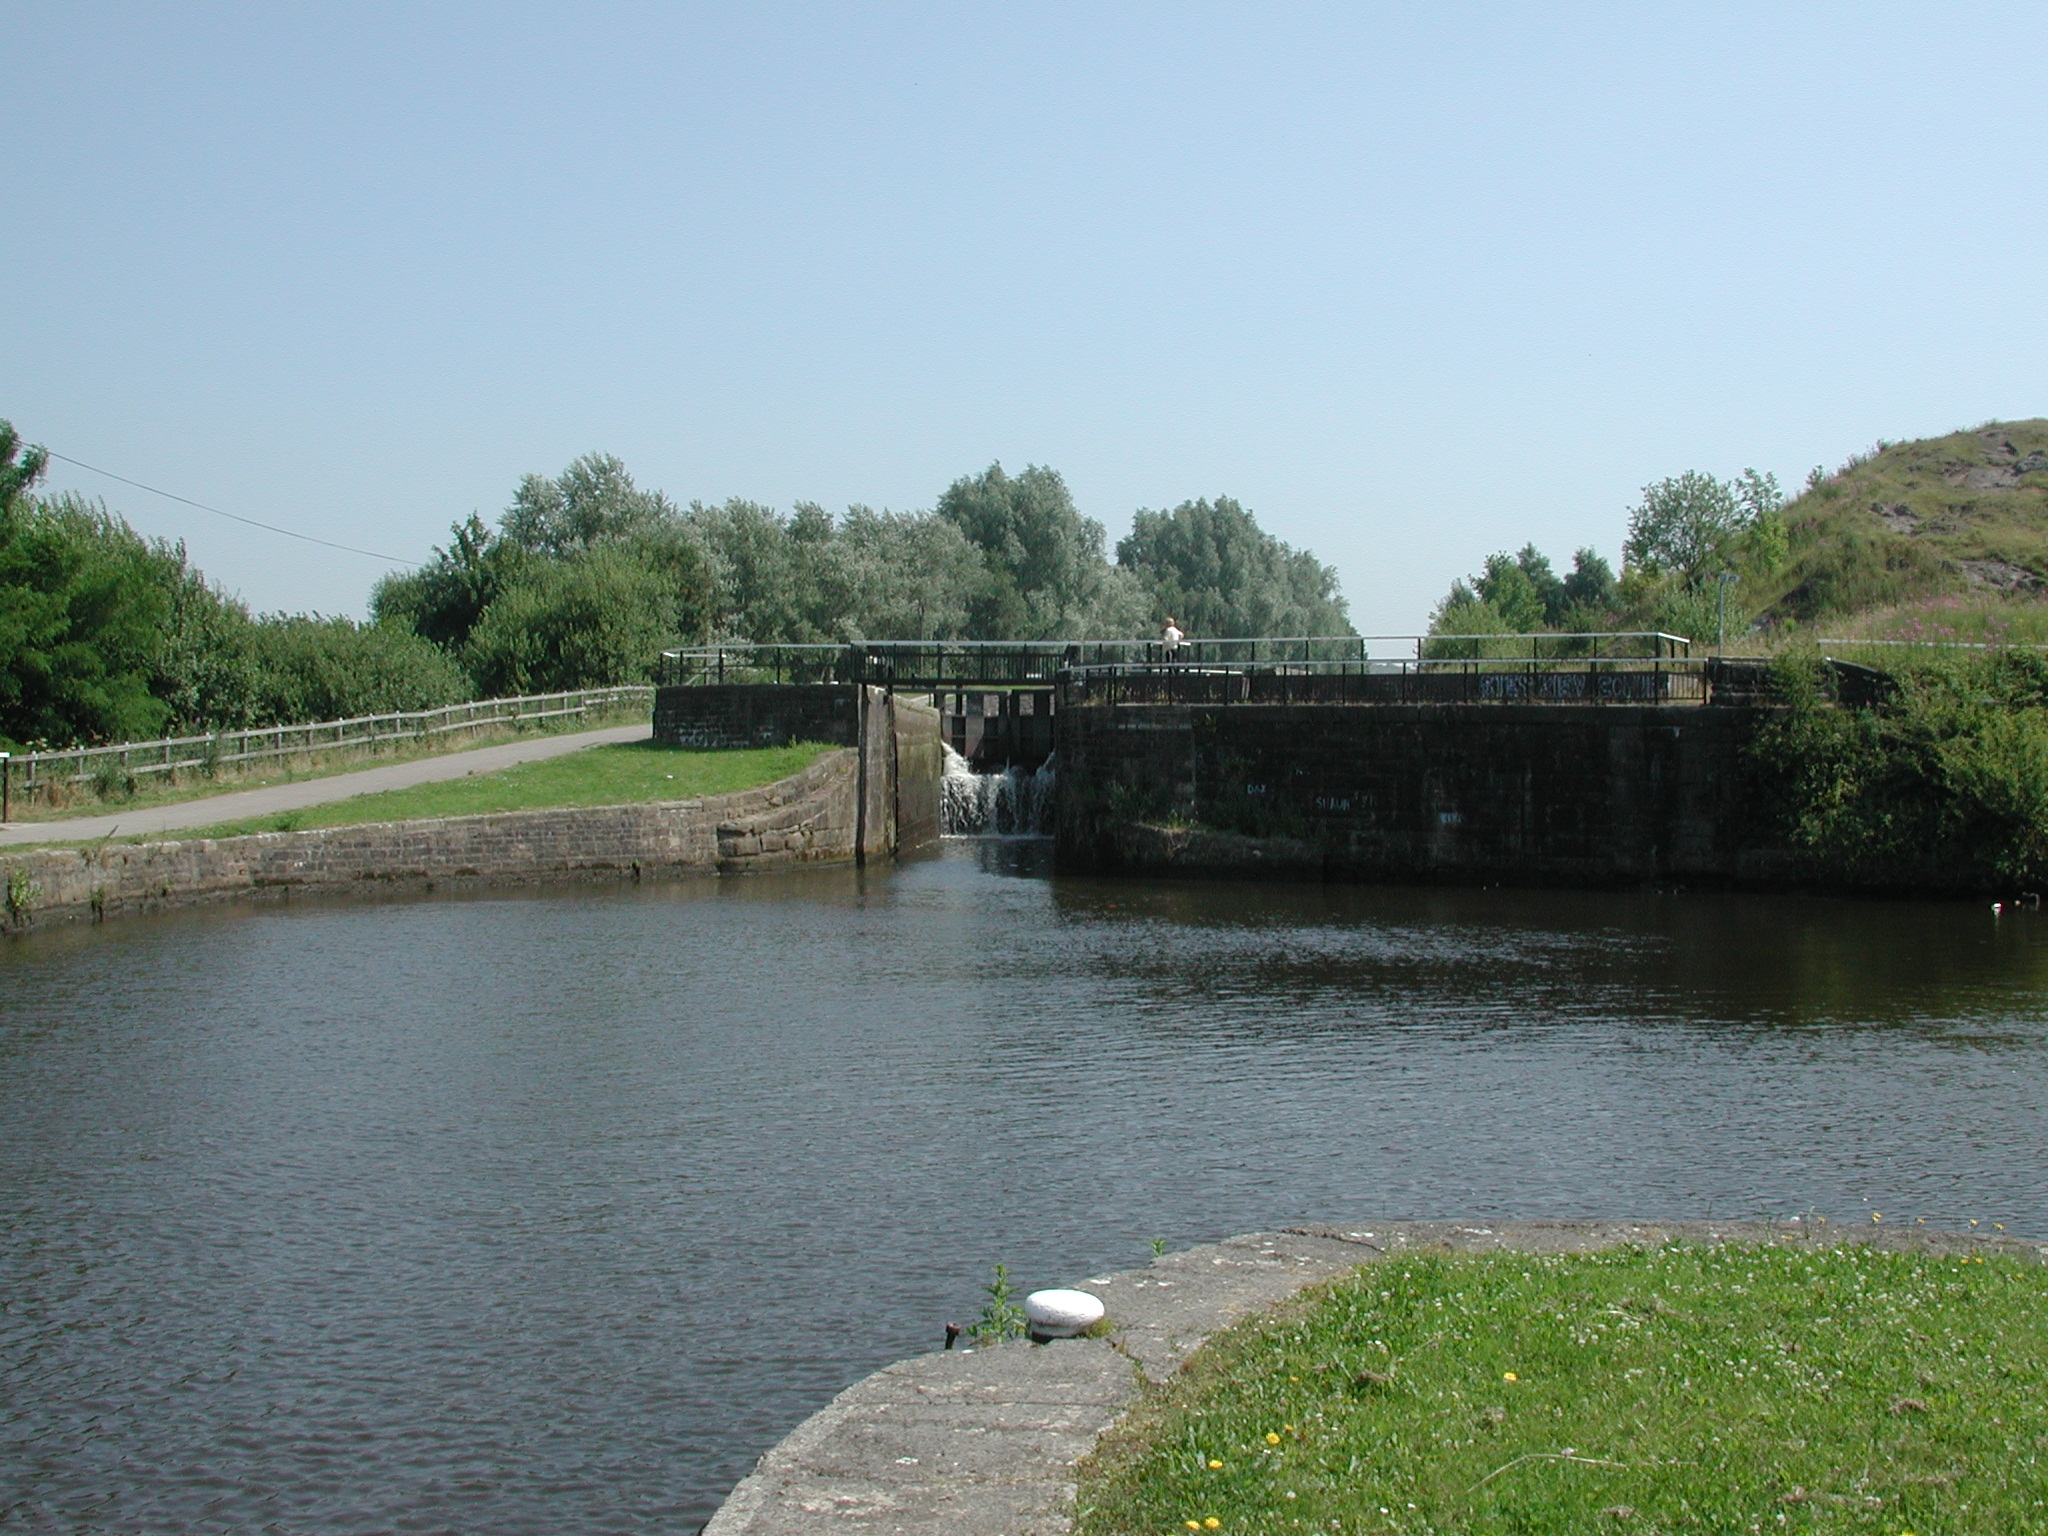
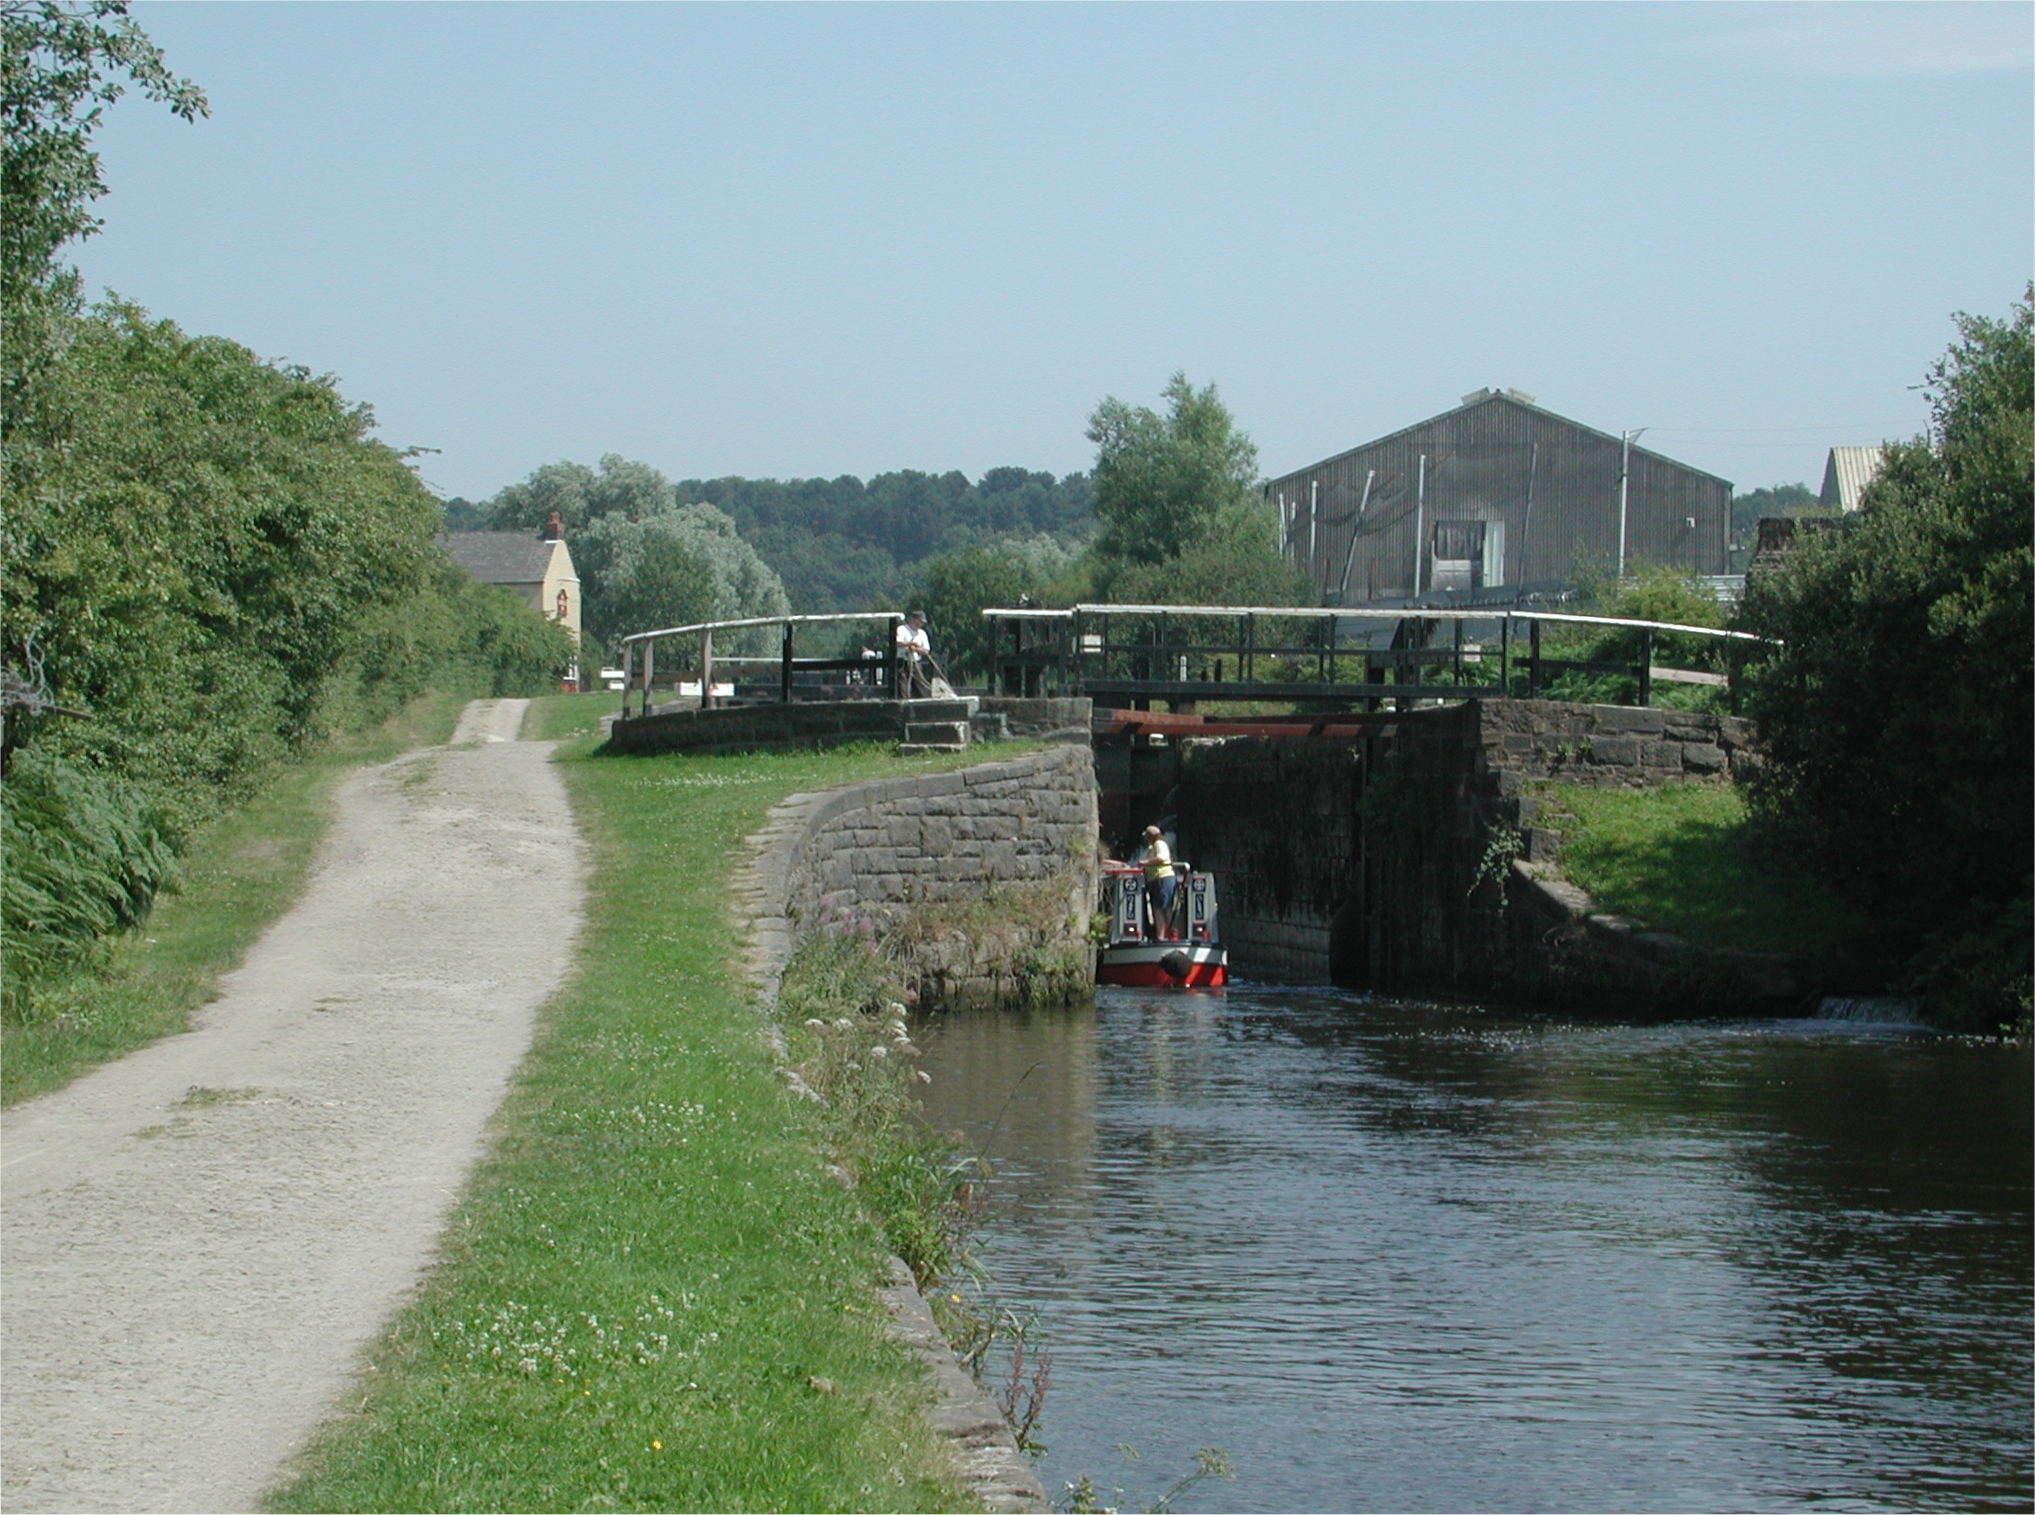
Ell Meadow Lock No 89. Leeds and Liverpool Canal.

Ell Meadow Lock No 89. The disused lock of the pair is now at a lower level due
to subsidence. Leeds and Liverpool Canal.

Ell Meadow Lock No 89. Leeds and Liverpool Canal.

Railway Bridge No 49 A. Leeds and Liverpool Canal.

Flashes below Pagefield Lock No 88 are yet more reminders of mining subsidence.
Leeds and Liverpool Canal.
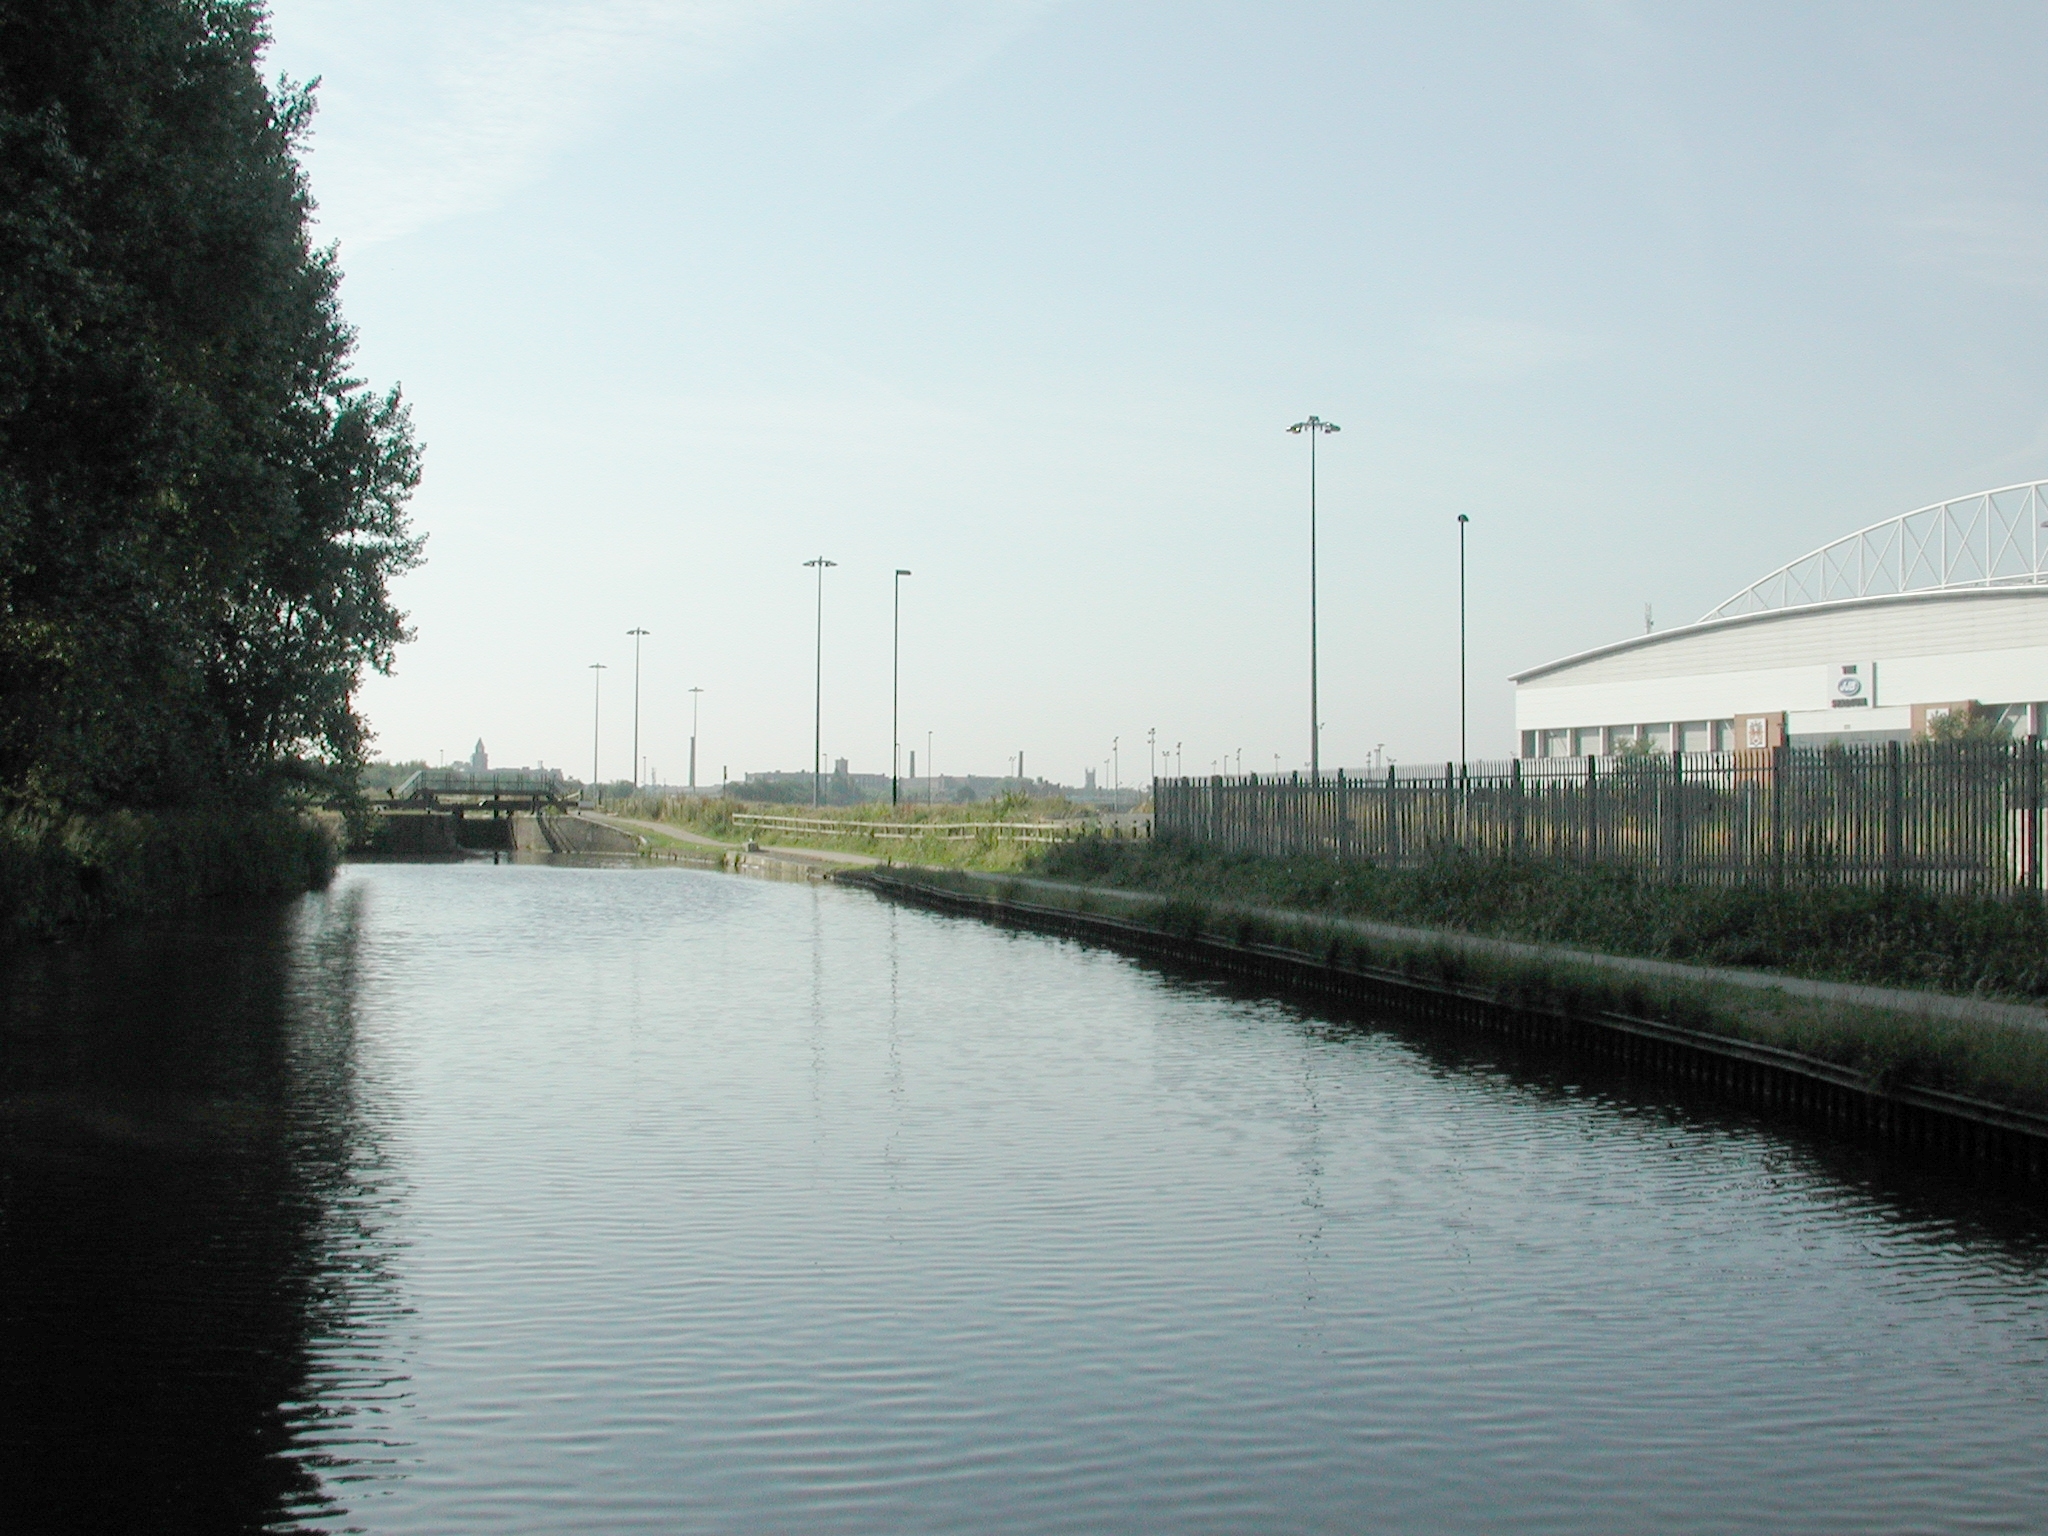
Pagefield Lock No 88 and new stadium. Leeds and Liverpool Canal.
Pagefield Lock No 88. Leeds and Liverpool Canal.

Pagefield Lock No 88. Leeds and Liverpool Canal.

Footbridge No 49 B. Leeds and Liverpool Canal.

Railway Bridge No 49 C. Leeds and Liverpool Canal.

Seven Stars Bridge No 50. Wigan. Leeds and Liverpool Canal.
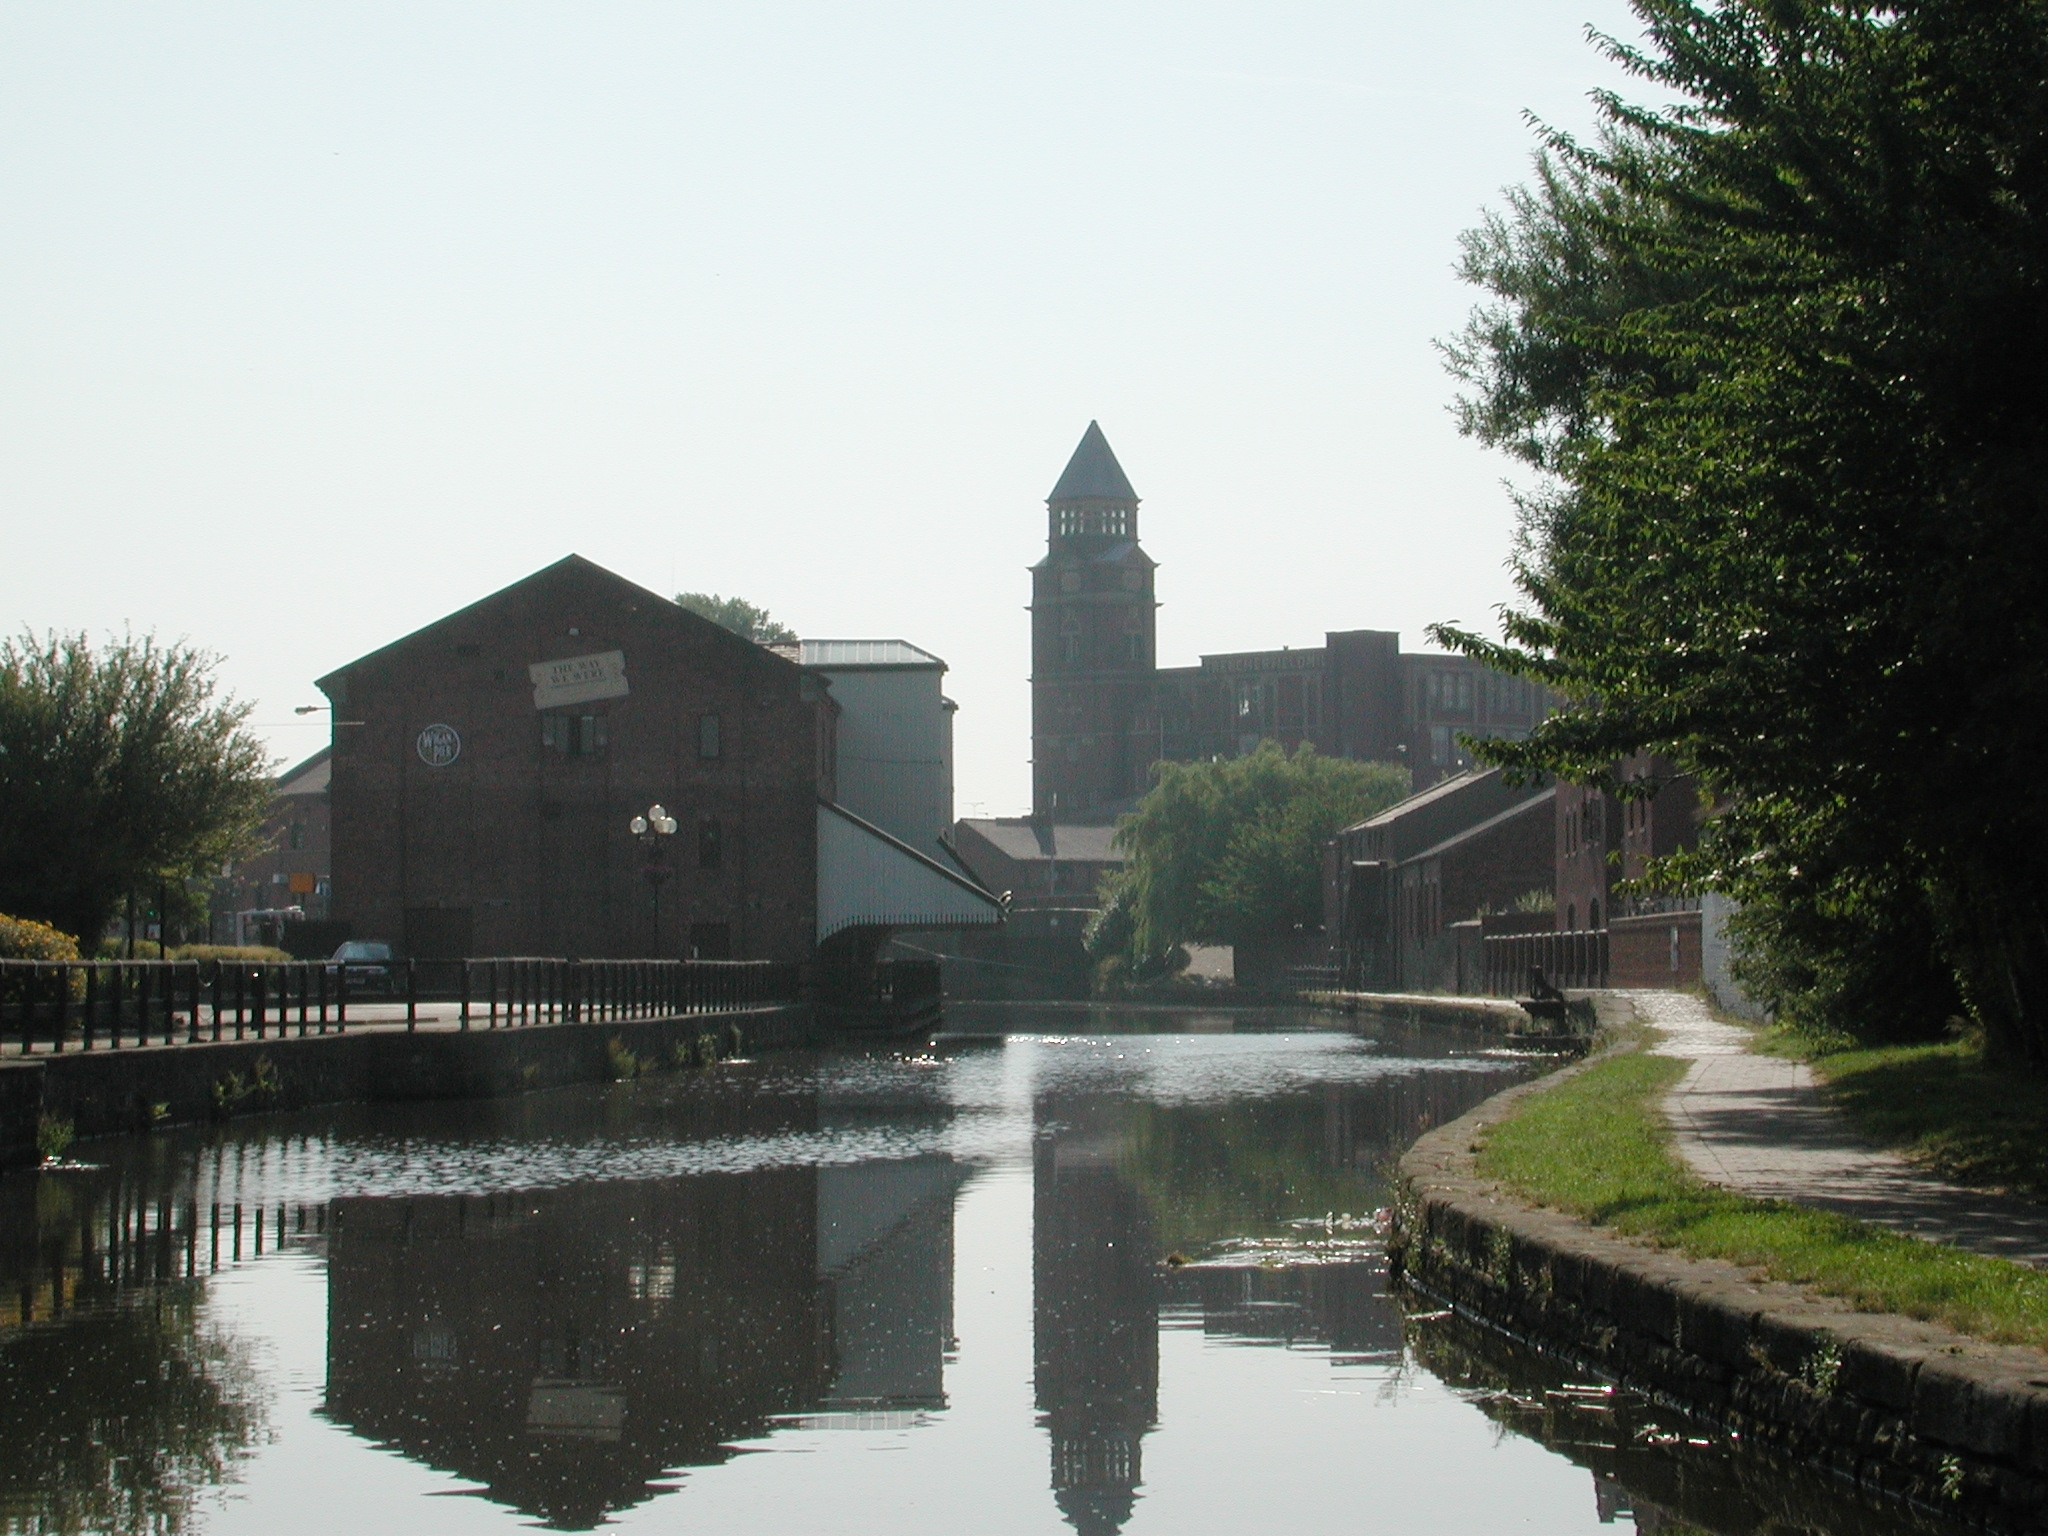
The Wigan Pier complex. Leeds and Liverpool Canal.

Wigan Pier! Leeds and Liverpool Canal.

The Wigan Pier complex. Basin straight on, canal continues to right under
Pottery Changeline Bridge No 51. Leeds and Liverpool Canal.

The Wigan Pier complex. Leeds and Liverpool Canal.

The Wigan Pier complex. The basin. Leeds and Liverpool Canal.

The Wigan Pier complex. Just about to turn under Pottery Changeline Bridge No
51. Leeds and Liverpool Canal.

Trencherfield Mill. Wigan Bottom Lock No 87 in the distance. Leeds and Liverpool
Canal.

Wigan Bottom Lock No 87. Still working dry dock beside. Leeds and Liverpool
Canal.

Wigan Bottom Lock No 87. A pair of barges are just swapping over in the dry
dock. Leeds and Liverpool Canal.

Wigan Bottom Lock No 87. Leeds and Liverpool Canal.

Wigan Bottom Lock No 87 and dry dock. Leeds and Liverpool Canal.

Henshurst Bridge No 52 and Lock No 86. Wigan Flight. Leeds and Liverpool Canal.

Looking back at Wigan Bottom Lock No 87 and dry dock. Wigan Flight. Leeds and
Liverpool Canal.

Henshurst Bridge No 52 and Lock No 86. Wigan Flight. Leeds and Liverpool Canal.

Looking up from Lock No 86. Wigan Flight. The Leigh Branch starts to the
right, just beyond the footbridge. Leeds and Liverpool Canal.

Wigan Flight. The start of the Leigh Branch. Leeds and Liverpool Canal.

Looking up to Lock No 85, the first of the 60ft long locks. Wigan Flight. Leeds
and Liverpool Canal.

Lock No 85. Wigan Flight. Leeds and Liverpool Canal.

Lock No 85. Wigan Flight. Leeds and Liverpool Canal.

Looking up from Lock No 85. Wigan Flight. Leeds and Liverpool Canal.

Britannia Bridge No 53. Lock No 84. Wigan Flight. Leeds and Liverpool Canal.

Looking back down to Lock No 85. Wigan Flight. Leeds and Liverpool Canal.

Lock No 84 and Britannia Bridge No 53. Wigan Flight. Leeds and Liverpool Canal.

Lock No 84. Wigan Flight. Windlass rack mechanism to open bottom gates. Leeds
and Liverpool Canal.

Lock No 83. Wigan Flight. Leeds and Liverpool Canal.
Looking back at Lock No 84. Wigan Flight. Leeds and Liverpool Canal.

Lock No 83. Wigan Flight. Leeds and Liverpool Canal.

Lock No 83. Wigan Flight. Leeds and Liverpool Canal.

Lock No 82. Wigan Flight. Leeds and Liverpool Canal.

Leaving Lock No 83. Wigan Flight. Leeds and Liverpool Canal.

Looking up at Lock No 81. Wigan Flight. Leeds and Liverpool Canal.

Lock 82. Wigan Flight. Leeds and Liverpool Canal.
Lock No 81. Wigan Flight. Leeds and Liverpool Canal.

Lock 81. Wigan Flight. Leeds and Liverpool Canal.
Lock No 80. Looking down at Lock 81. Wigan Flight. Leeds and Liverpool Canal.

Lock No 79. Wigan Flight. Leeds and Liverpool Canal.

Rose Bridge No 54 and Lock No 78. Wigan Flight. Leeds and Liverpool Canal.

Rose Bridge No 54 and Lock No 78. Wigan Flight. Leeds and Liverpool Canal.

Looking up at Peel Hall Bridge No 55, Lock No 77, Lock No 76 and Lock No 75.
Wigan Flight. Leeds and Liverpool Canal.

Peel Hall Bridge No 55 and Lock No 77. Wigan Flight. Leeds and Liverpool Canal.

Lock No 76. Wigan Flight. Leeds and Liverpool Canal.
Looking down at Locks No 77 and 78 from Lock No 76. Wigan Flight. Leeds and
Liverpool Canal.

Lock No 76. Wigan Flight. Leeds and Liverpool Canal.

Lock No 76. Wigan Flight. Leeds and Liverpool Canal.
Looking up at Lock No 75 from Lock No 76. Wigan Flight. Leeds and Liverpool
Canal.

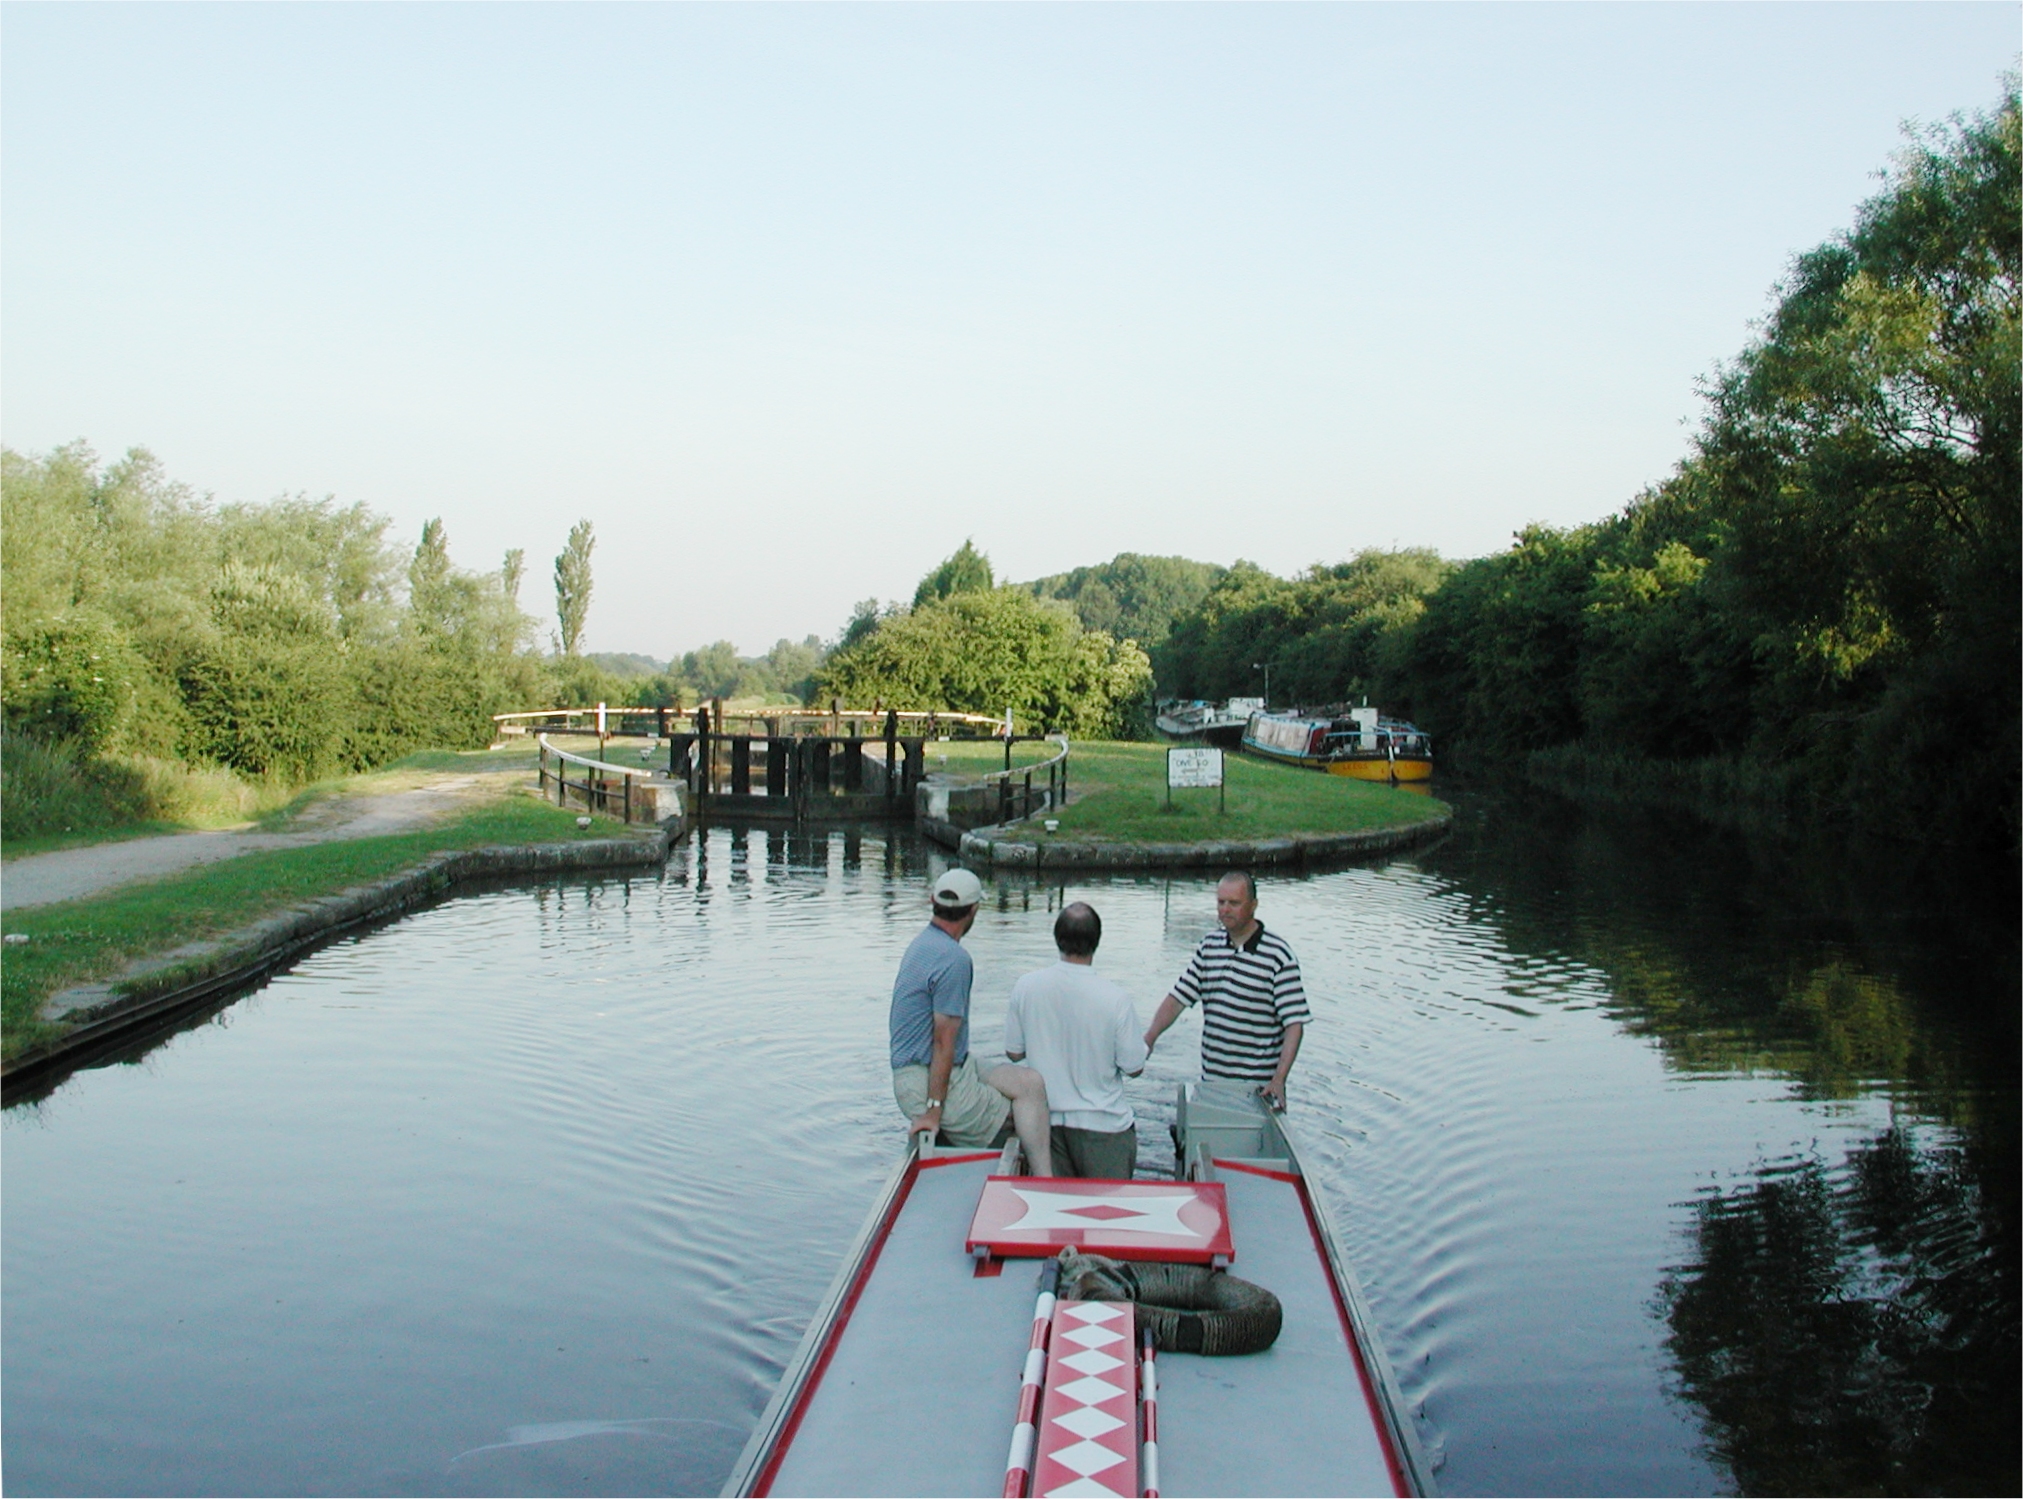
David Long, Molly Mockford and Greg Chapman. Wigan Flight. Leeds and Liverpool
Canal.
Lock No 74. Wigan Flight. Leeds and Liverpool Canal.

Looking down at Lock No 73. Wigan Flight. Leeds and Liverpool Canal.
Lock No 72. Wigan Flight. Leeds and Liverpool Canal.
Lock No 71. Wigan Flight. Leeds and Liverpool Canal.

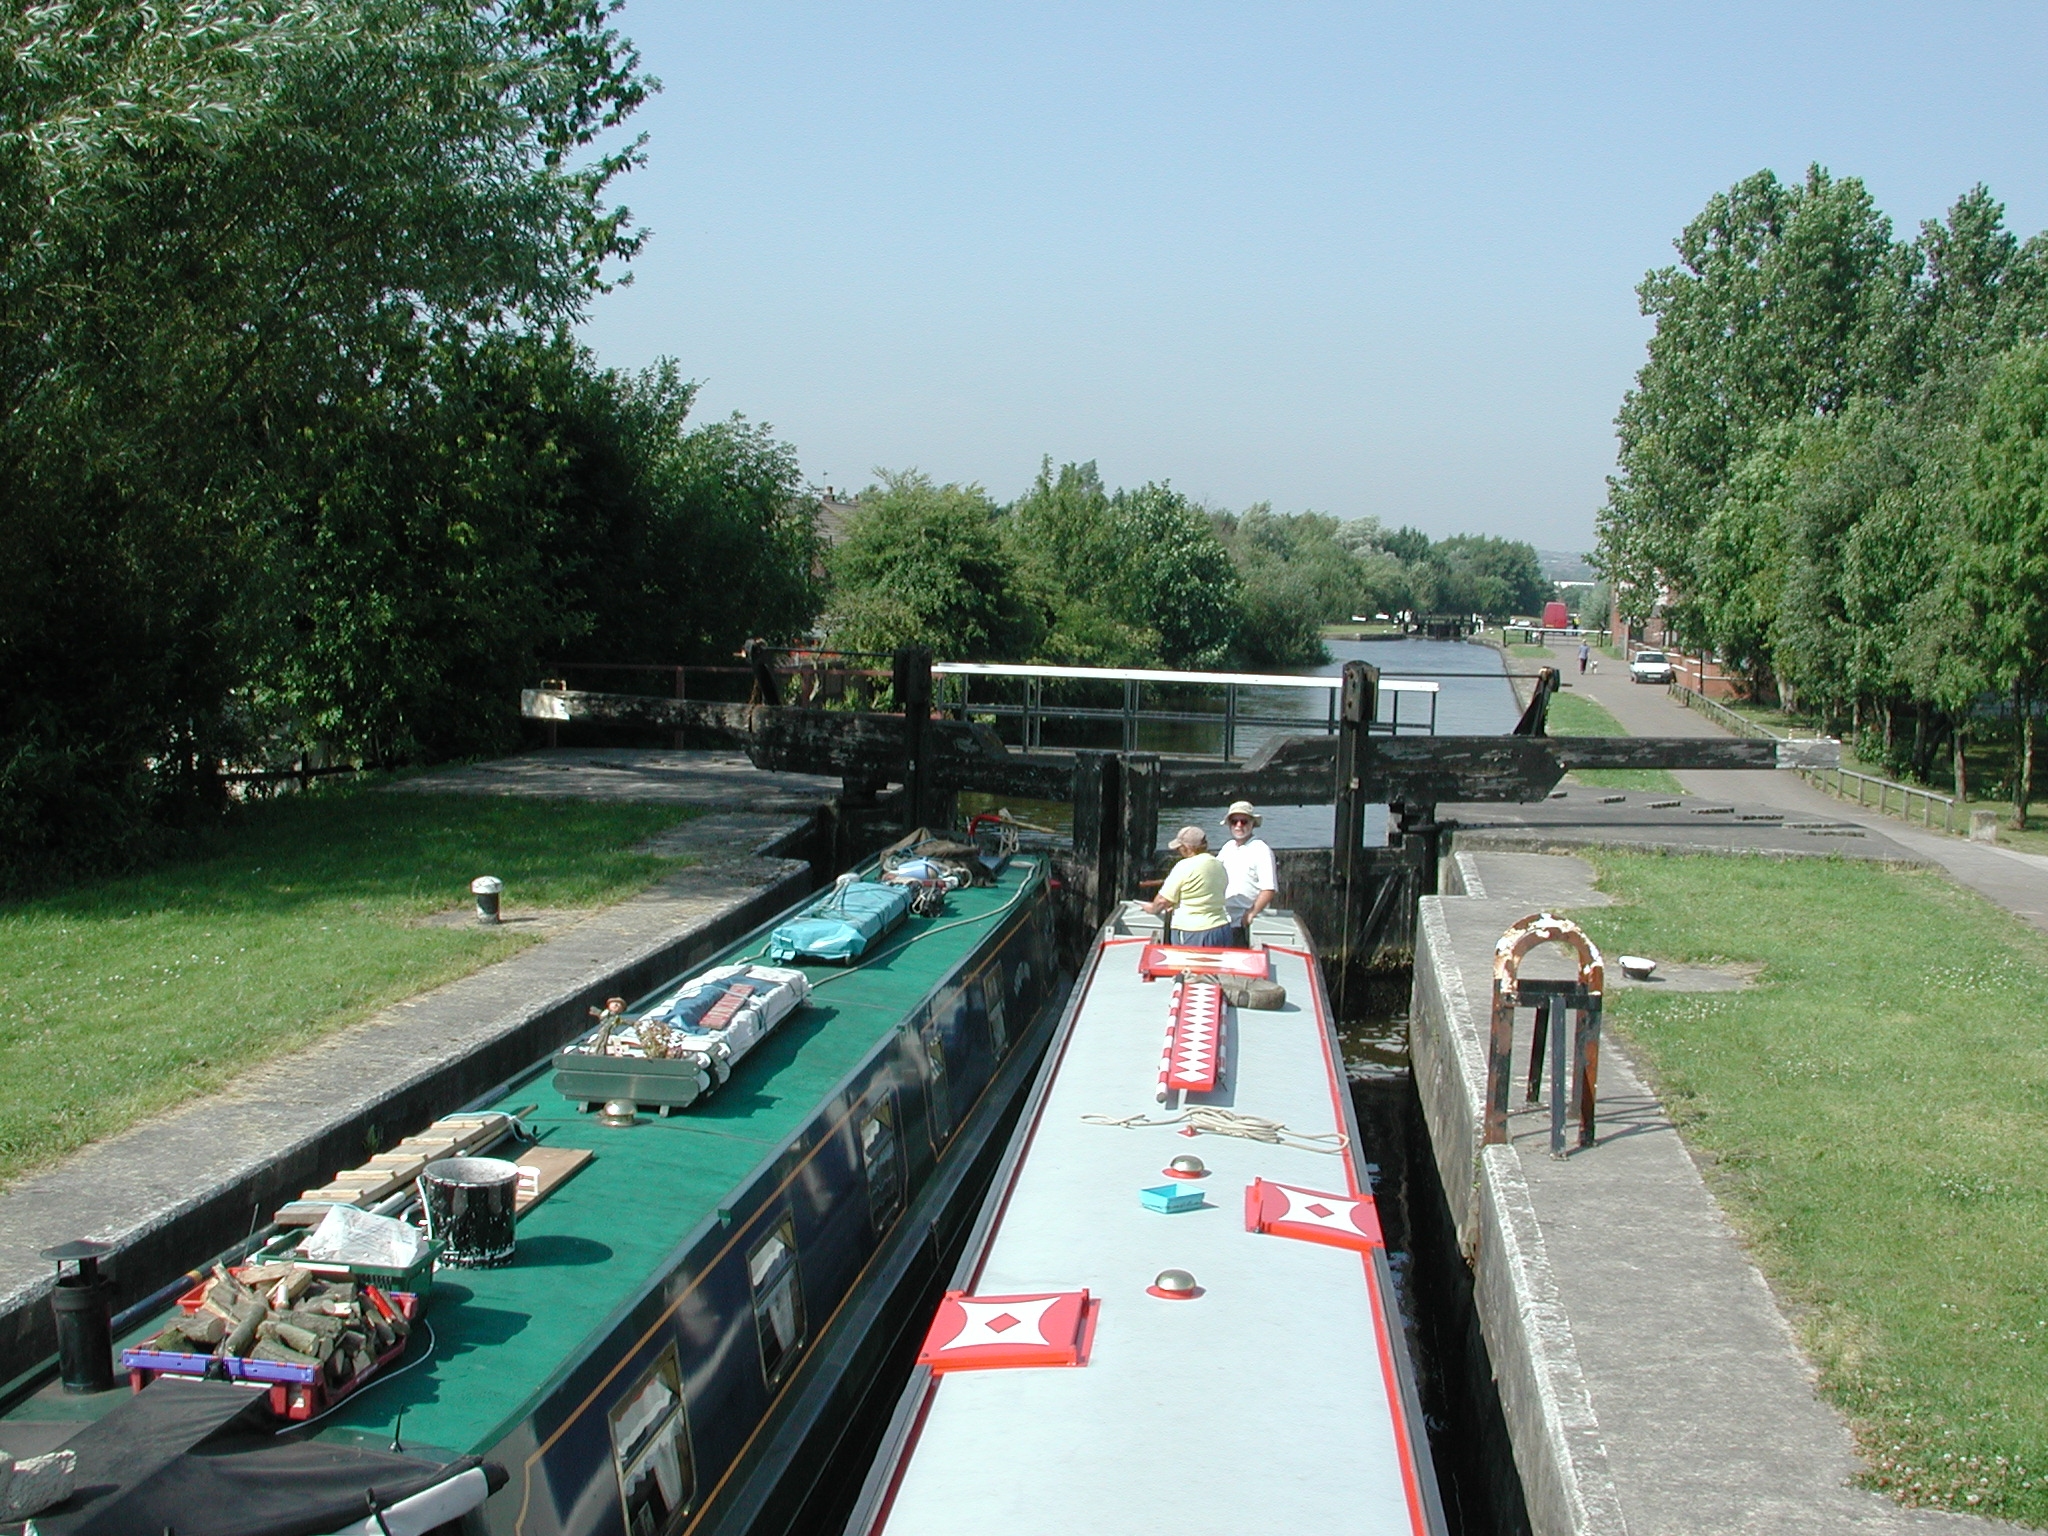
NB Earnest and NB Verity Ann leave Lock No 71. Wigan Flight. Leeds and Liverpool
Canal.

Looking back at Lock No 71. Wigan Flight. Leeds and Liverpool Canal.

Lock No 70. Wigan Flight. Leeds and Liverpool Canal.

Looking up at Kirkless Hall Bridge No 56 and Lock No 69 from Lock No 70. David
Long keeps a watchful eye. Wigan Flight. Leeds and Liverpool Canal.

Looking back at Lock No 70. Wigan Flight. Leeds and Liverpool Canal.
Looking up at Lock No 68. Wigan Flight. Leeds and Liverpool Canal.

Looking up at he Commercial Inn and Cale Lane Bridge No 57 from Lock No 67.
Wigan Flight. Leeds and Liverpool Canal.

Cale Lane Bridge No 57. Wigan Flight. Leeds and Liverpool Canal.

Lock No 66. Wigan Flight. Leeds and Liverpool Canal.

Looking back at Cale Lane Bridge No 57 and Lock No 67. Wigan Flight. Leeds and
Liverpool Canal.
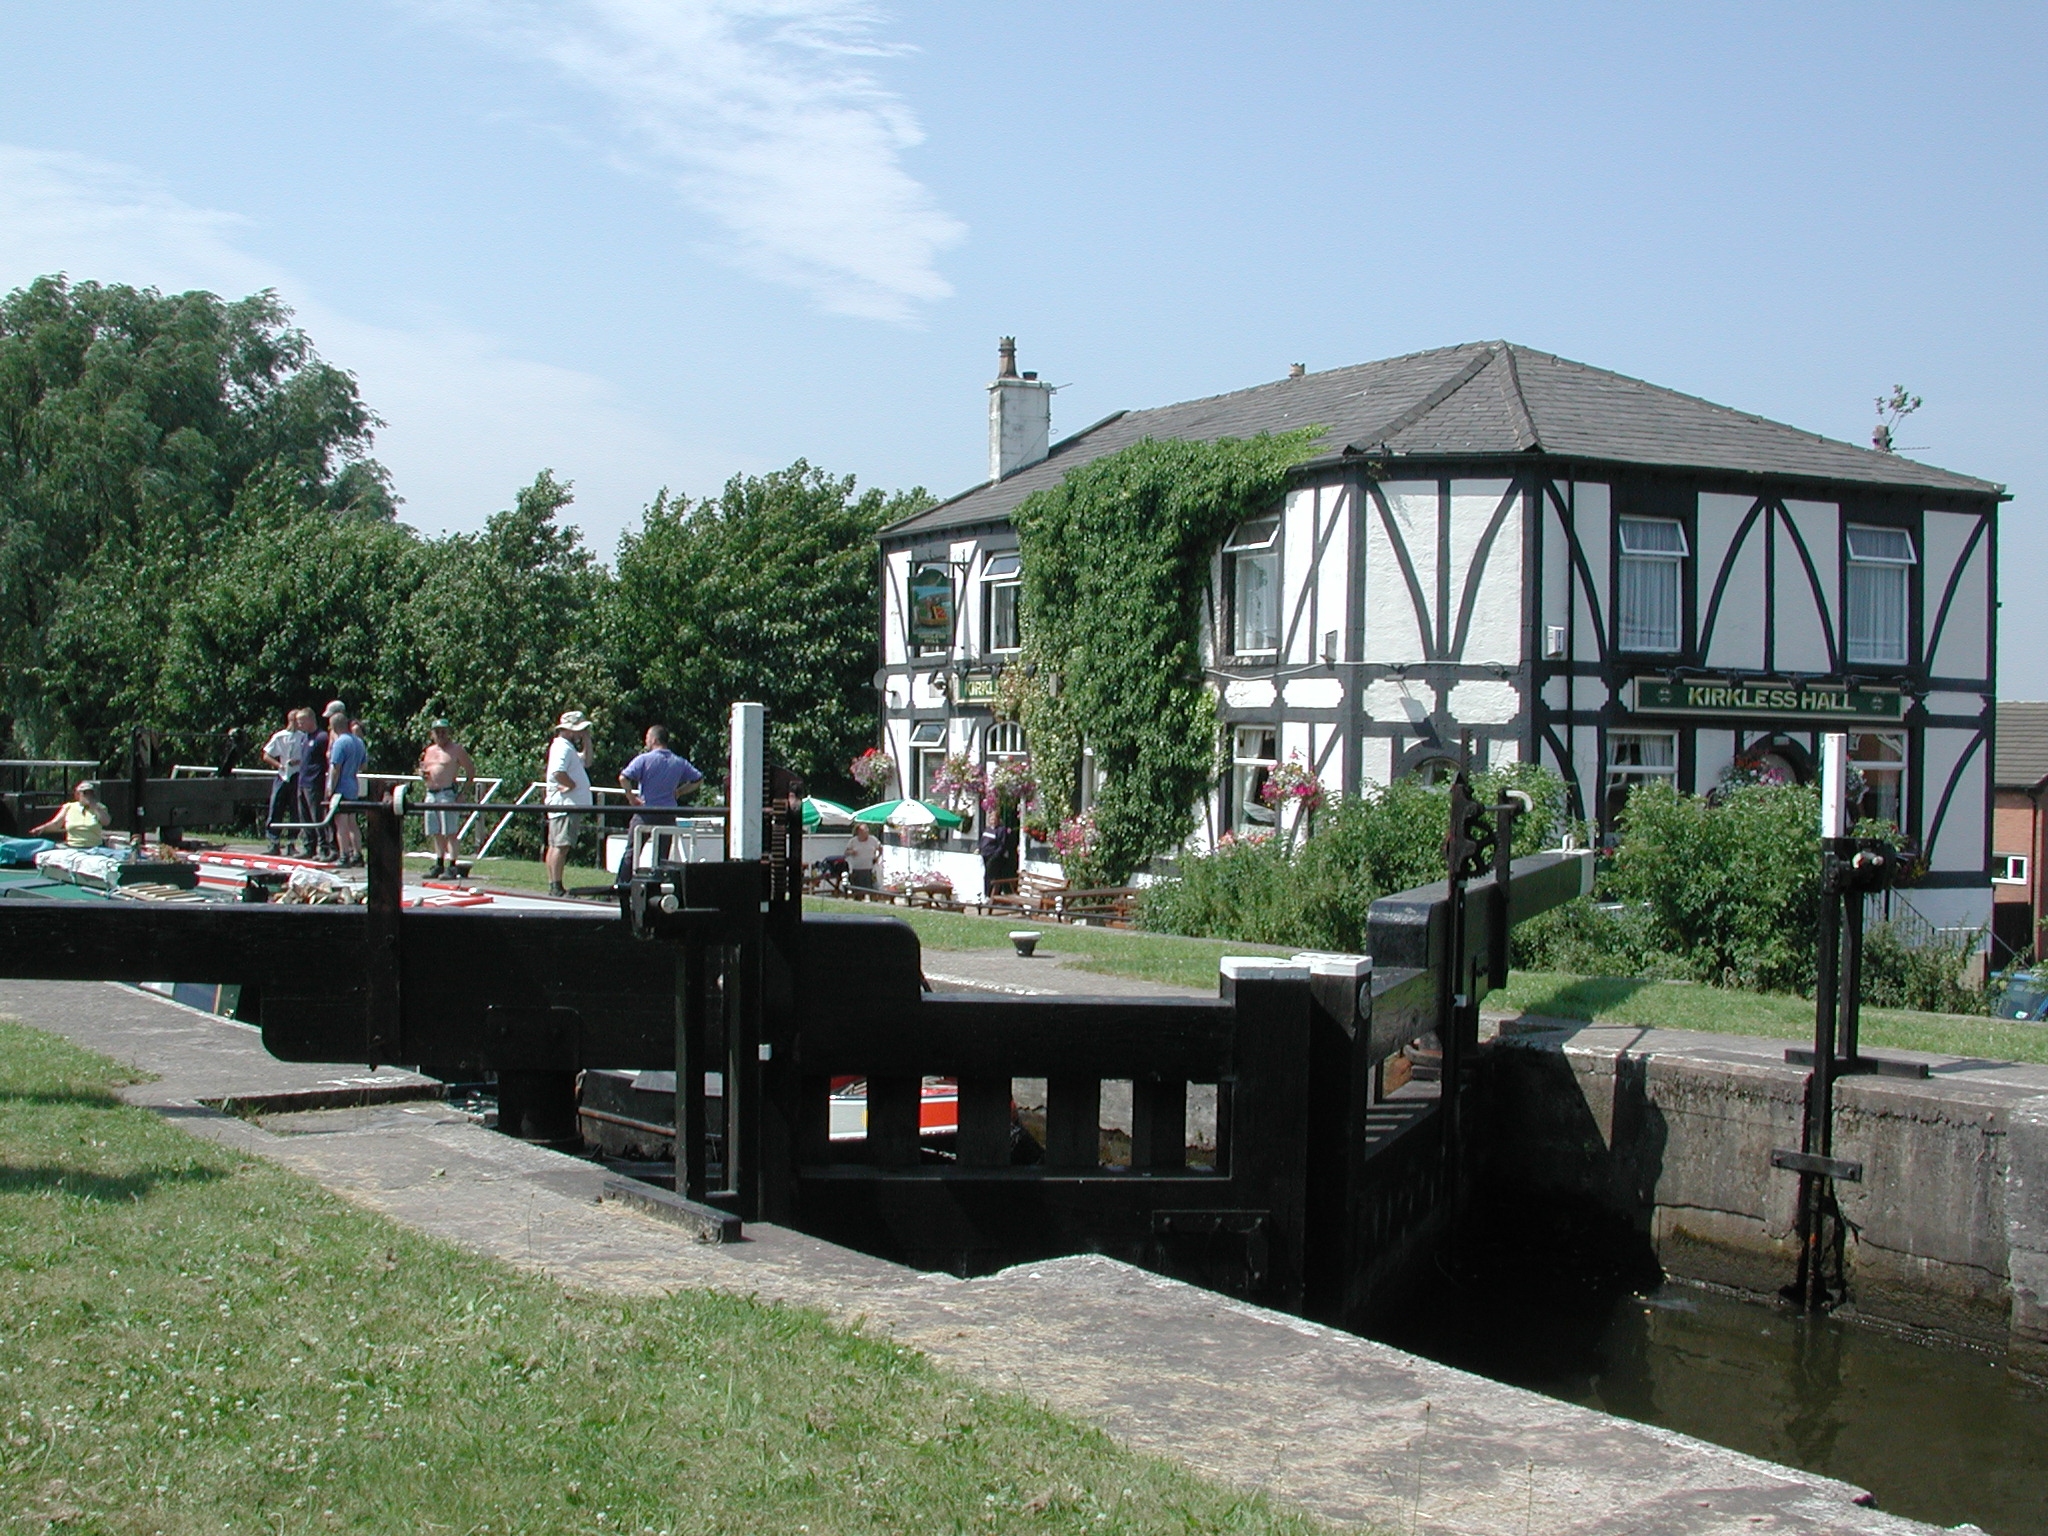
Kirkless Hall pub and Lock No 66. Wigan Flight. Leeds and Liverpool Canal.

Withington Lane Bridge No 58 and Top Lock No 65. Wigan Flight. Leeds and
Liverpool Canal.

Looking back at Kirkless Hall pub, Cale Lane Bridge No 57 and Lock No 66. Wigan
Flight. Leeds and Liverpool Canal.

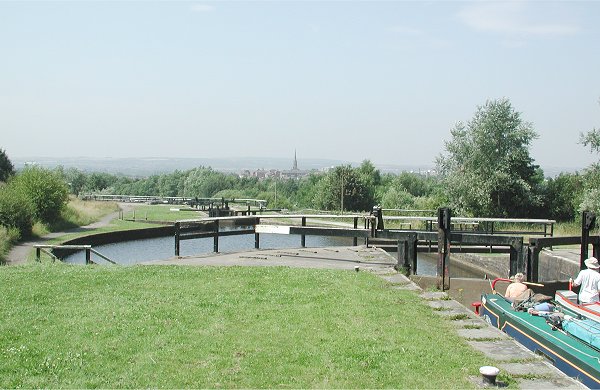
Top Lock No 65. Wigan Flight. Leeds and Liverpool Canal.

David Long gives NB Earnest a quick blessing! Wigan Flight. Leeds and Liverpool
Canal.

Leaving Top Lock No 65. Wigan Flight. Leeds and Liverpool Canal.
Leaving Top Lock No 65. Beyond is the old joint Lancaster Canal stub and Monk
Hall Bridge No 59. Wigan Flight. Leeds and Liverpool Canal.

Haigh Hall Park Bridge No 60. Leeds and Liverpool Canal.

Looking back at Haigh Hall Park Bridge No 60 and disused colliery arm. Leeds and
Liverpool Canal.

Sennicar Bridge No 61. Leeds and Liverpool Canal.

Pendlebury Bridge No 62. Leeds and Liverpool Canal.

Red Rock Bridge No 63 and Crawford Arms. Leeds and Liverpool Canal.

Red Rock Bridge No 63 and visitor moorings for Crawford Arms. Leeds and
Liverpool Canal.

Aqueduct over disused railway. Leeds and Liverpool Canal.

Leeds and Liverpool Canal.
Arley Bridge No 64. Leeds and Liverpool Canal.

Weavers Bridge No 65. Leeds and Liverpool Canal.
Aberdeen Bridge No 66. Leeds and Liverpool Canal.

Aqueduct and Red House Bridge No 68. Leeds and Liverpool Canal.

Red House Bridge No 68. Leeds and Liverpool Canal.

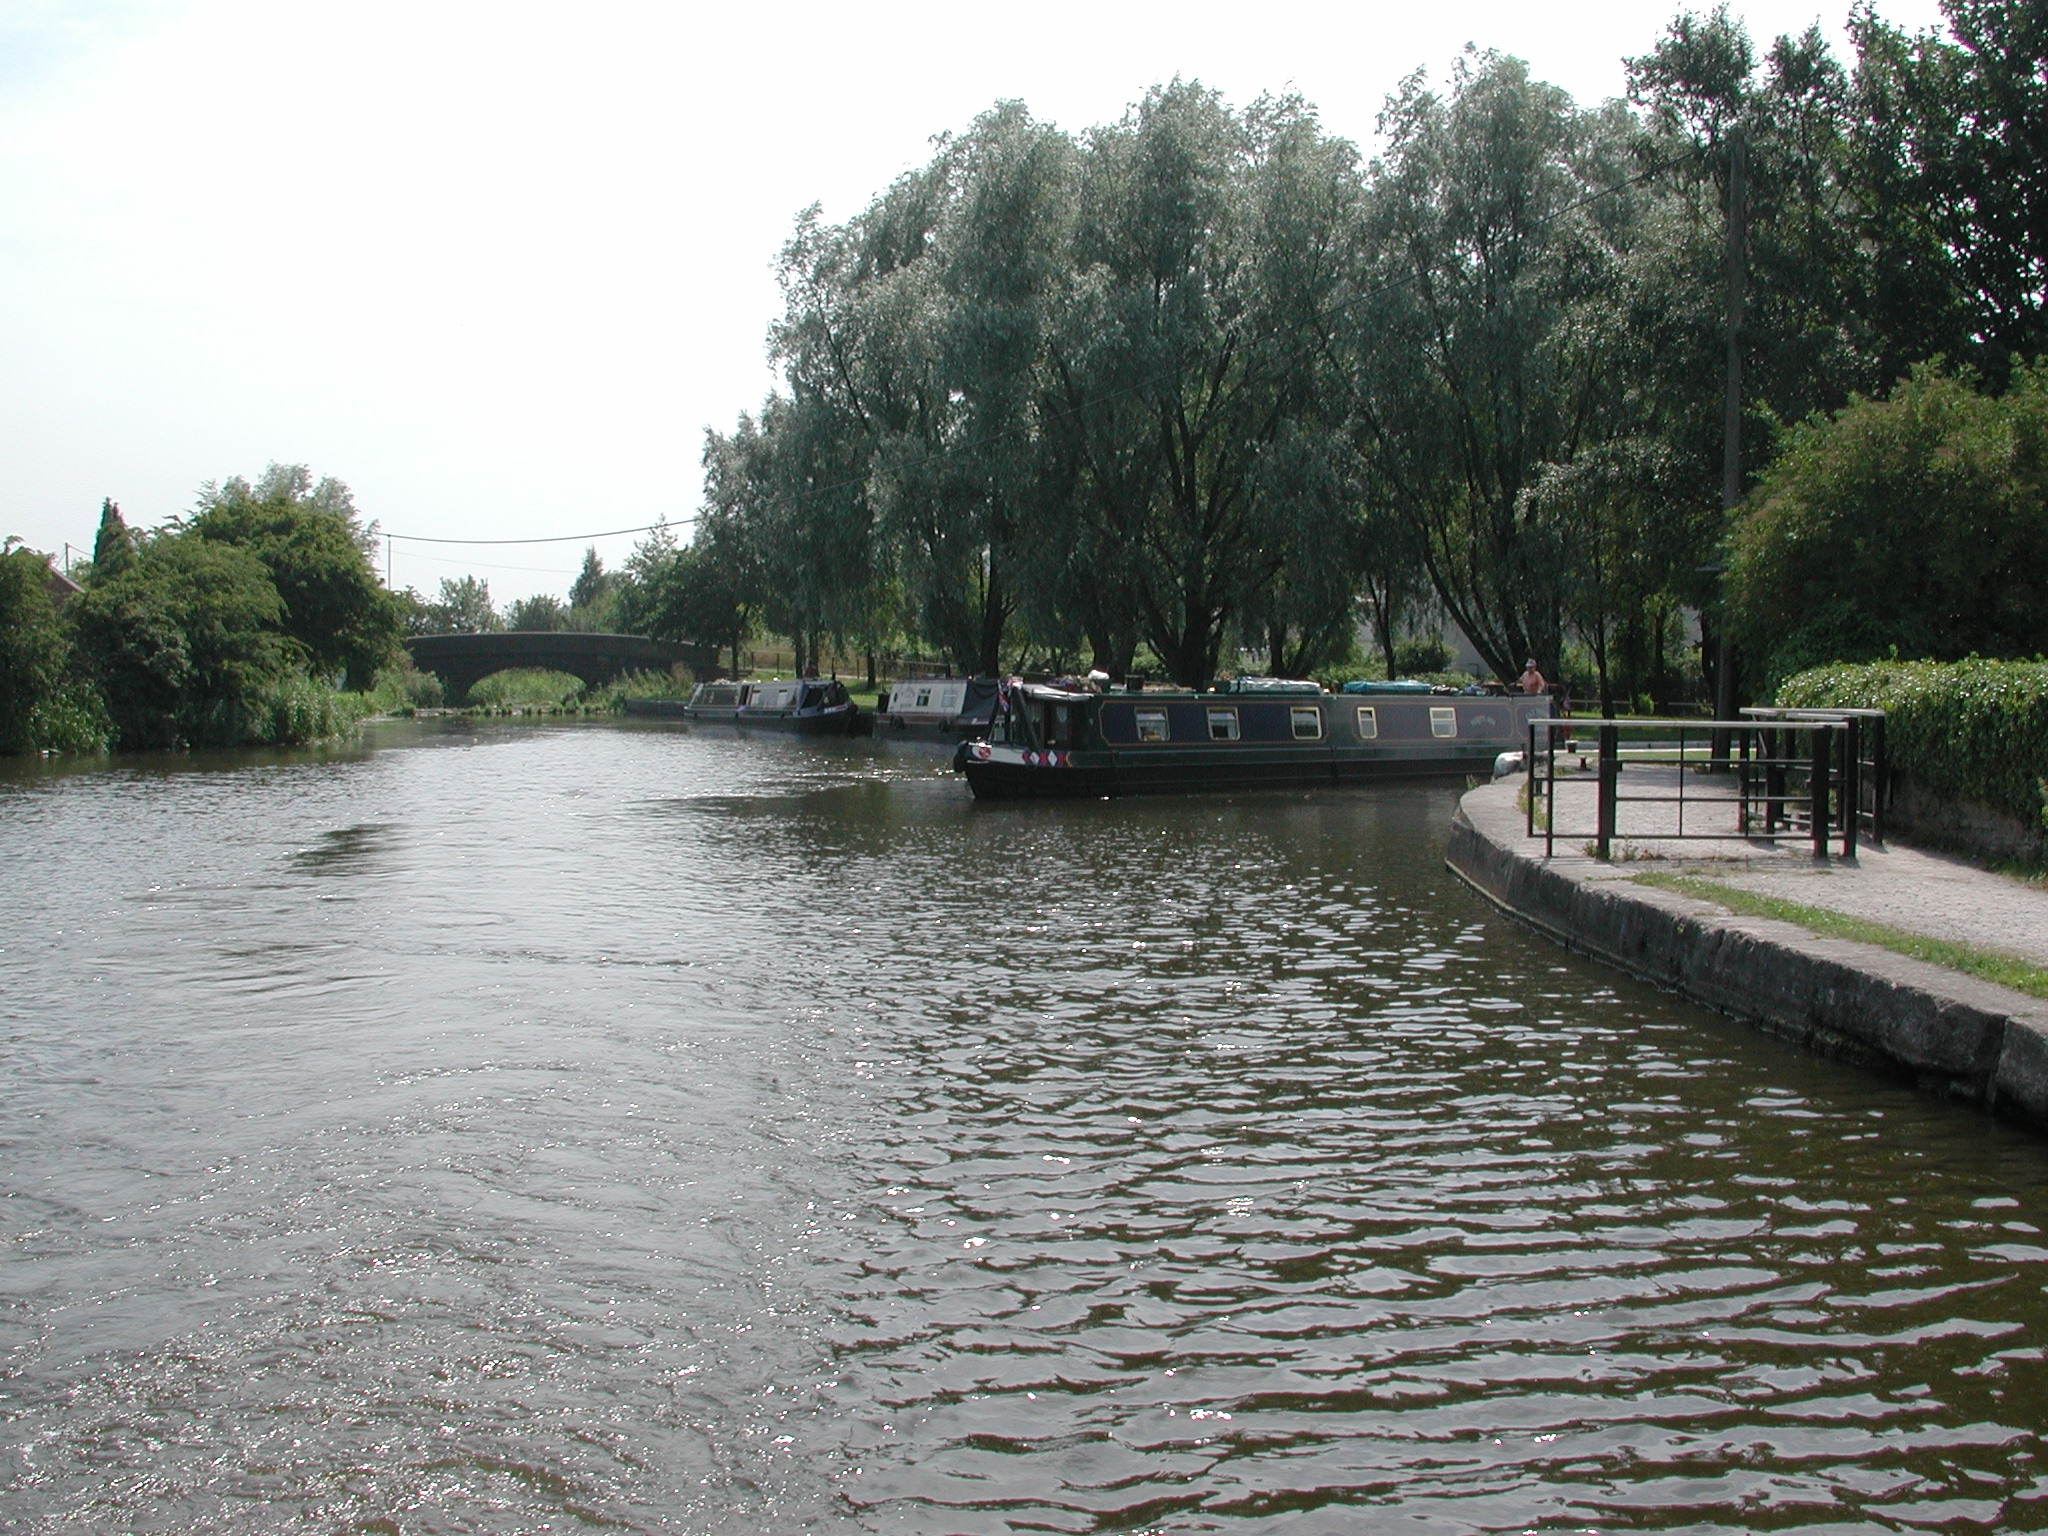
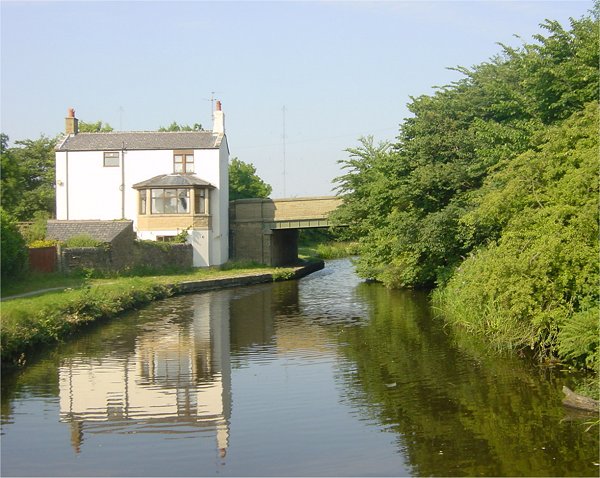
White Bear Bridge No 69. Offside visitor moorings beside park, where Ilorin and
Earnest are moored. Leeds and Liverpool Canal.

White Bear Marina at Bridge No 69. Leeds and Liverpool Canal.
Looking back at White Bear Marina and Bridge No 69. Leeds and Liverpool Canal.

L & L Cruisers hire base and Rawlinson Bridge No 71. Leeds and Liverpool
Canal.

Leeds and Liverpool
Canal.

Botany Bay Bridges No 78 AA and No 78 A. Leeds and Liverpool Canal.

Looking back at the M6 Bridge No 78 AAA. Leeds and Liverpool Canal.

Botany Bay Mill - now a themed shopping centre. Leeds and Liverpool Canal.

Botany Bay keeps out unwanted visitors! Leeds and Liverpool Canal.

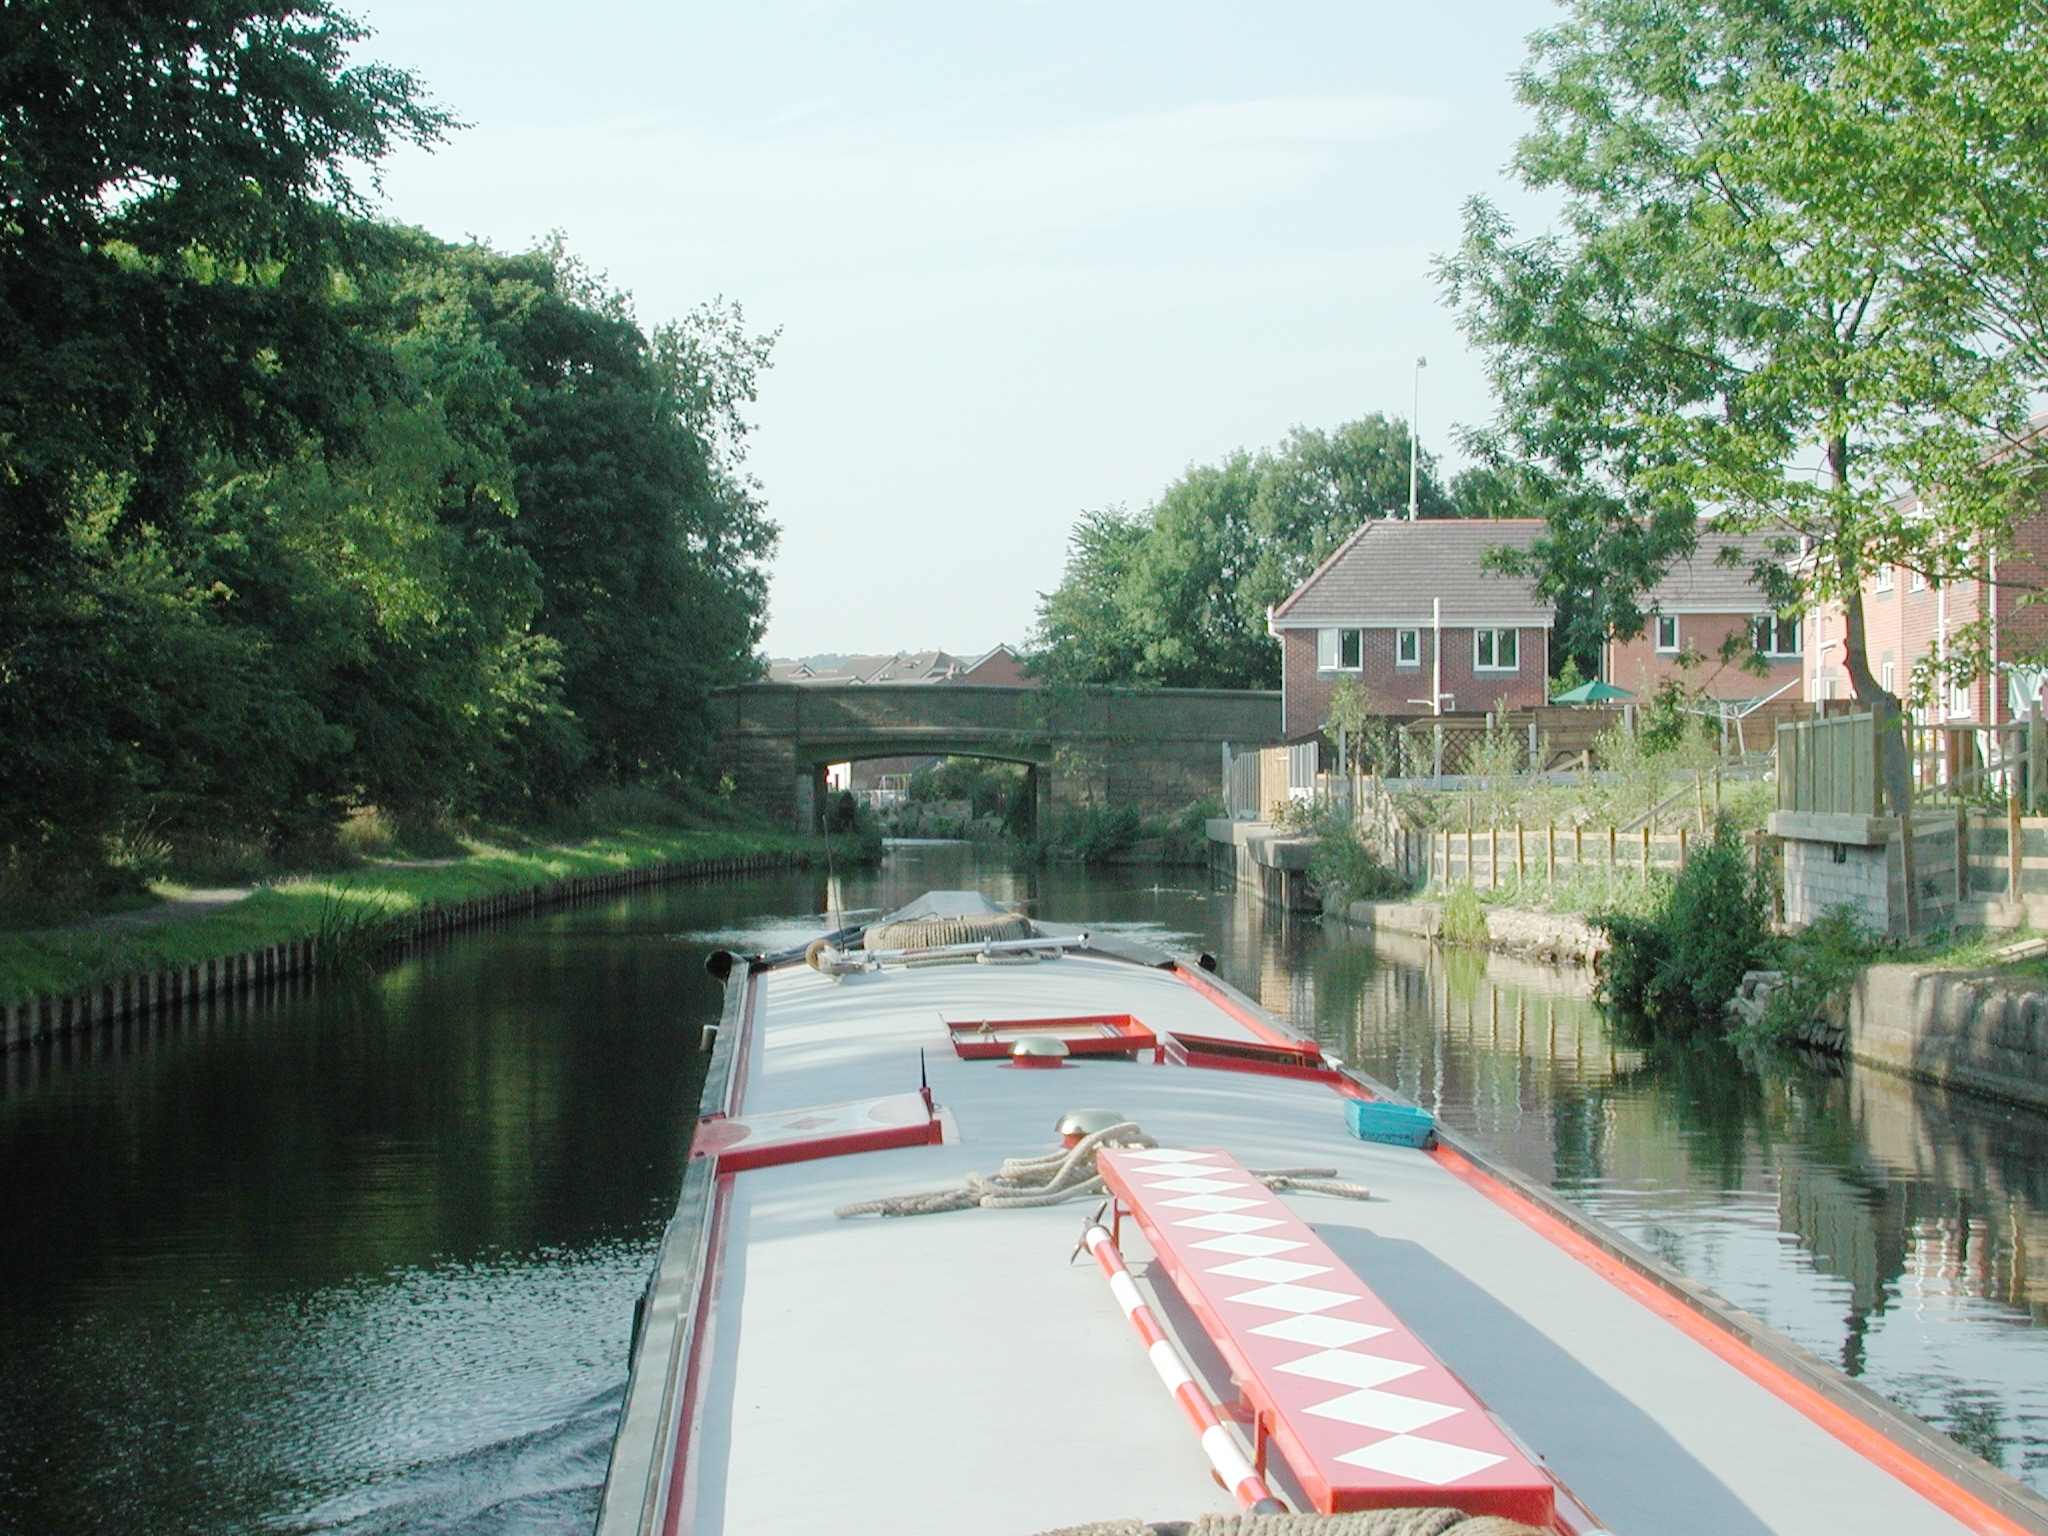
Knowley Bridge No 79 and local trip boat. A 674 M6 spur road beside canal. Leeds
and Liverpool Canal.

Bottom of Johnson's Hill Locks, looking back at Moss Lane Bridge No 80. Leeds
and Liverpool Canal.

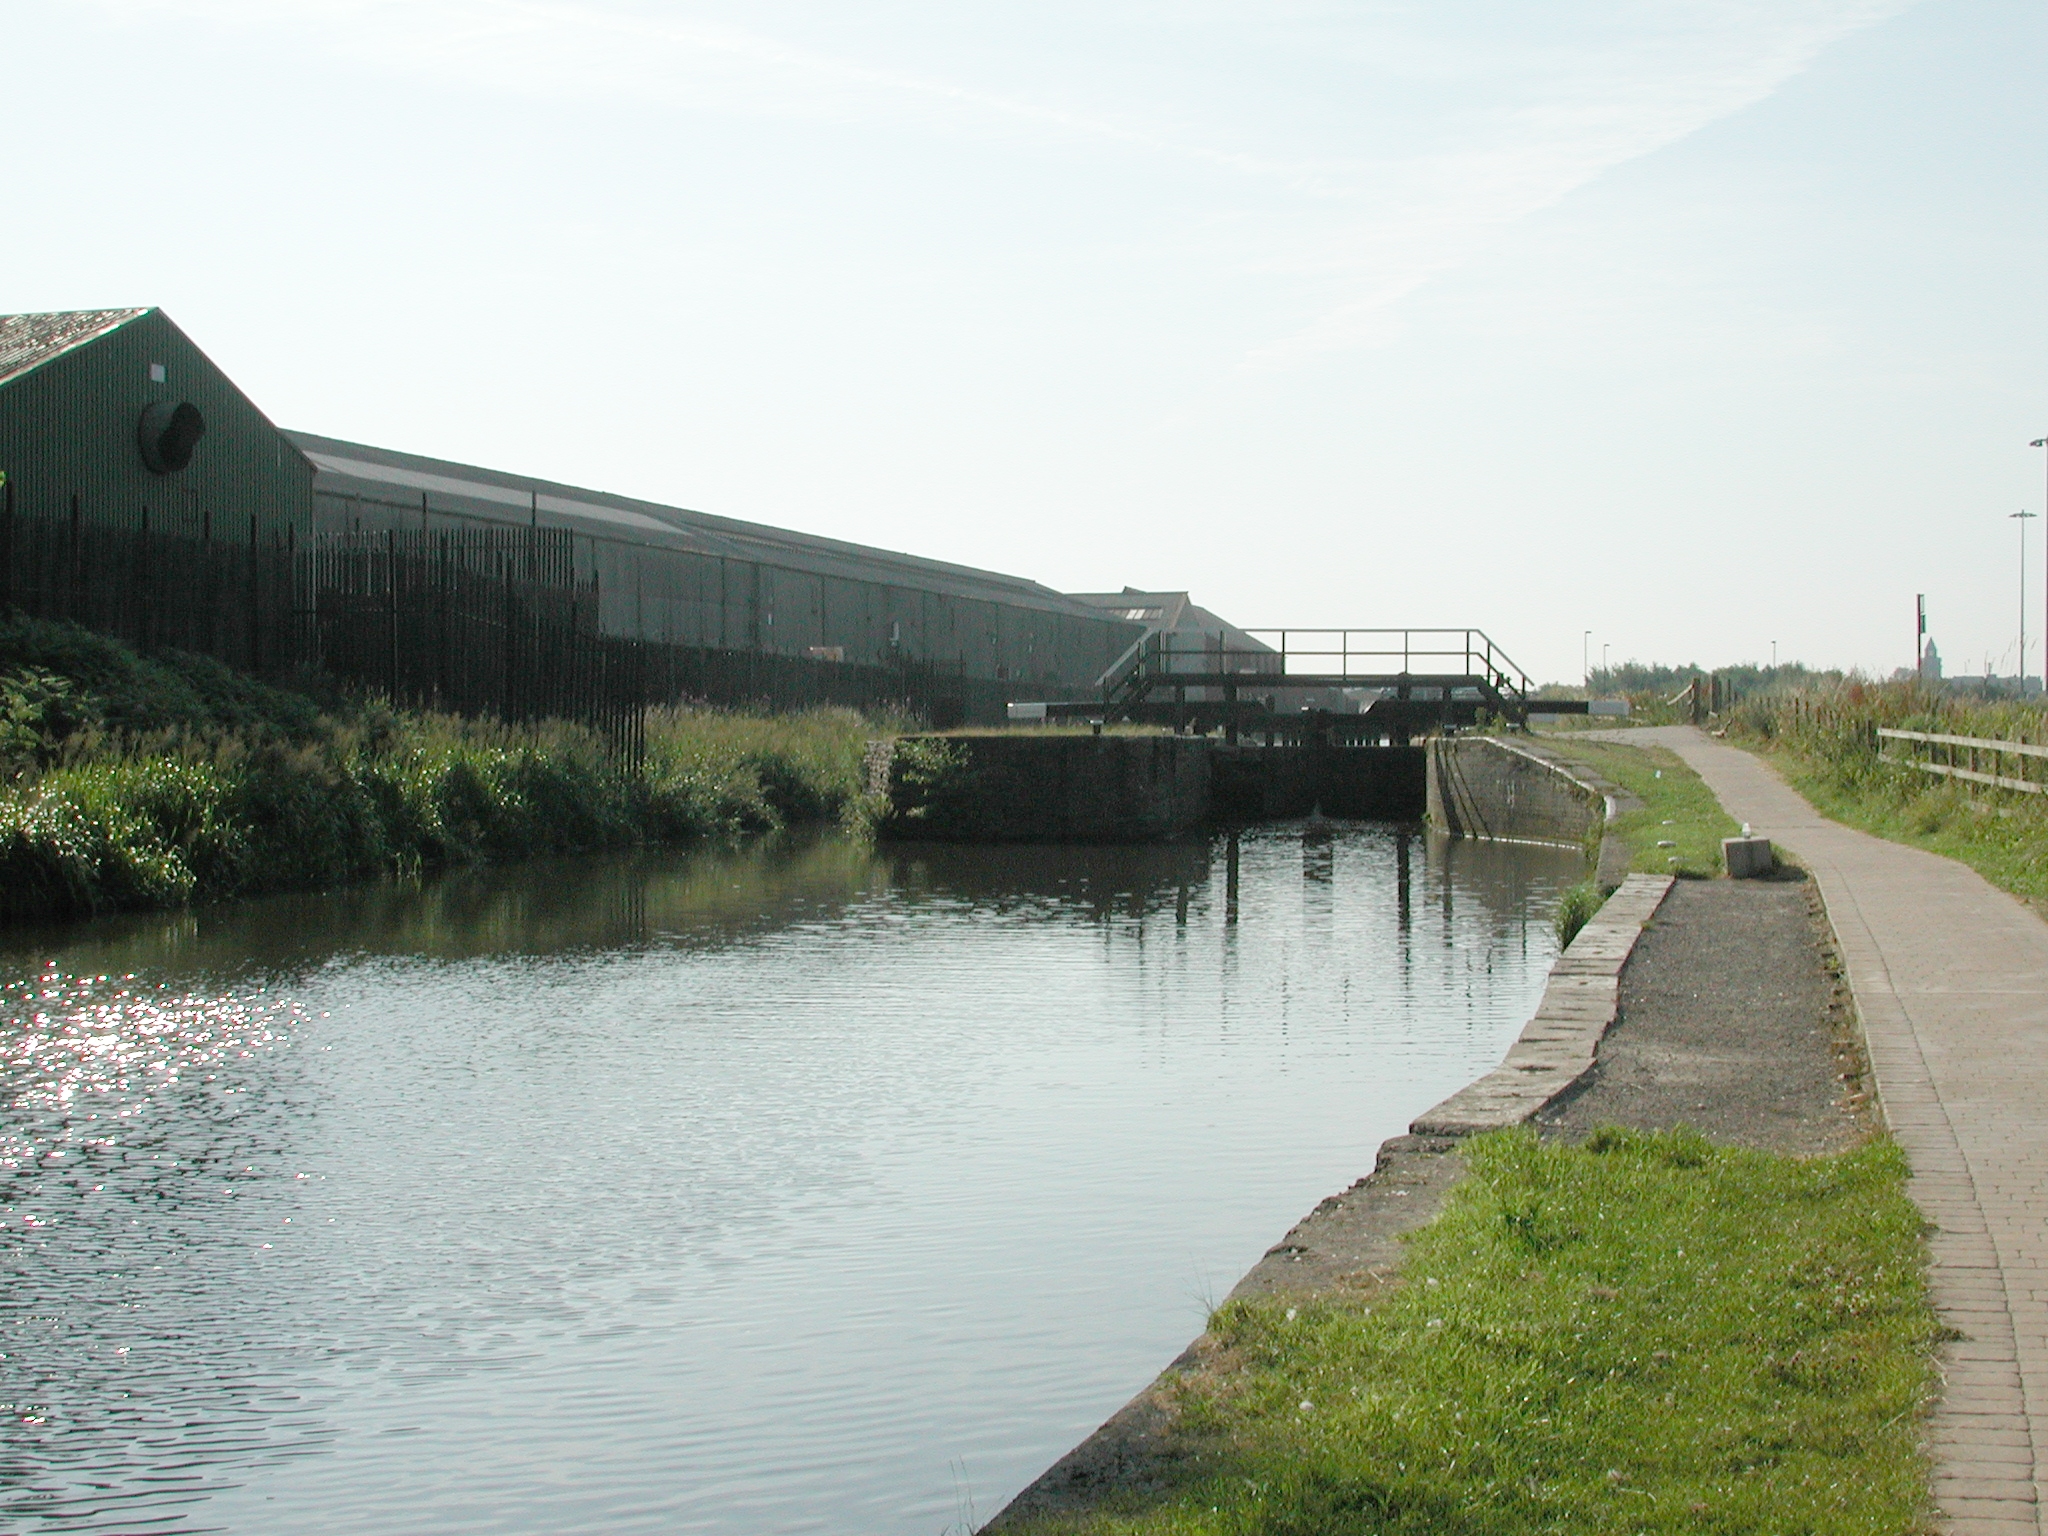
Bottom of Johnson's Hill Locks, Lock No 64. The disused Lancaster Canal Walton
Summit Branch to the left. . Leeds and Liverpool Canal.
Looking up the disused Lancaster Canal Walton Summit Branch. Leeds and Liverpool
Canal.

Bottom Lock No 64, looking up to Lock No 63. Johnson's Hill Flight. Leeds and
Liverpool Canal.

Bottom Lock No 64, looking down. Johnson's Hill Flight. Leeds and Liverpool
Canal.

Box bottom cloughs on Lock No 63. Johnson's Hill Flight. Leeds and Liverpool
Canal.

Lock No 63. Johnson's Hill Flight. Leeds and Liverpool Canal.

Looking down from Lock No 63. Johnson's Hill Flight. Leeds and Liverpool Canal.

Lock No 62. Johnson's Hill Flight. Leeds and Liverpool Canal.

Lock No 62, looking up to Lock No 61. Johnson's Hill Flight. Leeds and Liverpool
Canal.
Looking down from Lock No 62. Johnson's Hill Flight. Leeds and Liverpool Canal.

Lock No 61. Johnson's Hill Flight. Leeds and Liverpool Canal.
Looking back at Fourth Lock Bridge No 81 and Lock No 61. Johnson's Hill Flight.
Leeds and Liverpool Canal.

Looking back down from Fourth Lock Bridge No 81 and Lock No 61. Johnson's Hill
Flight. Leeds and Liverpool Canal.

Lock No 60. Johnson's Hill Flight. Leeds and Liverpool Canal.

Lock No 60. Johnson's Hill Flight. Leeds and Liverpool Canal.

Looking down from Lock No 60. Johnson's Hill Flight. Leeds and Liverpool Canal.

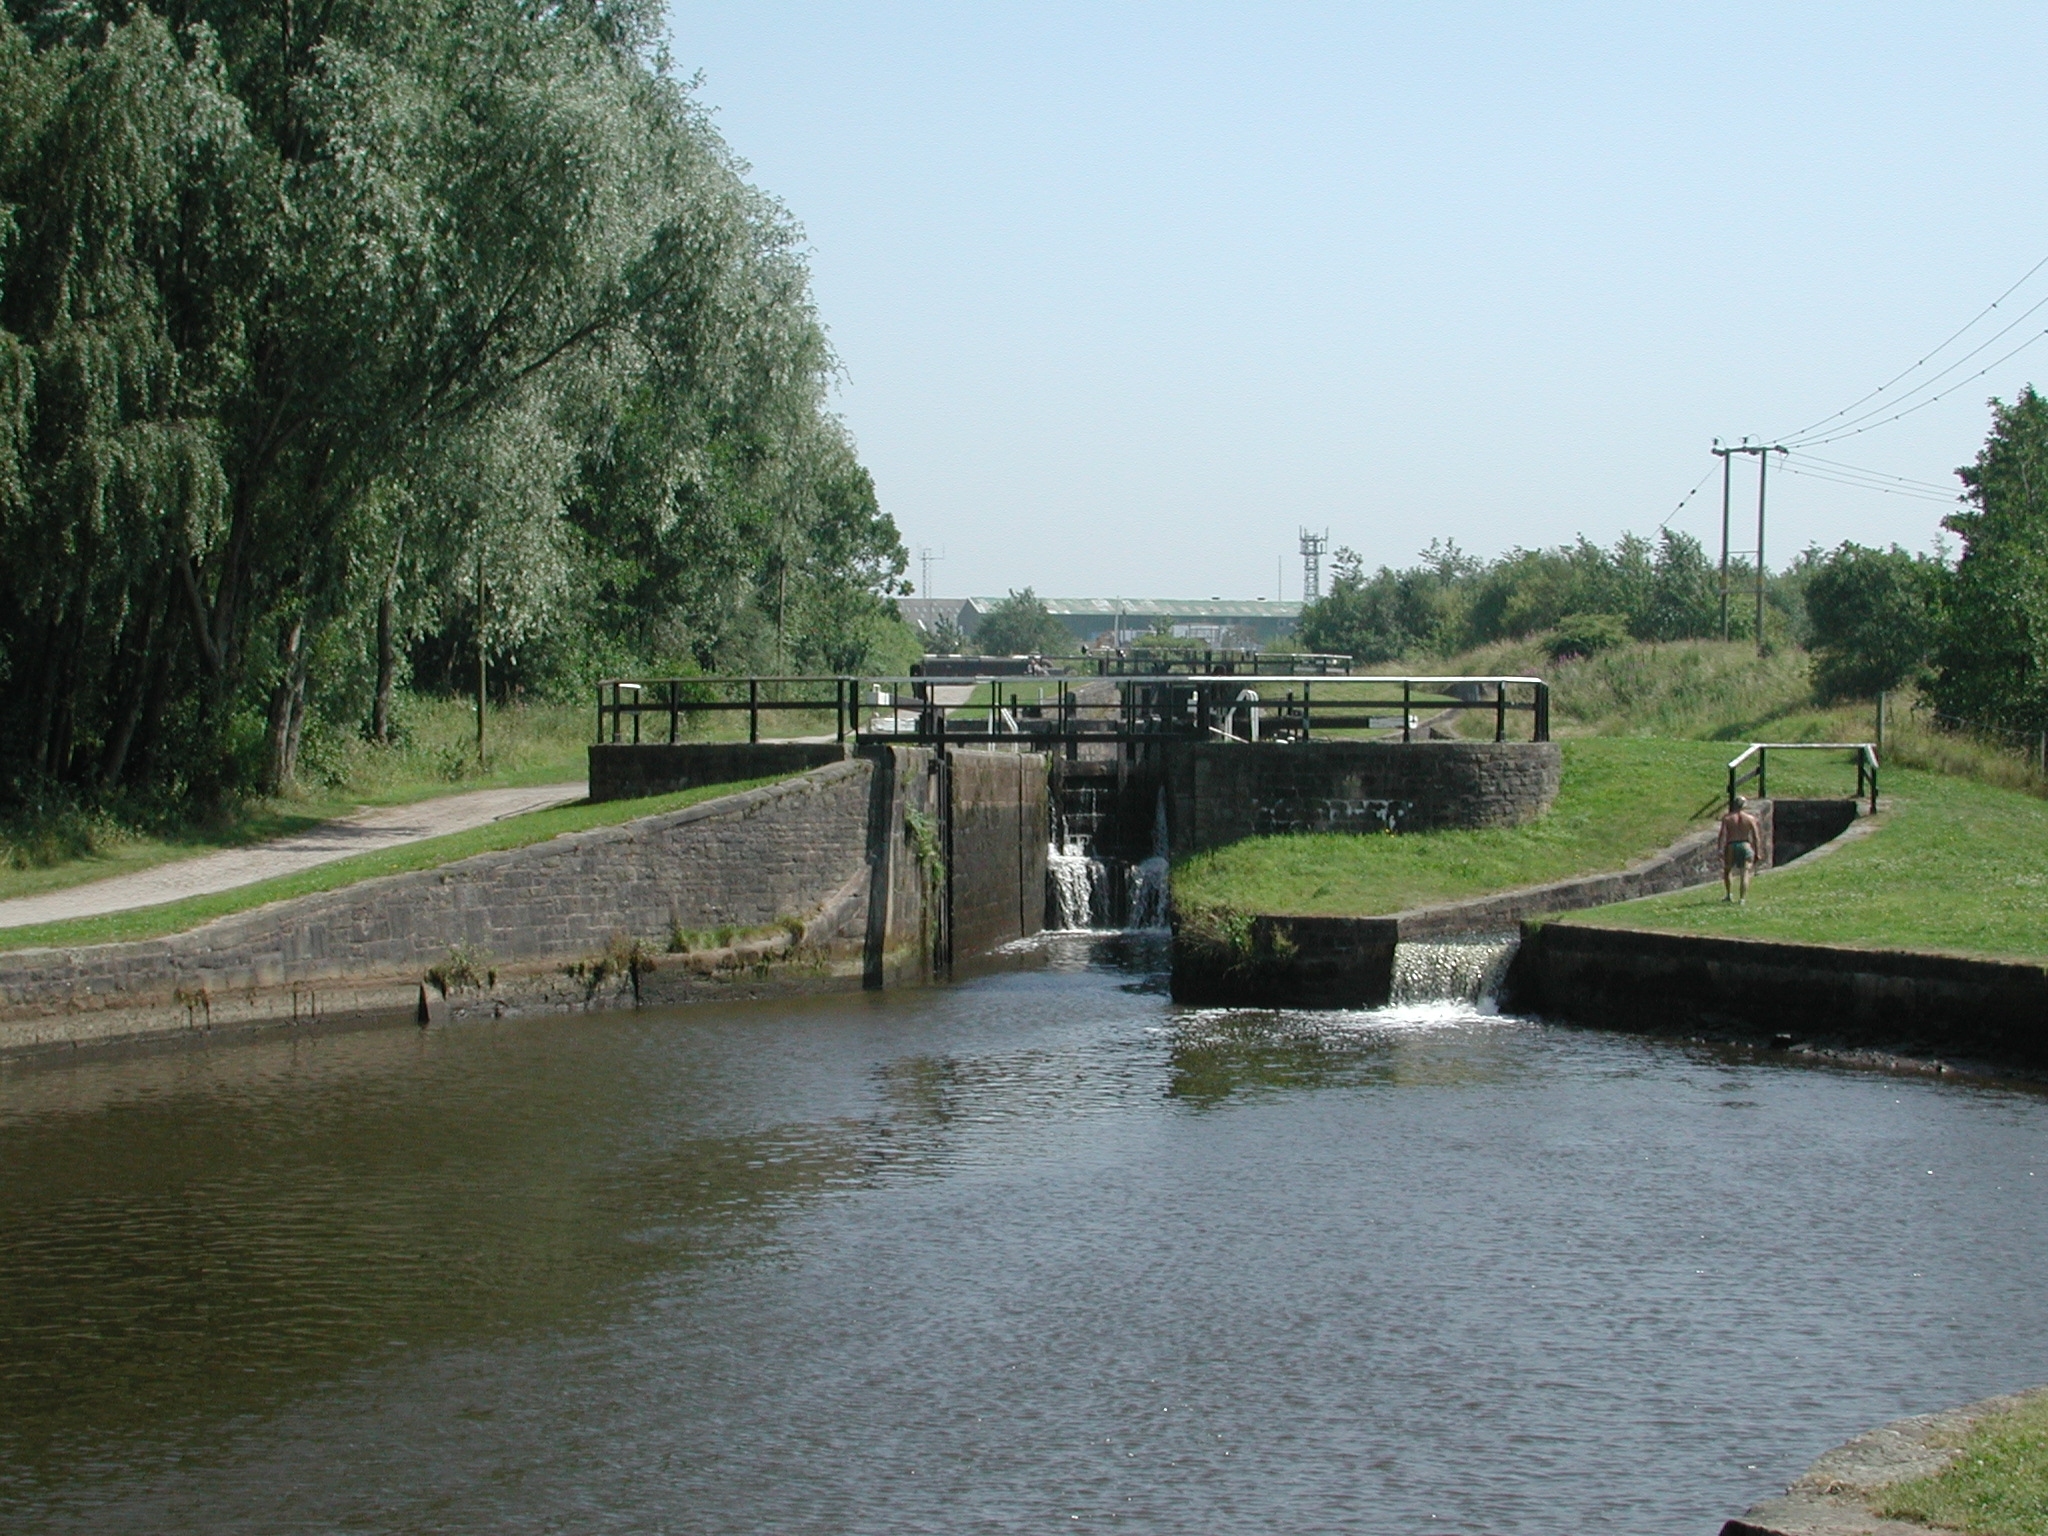
Lock No 59. Johnson's Hill Flight. Leeds and Liverpool Canal.

Top Lock No 58 and the Top Lock pub. Johnson's Hill Flight. Leeds and Liverpool
Canal.

Top Lock No 58. Johnson's Hill Flight. Leeds and Liverpool Canal.

Top Lock No 58. Johnson's Hill Flight. Leeds and Liverpool Canal.

Looking up from Top Lock No 58. Johnson's Hill Flight. Leeds and Liverpool
Canal.

Duck farm at Wheelton. Leeds and Liverpool Canal.

Whins Bridge No 83. Wheelton. Leeds and Liverpool Canal.

Whins Bridge No 83. Wheelton. Leeds and Liverpool Canal.

Engine Bridge No 84. Wheelton. Leeds and Liverpool Canal.

Looking back at Engine Bridge No 84. Wheelton. Leeds and Liverpool Canal.

Simpson Fold Bridge No 85. Wheelton. Leeds and Liverpool Canal.
Brown House Bridge No 86. Wheelton. Leeds and Liverpool Canal.

Jackson's Bridge No 87. Wheelton. Leeds and Liverpool Canal.

Looking up from Withnell Fold Bridge No 88. Leeds and Liverpool Canal.

Withnell Fold Bridge No 88. Top Lock No 58. Leeds and Liverpool Canal.
Ollerton Bridge Three No 89. Leeds and Liverpool Canal.
Leeds and Liverpool Canal.

M65 Extension Bridge No 91 AA. Leeds and Liverpool Canal.

Leeds and Liverpool Canal.
Riley Green Bridge No 91 A. Leeds and Liverpool Canal.

Looking up from Riley Green Bridge No 91 A. Boatyard Inn and North West
Narrowboats Marina to the right. Leeds and Liverpool Canal.

Leeds and Liverpool Canal.

Millfield Bridge No 92. Leeds and Liverpool Canal.
Feniscowle's Bridge No 93 B. Leeds and Liverpool Canal.

Site of old railway bridge at Livesey. Leeds and Liverpool Canal.

Livesey. Leeds and Liverpool Canal.

Livesey. Leeds and Liverpool Canal.

Livesey Hall Bridge No 94. Leeds and Liverpool Canal.

Cherry Tree Bridge No 95. Leeds and Liverpool Canal.

Bower House Fold Bridge No 96. Leeds and Liverpool Canal.

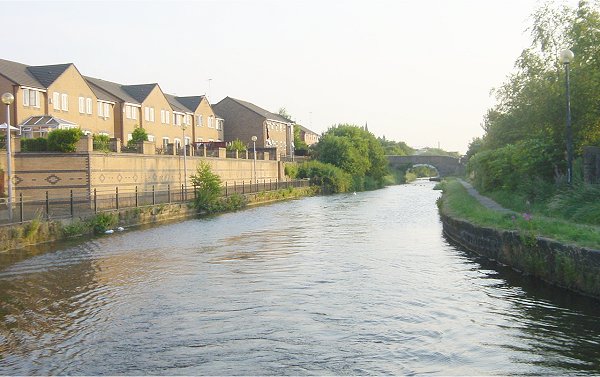
Navigation pub and King's Bridge No 96 A. Moorgate. Blackburn. Leeds and
Liverpool Canal.

Navigation pub, Moorgate. Blackburn. Leeds and Liverpool Canal.

Whiteley Bridge No 97. Blackburn. Leeds and Liverpool Canal.

Looking back at Whiteley Bridge No 97. Blackburn. Leeds and Liverpool Canal.
![]()
Blackburn Embankment. Leeds and Liverpool Canal.

Blackburn Rovers Stadium, in the valley just above Blackburn Embankment. Leeds
and Liverpool Canal.

Hollin Bank Bridge No 98. Blackburn. Leeds and Liverpool Canal.

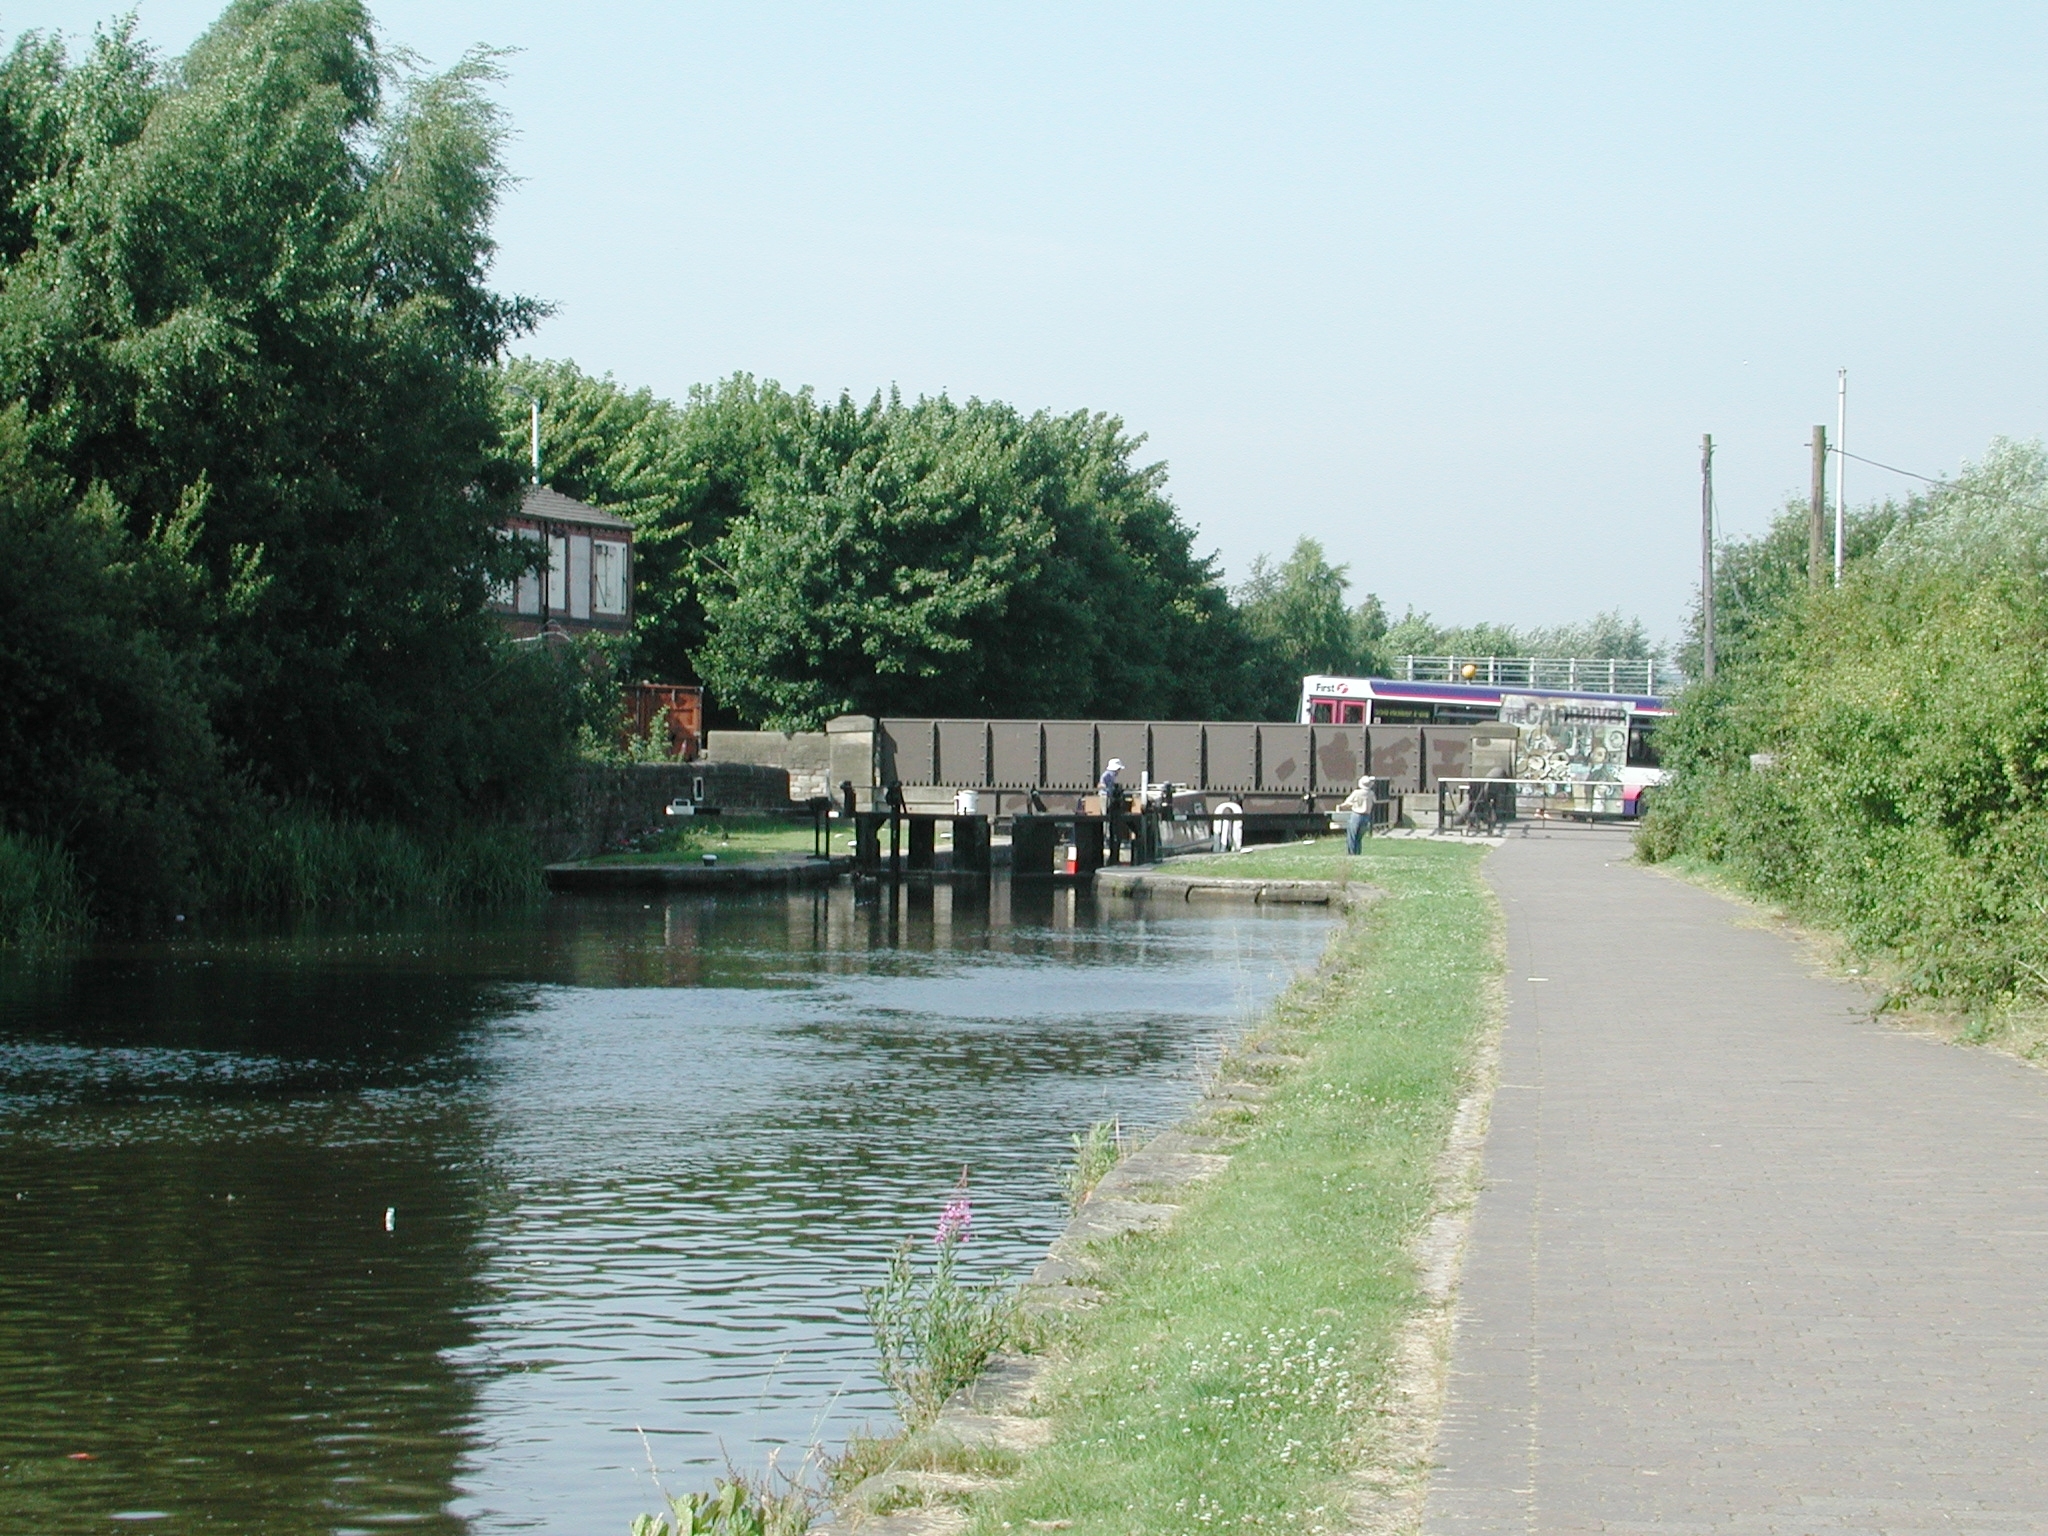
Railway Bridge No 98 A and start of Blackburn Flight, Bottom Lock No 57.
Blackburn. Leeds and Liverpool Canal.

Looking back at Hollin Bank Bridge No 98. Blackburn. Leeds and Liverpool Canal.

Leaving Blackburn Bottom Lock No 57. Blackburn Flight. Leeds and Liverpool
Canal.

The sharp turn before Bottom Road Bridge No 57. Blackburn Flight. Leeds and
Liverpool Canal.

Bottom Road Bridge No 57, Lock No 56 beyond. Blackburn Flight. Leeds and
Liverpool Canal.

Lock No 56. Looking up at Lock No 55. Blackburn Flight. Leeds and Liverpool
Canal.

Lock No 55. Looking up at Hall Street Bridge No 99 A and Lock No 54. Blackburn
Flight. Leeds and Liverpool Canal.

Lock No 55. Looking back down at Lock No 56. Blackburn Flight. Leeds and
Liverpool Canal.

Lock No 54 and Hall Street Bridge No 99 A. Blackburn Flight. Leeds and Liverpool
Canal.

Lock No 54. Blackburn Flight. Leeds and Liverpool Canal.

Lock No 53 and Highfield Road Bridge No 100. Blackburn Flight. Leeds and
Liverpool Canal.

Lock No 53. Blackburn Flight. Leeds and Liverpool Canal.

Lock No 53. Blackburn Flight. Leeds and Liverpool Canal.

Top Lock No 52. Blackburn Flight. Leeds and Liverpool Canal.

Martin Clark - at home on one of his Pennine Waterways! Top Lock No 52.
Blackburn Flight. Leeds and Liverpool Canal.

Leaving Top Lock No 52. Blackburn Flight. Leeds and Liverpool Canal.

Just beyond Top Lock No 52 is a large ASDA. Blackburn. Leeds and Liverpool
Canal.

Looking back at Grimshaw Park Bridge No 101. Blackburn. Leeds and Liverpool
Canal.
Looking back at Brewery Bridge No 102. Blackburn. Leeds and Liverpool
Canal.

Looking back at Audley Bridge No 102 A. Blackburn. Leeds and Liverpool
Canal.

Cicely Bridge No 103. Blackburn. Leeds and Liverpool Canal.
Cicely Bridge No 103. Blackburn. Leeds and Liverpool Canal.

Eanam Foot bridge No 103 AA. Blackburn. Leeds and Liverpool Canal.

Eanam Wharf . Blackburn. Leeds and Liverpool Canal.

Eanam Bridge No 103 A . Blackburn. Leeds and Liverpool Canal.

Eanam Bridge No 103 A, in the process of being extended. Blackburn. Leeds and Liverpool Canal.
Paradise Bridge No 103 B. Blackburn. Leeds and Liverpool Canal.

Paradise Bridge No 103 B. Blackburn. Leeds and Liverpool Canal.

Thwaites Brewery. Blackburn. Leeds and Liverpool
Canal.

Granada TV studios in Daisyfield Mill. Blackburn. Leeds and Liverpool Canal.

Sour Milk Hall Bridge No 104. Blackburn. Leeds and Liverpool Canal.

Greenbank Bridge No 104 A. Blackburn. Leeds and Liverpool Canal.
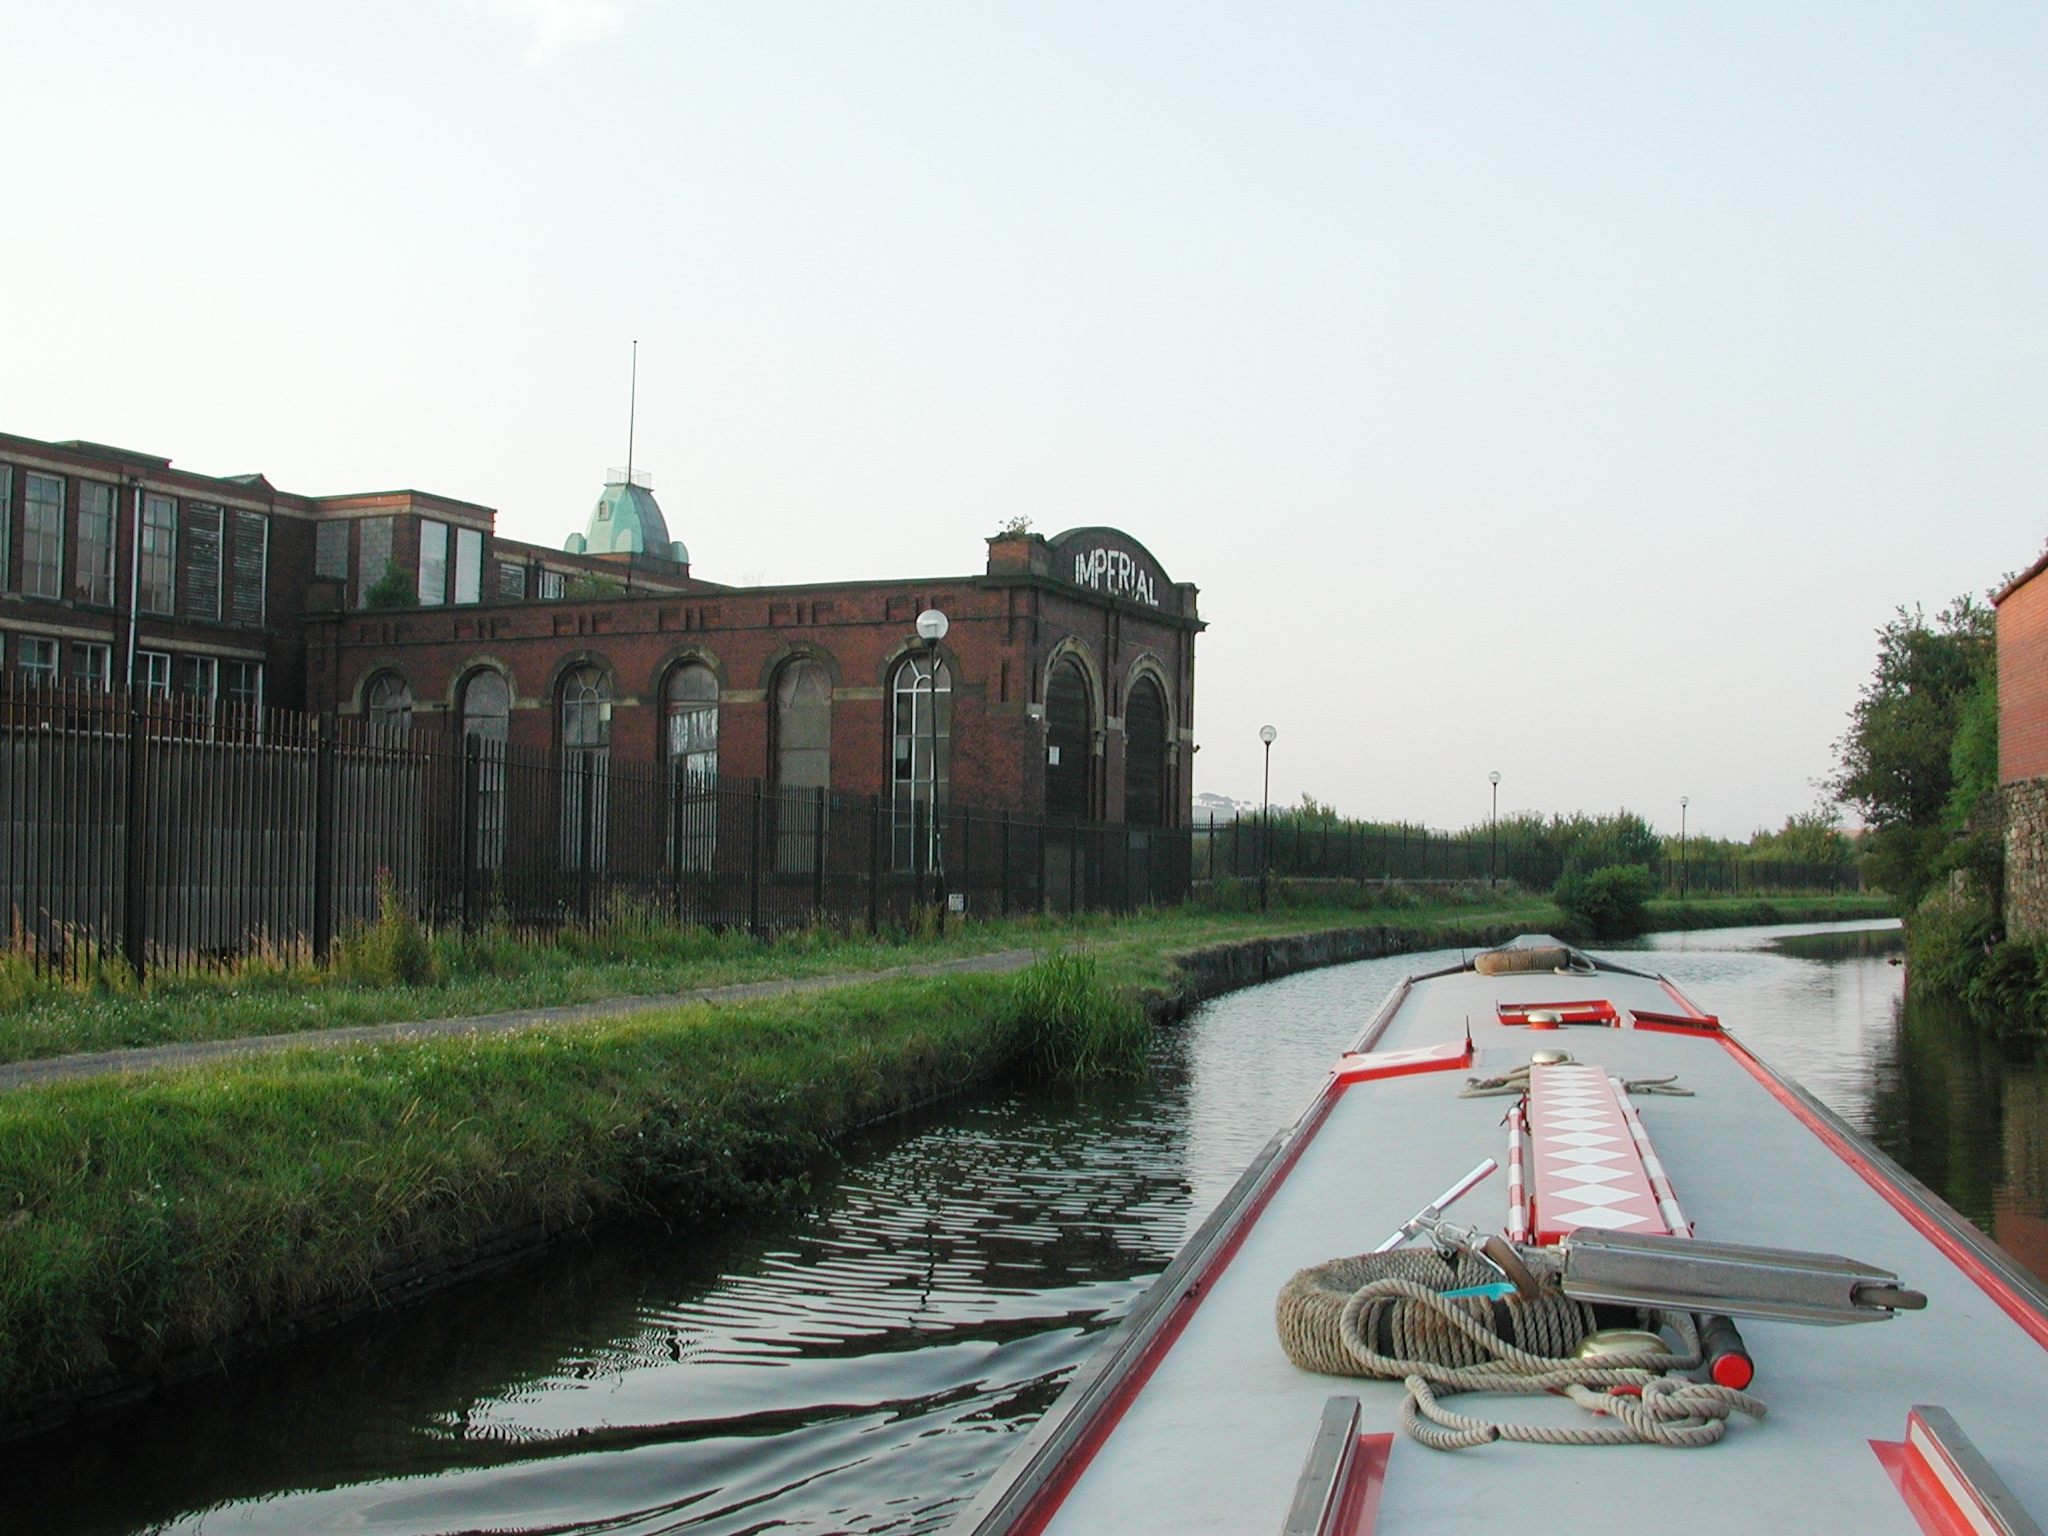
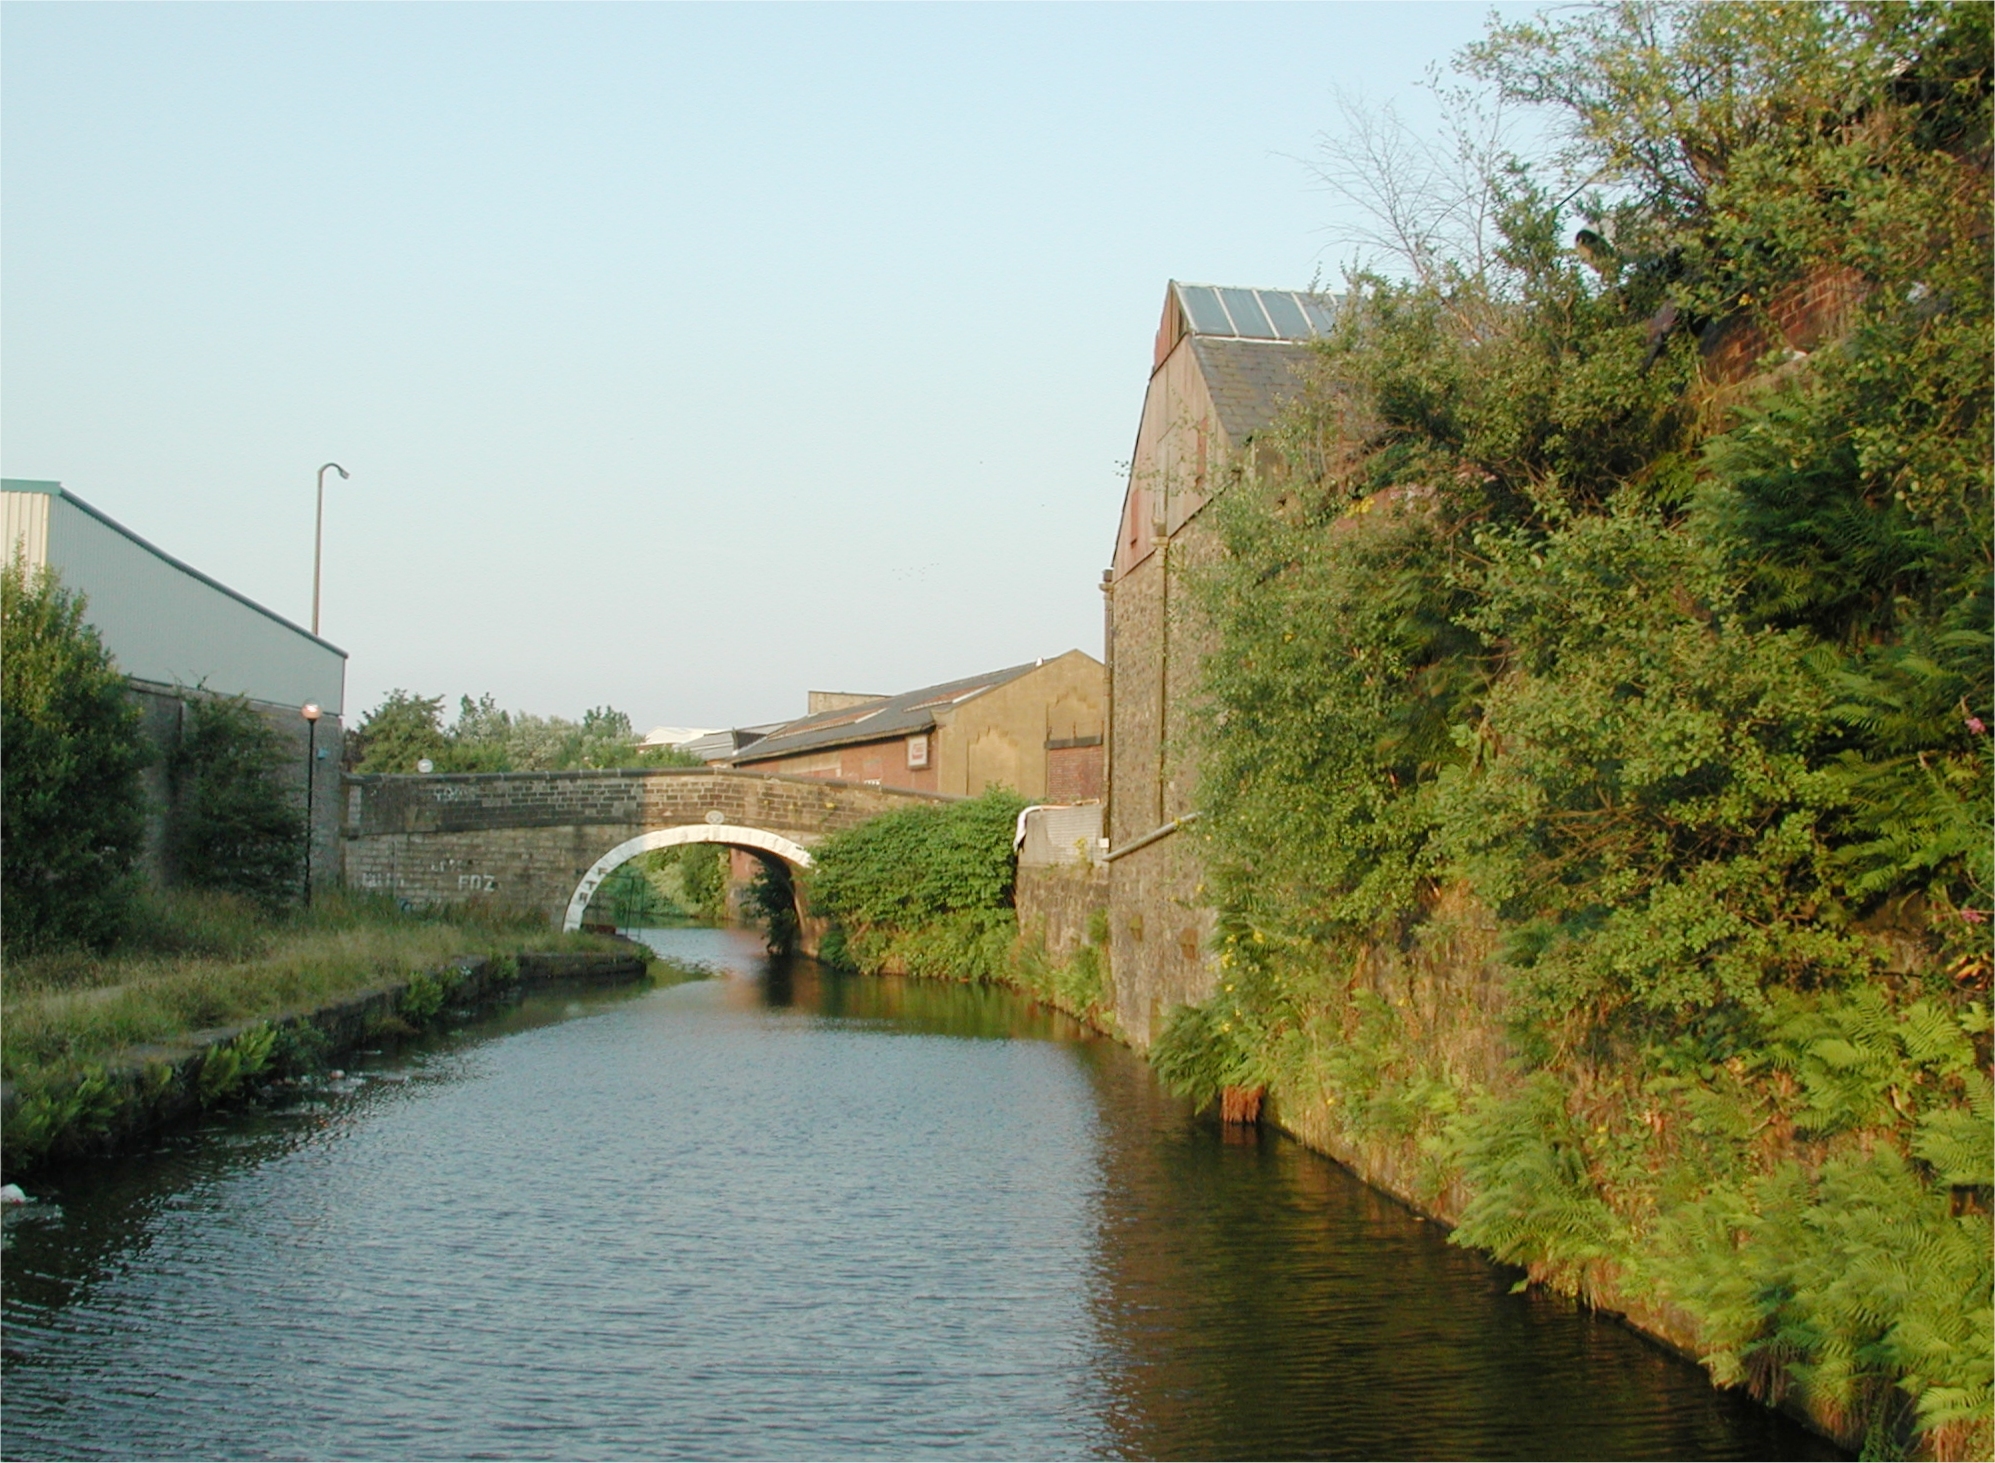
Imperial Mill. Blackburn. Leeds and Liverpool Canal.

Looking back at Greenbank Bridge No 104 A. Blackburn. Leeds and Liverpool Canal.

Bridge No 104 C. Blackburn. Leeds and Liverpool Canal.

Looking back at Bridge No 104 C. Is Dobbin for the pet food factory? Blackburn. Leeds and Liverpool Canal.

Outskirts of Blackburn. Leeds and Liverpool Canal.

Leeds and Liverpool Canal.

Nearly out of Blackburn. Leeds and Liverpool Canal.

Railway Bridge No 105. Leeds and Liverpool Canal.

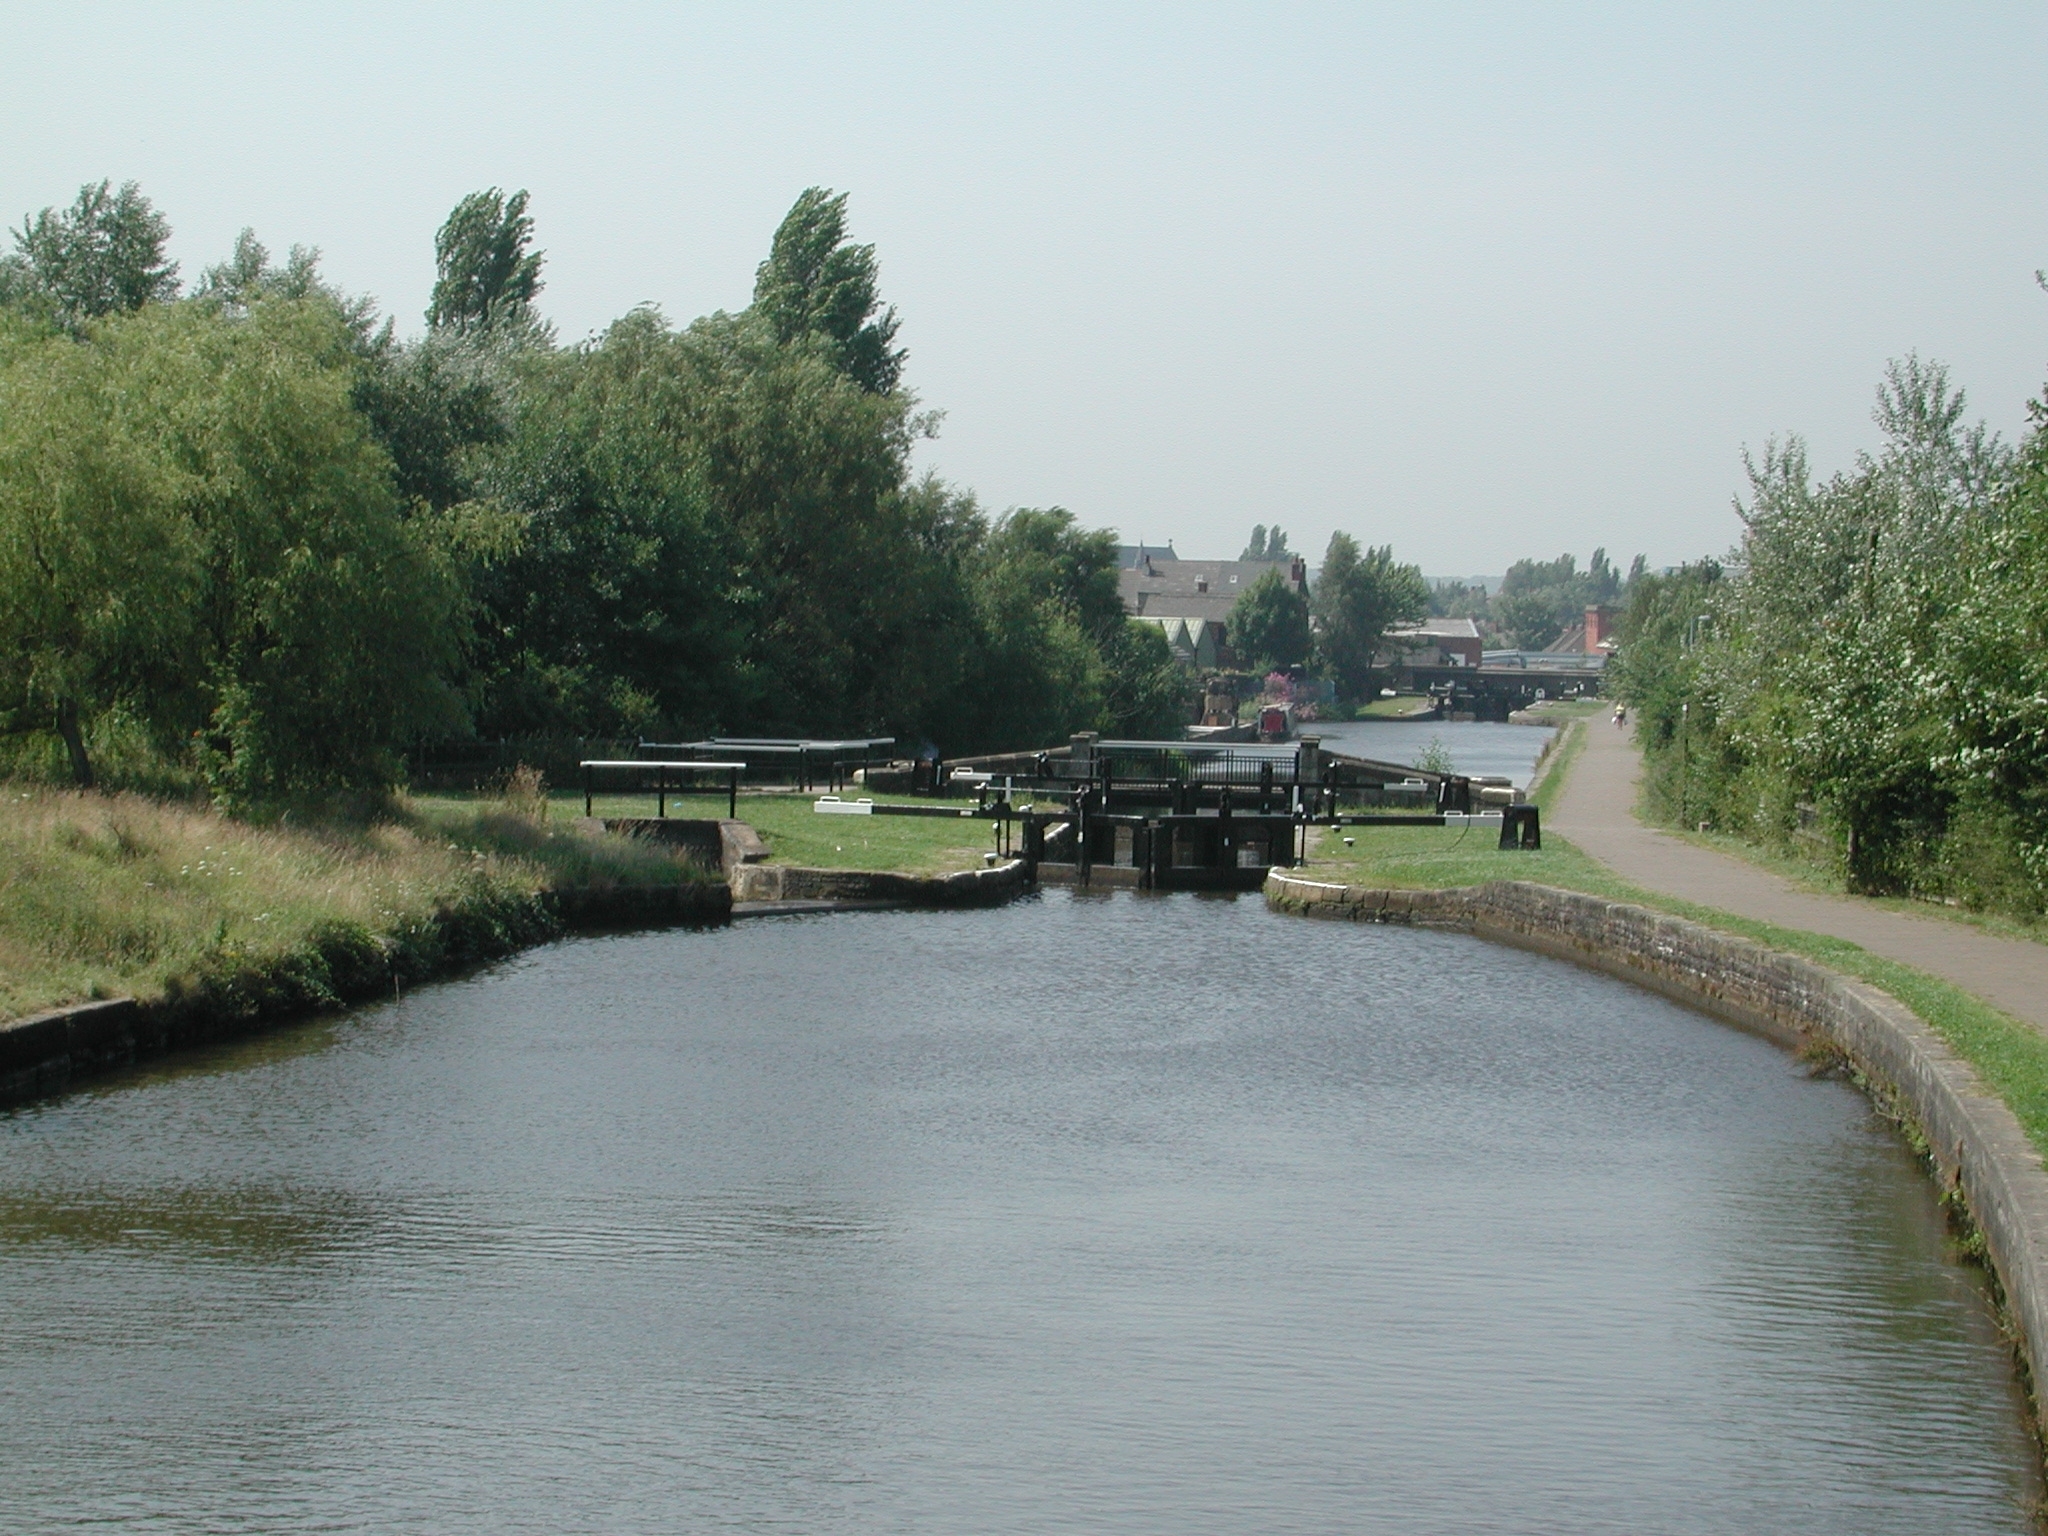
The now popular moorings at Side Beet Bridge No 106. Leeds and Liverpool Canal.

Our overnight moorings at Side Beet Bridge No 106. Leeds and Liverpool Canal.

Molly, Martin and Neil. (Image Greg Chapman)
Home Page | "Earnest" | "Beatty" | Canal Restoration